Starting a garden from nothing is one of the most intimidating things in the world until you actually do it and realize it is one of the simplest. You do not need gardening experience, expensive tools, or acres of land. You need a patch of sun, some soil, a few plants, and the willingness to get your hands dirty.
Two years ago I stood in my new backyard staring at a rectangle of compacted clay and dead grass, convinced I would need a landscaper and a thousand dollars to make it into a garden. I spent forty dollars on compost, seeds, and a trowel, built one small bed, and by August I was eating salads from my own yard every night. This step-by-step guide gives you the exact process I wish I had followed from day one — no overthinking, no expensive equipment, just a clear path from bare dirt to your first harvest.
Quick Facts
| Sun | Full Sun (6-8 hours for most food crops) |
| Difficulty | Complete Beginner |
| Season | Start planning in late winter, plant in spring |
| Zone | Works in all USDA zones 5-9 (adjust timing to zone) |
| Time to Harvest | First harvest in 3-4 weeks (radishes and lettuce) |
What You’ll Need
- Trowel (your most-used tool)
- Watering can or hose with gentle spray nozzle
- Compost (one or two bags for a starter bed)
- Seeds: lettuce, radishes, bush beans (beginner essentials)
- Transplants: 2-3 tomato or pepper starts from garden center
- Mulch (straw or shredded leaves)
- Garden gloves
- Soil thermometer (optional but very helpful)
- Garden journal or notebook
- Sun tracker app or a free afternoon to observe your yard
You do not need everything on this list to start: A trowel, a bag of compost, and a pack of lettuce seeds is enough to begin. Buy tools as you need them, not before. Most gardening equipment sits unused in sheds because people bought it before they knew what they actually needed.
The single best investment is compost: One 40-pound bag of finished compost costs about 5 dollars and transforms any patch of dirt into plantable soil. If you only buy one thing for your new garden, make it compost.
Step 1: Find Your Sun (This Decides Everything)
Before you buy a single seed, spend one day watching the sun move across your yard. Check every 2 hours from morning to evening and note which spots get direct sunlight and for how long. Most vegetables need 6-8 hours of direct sun. Less than 4 hours means you are limited to leafy greens and herbs.
The sunniest spot is your garden spot. South-facing areas get the most sun in the Northern Hemisphere. Near a south-facing wall is even better — the wall radiates warmth and creates a microclimate up to one zone warmer than the rest of your yard. Avoid planting under or near large trees — they may be bare when you plan in March but cast full shade by June.
Step 2: Start Small (This Is the Most Important Step)
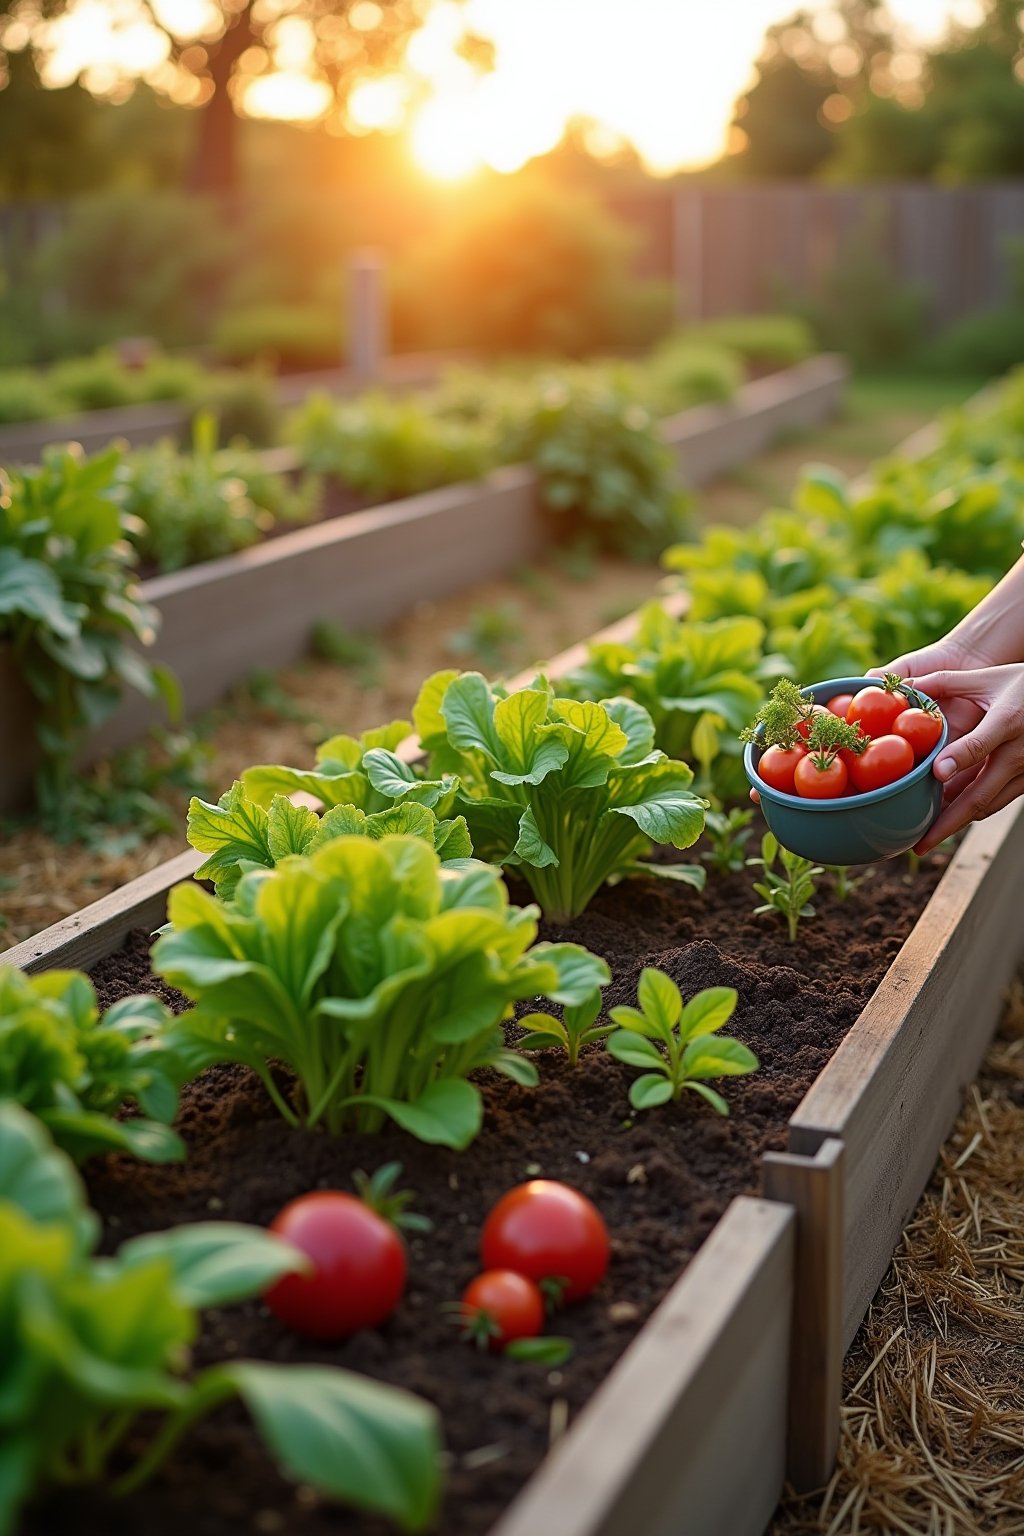
Your first garden should be tiny. A 4×4 foot area, one raised bed, or 3-4 large containers is perfect. Every beginner who starts big ends up overwhelmed by July. Every beginner who starts small ends up expanding because they succeeded and want more.
A 4×4 foot bed gives you enough space for: 2 tomato plants, a row of lettuce, a row of radishes, a basil plant, and a short row of bush beans. That is a complete salad garden plus fresh tomatoes and herbs, all in 16 square feet. If you do not have yard space, 3-4 large pots (10-15 gallons each) on a sunny patio or balcony grow the same crops just as well.
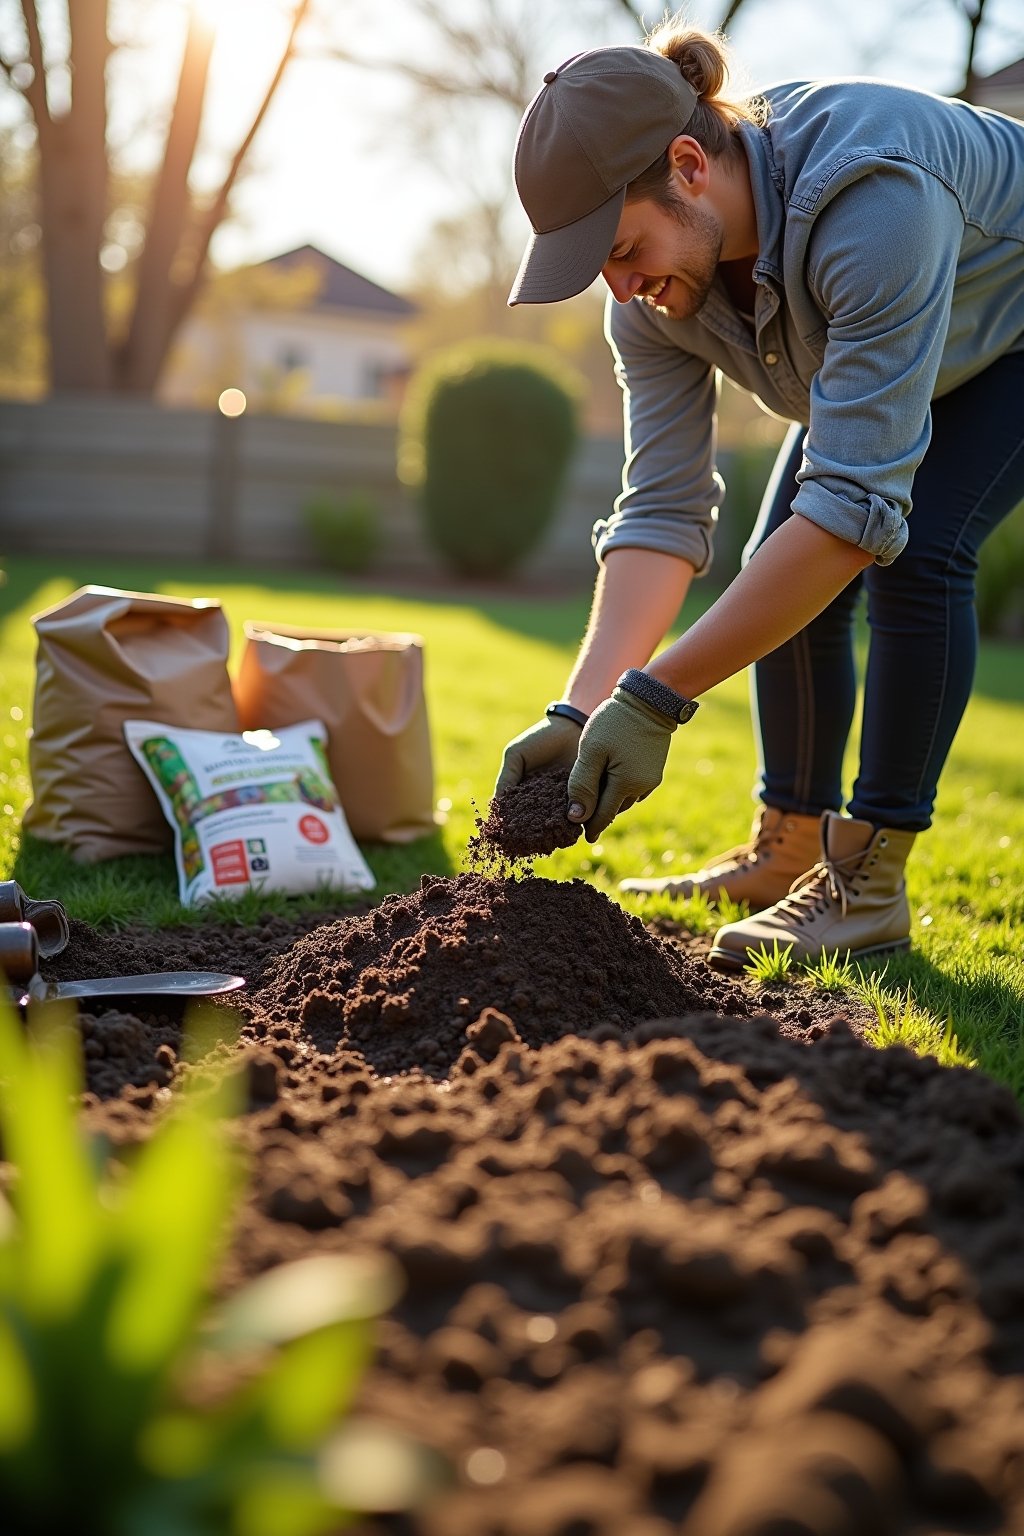
Step 3: Prepare Your Soil in One Afternoon
Good soil is the difference between plants that thrive and plants that struggle. The good news is that any soil can become good soil with compost.
For in-ground beds: Remove any grass or weeds. Spread a 3-4 inch layer of compost over the entire area. Work it into the top 8-12 inches with a garden fork. If your soil is heavy clay, add more compost. If sandy, same — compost improves everything. You do not need to rototill or perfectly smooth the surface. Imperfect is fine.
For containers: Fill with a blend of 2/3 potting mix and 1/3 compost. Do not use garden soil in pots — it compacts and drains poorly. Do not fill pots with gravel at the bottom (it hurts drainage, not helps it). Just good potting mix, compost, and drainage holes.
Step 4: Choose 3-5 Beginner-Friendly Plants
Grow what you eat. This sounds obvious but most beginners choose plants based on what looks interesting in the seed aisle instead of what they actually cook with. If you eat salad every day, grow lettuce. If you love salsa, grow tomatoes and peppers. If nobody in your house eats kale, do not grow kale.
The beginner-friendly starting lineup:
- Lettuce — harvest in 25-30 days, cut-and-come-again, shade tolerant
- Radishes — harvest in 21-30 days, the fastest confidence builder
- Bush beans — harvest in 50-55 days, nearly foolproof
- Cherry tomatoes — harvest in 60-70 days, most productive per plant
- Basil — buy one transplant, harvest leaves all summer
Step 5: Plant According to Your Zone Calendar
Your USDA zone determines when to plant what. Find your zone by entering your zip code on the USDA Plant Hardiness Zone Map.
Zones 5-6 (last frost mid-May): Plant cool-season crops (lettuce, radishes, peas) in April. Plant warm-season crops (tomatoes, beans, squash) in mid to late May after last frost.
Zone 7 (last frost early to mid-April): Cool-season crops go out in March. Warm-season crops in mid to late April. This is one of the most versatile gardening zones in the country.
Zones 8-9 (last frost February to mid-March): You can plant almost everything by April. Cool-season crops went in February-March. Warm-season crops in March-April. Your challenge is summer heat, not late frost.
Step 6: Water, Mulch, and Watch It Grow
After planting, water gently but deeply. Seeds need consistent moisture to germinate — check daily and water if the surface feels dry. Transplants need a deep watering right after planting, then every 2-3 days for the first two weeks while roots establish.
Cover all bare soil with 2-3 inches of mulch (straw, shredded leaves, or grass clippings). This one step cuts your weeding by 90% and your watering by 50%. Keep mulch 1-2 inches away from plant stems.
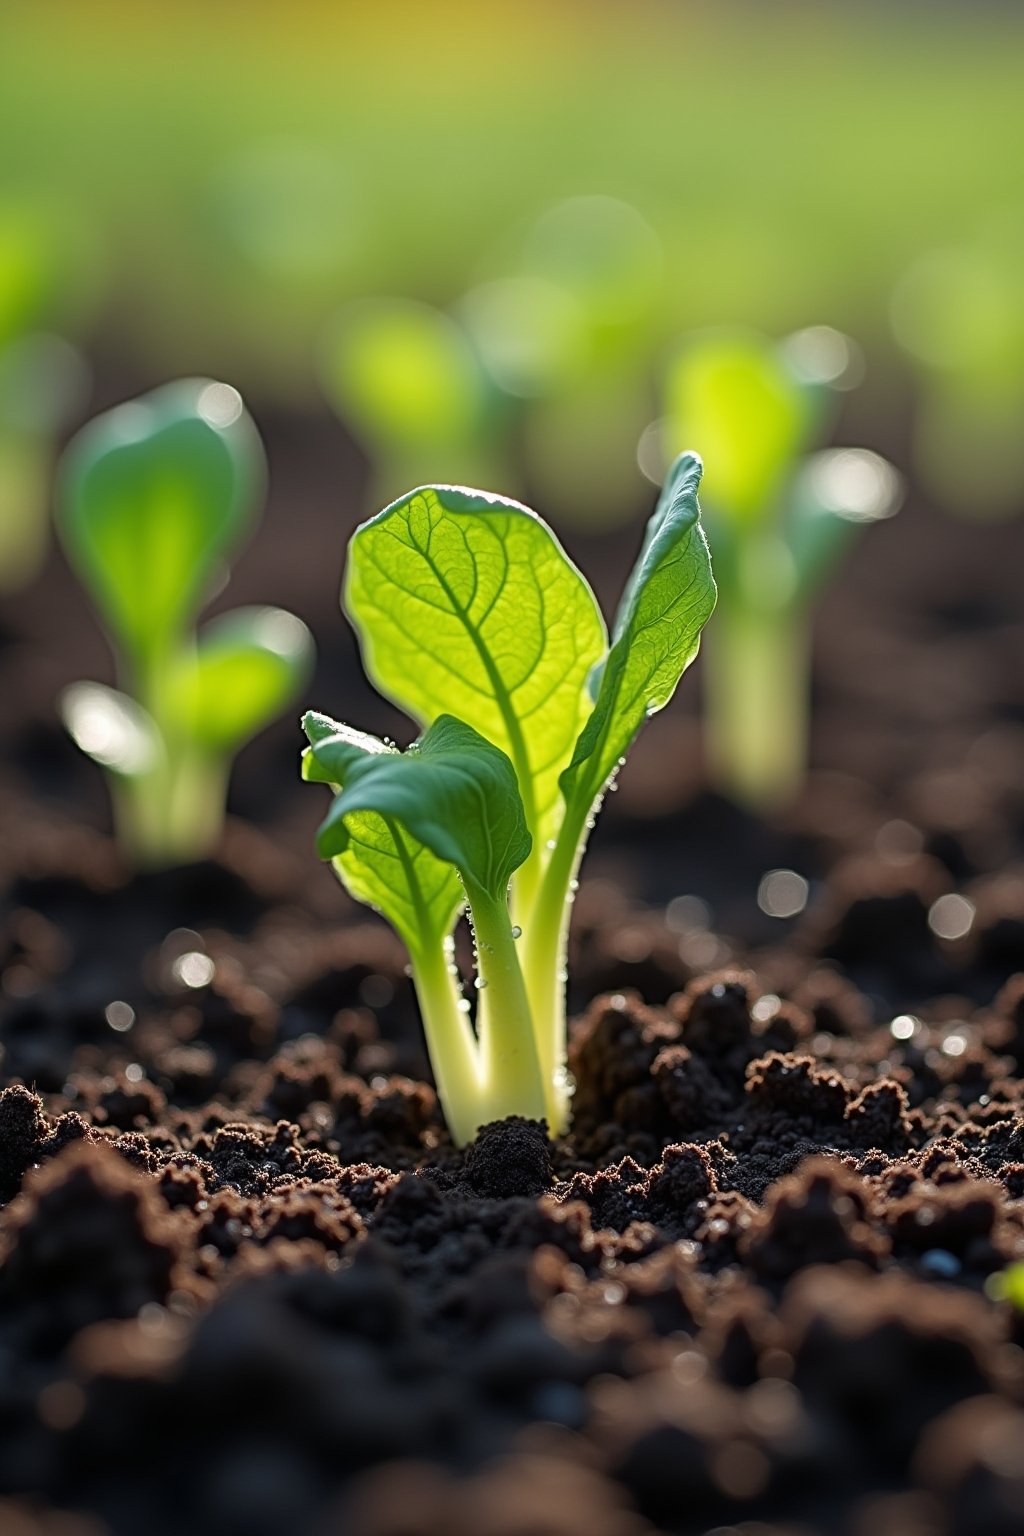
Then stand back and let nature work. Check your garden for 5 minutes every morning — look for dry soil, new sprouts, and any pest damage. Most days, there is nothing to do. Gardening is 90% patience and 10% action. Your first harvest — probably radishes or baby lettuce — will arrive in 3-4 weeks. And it will be the best-tasting food you have ever eaten because you grew it yourself.
Where Things Tend to Slip
Not sure what zone you are in: Search USDA Plant Hardiness Zone Map and enter your zip code. The map divides the US into zones based on average winter minimum temperature. Your zone number determines frost dates and planting windows.
Yard has terrible soil (clay, rocks, sand): Build a raised bed or use containers. You control the soil completely when you build on top of whatever is already there. A raised bed costs 50-100 dollars and lasts 10+ years with cedar.
No yard at all: Containers on a sunny balcony, patio, or even a sunny windowsill. Lettuce, herbs, cherry tomatoes, and peppers all grow in pots. You need sun, not land.
Overwhelmed by information online: Ignore everything except this: put plants in the sun, water when soil is dry, add compost, and be patient. The internet makes gardening seem complicated. It is not. Humans have been growing food for 12,000 years without YouTube tutorials.
What Each Season Brings
Late Winter (January-February): Plan what to grow. Order seeds or note what your local garden center carries. Observe your yard’s sun patterns. Start seeds indoors if you want to.
Early Spring (March-April): Prepare soil. Build or fill raised beds. Plant cool-season crops. In zones 8-9, you can plant warm-season crops now too.
Late Spring (May): After last frost, plant tomatoes, peppers, beans, squash, and herbs outdoors. Mulch everything. Set up watering routine.
Summer (June-August): Water, harvest, and enjoy. Succession sow lettuce and radishes. Fertilize monthly. Take notes on what works. Share surplus with neighbors.
Fall (September-October): Plant a fall crop of cool-season vegetables. Add compost to beds. Reflect on what worked and plan next year’s expansion.
Stuff Most Skip
- Watch the sun before you buy anything — spend one afternoon mapping where sunlight falls in your yard. This free step prevents the costly mistake of planting in a spot that only gets 3 hours of sun.
- Start with one 4×4 bed or 3-4 large pots — you can always expand next year. A tiny successful garden builds confidence and skills. A huge failing garden kills motivation.
- Compost is the answer to almost every soil problem — clay soil, sandy soil, poor nutrients, low biology. One bag of compost and one afternoon of work transforms any patch of ground into a productive garden bed.
- Grow what you eat, not what looks cool — if salads are a daily habit, start with lettuce and tomatoes. If you cook Mexican food, grow peppers, cilantro, and onions. Connect your garden to your kitchen.
- The first 3 weeks are the hardest — waiting for seeds to germinate tests every beginner’s patience. This is normal. Once you see those first green sprouts breaking through the soil, everything clicks.
- Talk to a neighbor who gardens — local knowledge beats internet advice every time. A gardener on your block knows exactly when to plant in your microclimate, which varieties succeed, and where to buy the best transplants.
- How to Start a Vegetable Garden From Scratch (Even If You Have Never Grown Anything)
- How to Prepare Your Garden Soil for Spring Planting (Step-by-Step)
- Container Gardening for Beginners: Everything You Need to Know
What People Wonder
How much does it cost to start a garden from scratch?
You can start for under 50 dollars. A few packs of seeds cost 2-3 dollars each. A bag of compost is 5-8 dollars. A trowel is 5-10 dollars. If you start with containers you already own (5-gallon buckets with drainage holes drilled in the bottom work perfectly), the cost drops even further.
What is the best time of year to start a garden?
Spring is ideal for most beginners. In zones 5-6, start cool-season crops in April and warm-season crops in May. In zones 7-9, you can start in March or even February. But you can start a garden any time during the growing season — fast crops like radishes and lettuce can be planted well into summer and again in fall.
Do I need a yard to grow a garden?
No. A sunny balcony, patio, front stoop, or even a bright windowsill can become a garden. Cherry tomatoes, lettuce, herbs, peppers, and bush beans all grow beautifully in containers. All you need is 6 or more hours of direct sunlight and pots with drainage holes.
What tools do I need to start a garden?
A hand trowel, a watering can, and garden gloves are the absolute essentials. A soil thermometer and garden fork are helpful additions. You do not need a rototiller, raised bed kit, or expensive tool set. Buy additional tools only as you discover you need them.
How much time does a garden take to maintain?
A small starter garden (4×4 feet or a few containers) needs about 15-20 minutes per day for watering and checking on plants. Weekly tasks like weeding and harvesting add another 30 minutes. If you mulch well, weeding is nearly eliminated. Gardening is far less time-consuming than most beginners expect.
What if my first garden fails?
Every experienced gardener has had failures. The difference is they tried again the next season with better information. If something fails, note what happened and adjust. Did it get enough sun? Was the soil prepared? Was it planted at the right time? Most first-garden problems come down to one of these three things, all of which are easy to fix.