I built my first raised bed from a Pinterest tutorial that looked gorgeous in the photos. Six weeks later the untreated pine was warping, the soil had sunk four inches, and my tomatoes were drowning because there was no drainage. The bed looked pretty but it did not actually work for growing food.
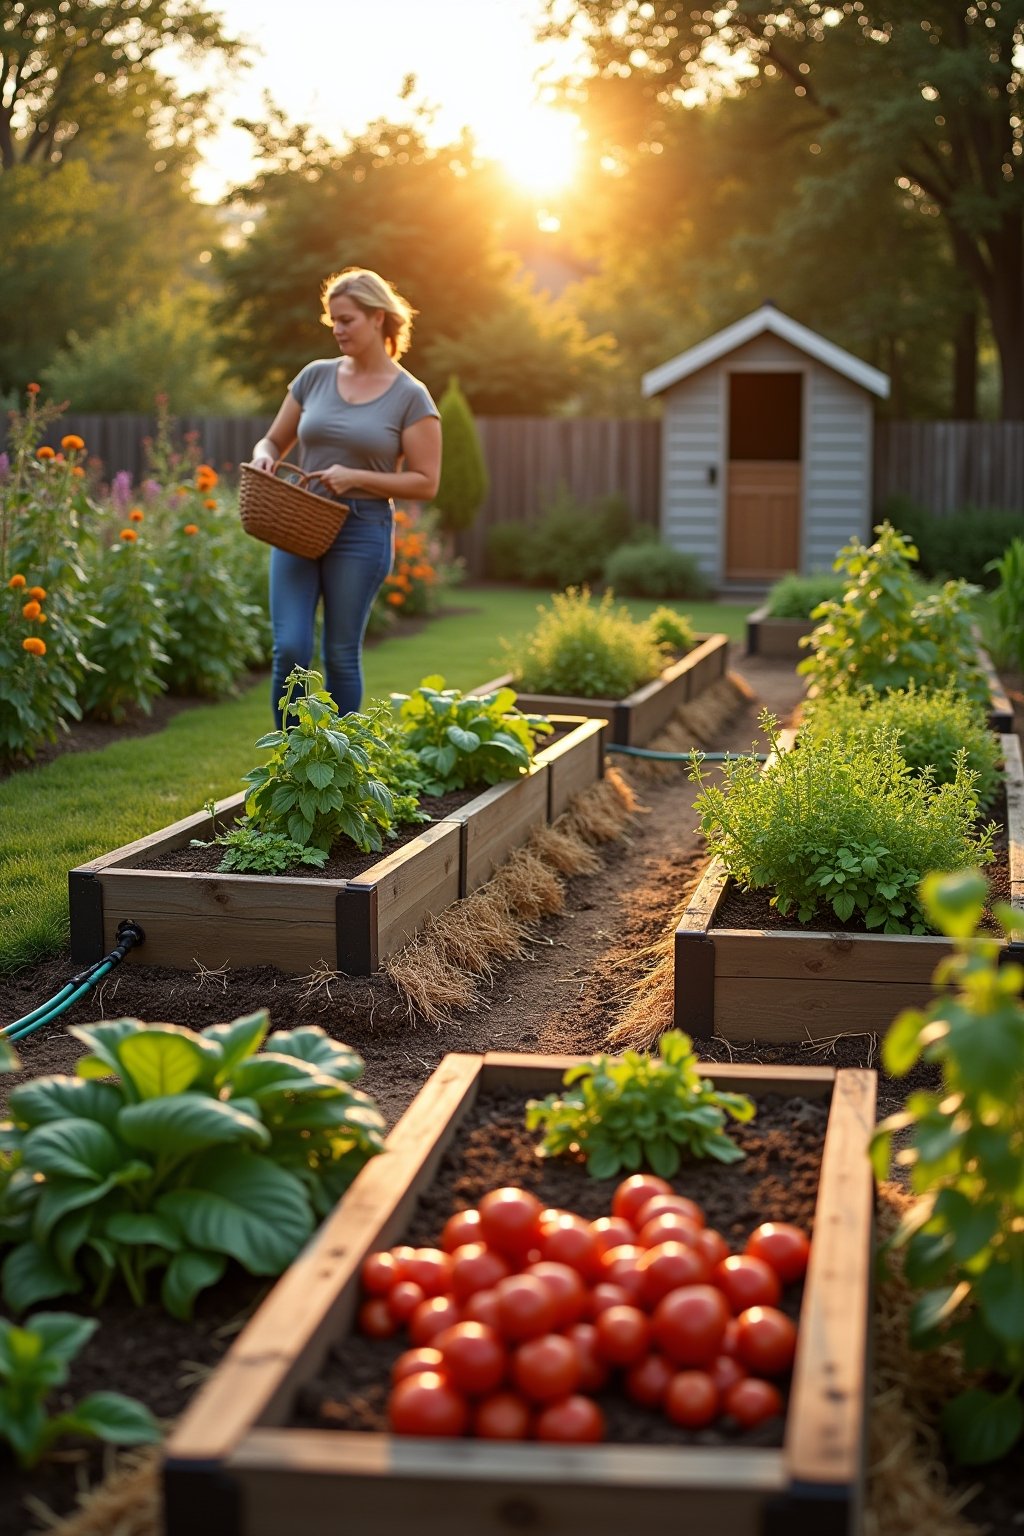
After rebuilding and learning from every mistake, I now build raised beds that are still producing five years later. The difference between a raised bed that looks good on social media and one that actually grows food comes down to five decisions: material, depth, soil mix, placement, and drainage. Get these right and your bed will outperform anything growing in the ground. Get them wrong and you will be rebuilding next year.
Quick Facts
| Sun | Full Sun (6-8 hours for vegetables) |
| Difficulty | Beginner |
| Season | Build any time, plant in spring (zones 5-9) |
| Zone | Works in all USDA zones — soil warms faster than in-ground |
| Time to Harvest | Depends on crops; beds are ready to plant immediately |
What You’ll Need
- Untreated cedar, redwood, or 2-inch thick Douglas fir boards
- Galvanized or stainless steel screws (not nails)
- Weed barrier landscape fabric (not plastic sheeting)
- 40% topsoil, 40% compost, 20% coarse sand or perlite
- Soil thermometer
- Level and tape measure
- Drill or impact driver
- Cardboard (free weed suppression for the bottom layer)
- Mulch (straw or shredded leaves for the surface)
- Watering system (soaker hose or drip line recommended)
Cedar is worth the extra cost: Cedar naturally resists rot and insects for 10-15 years without any chemical treatment. Pine is cheaper but rots in 2-3 years even with raised beds. Pressure-treated lumber is safe for modern raised beds (the old arsenic-treated CCA wood was banned in 2003) but cedar and redwood are still the gold standard for food-growing beds.
The 40-40-20 soil mix is everything: The biggest mistake beginners make is filling beds with pure topsoil (too heavy, poor drainage) or pure compost (too rich, holds too much water). The blend of 40% topsoil, 40% compost, and 20% sand or perlite gives you perfect drainage, fertility, and structure. For a 4×8 foot bed that is 12 inches deep, you need approximately 32 cubic feet of soil mix.
Step 1: Choose the Right Size and Depth
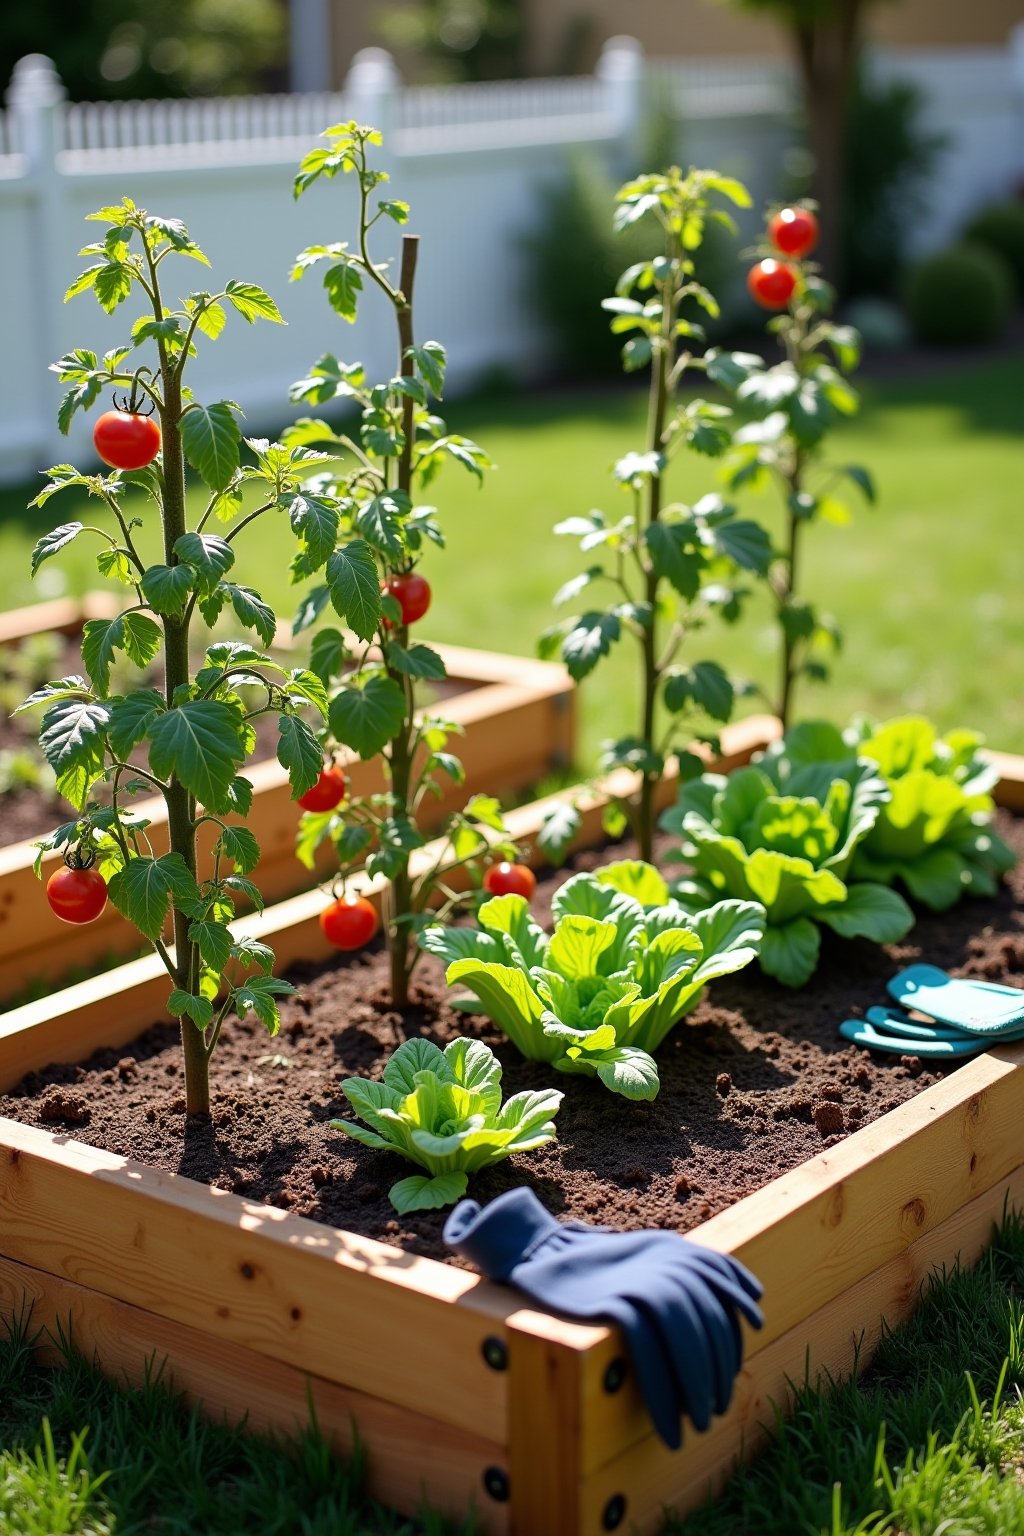
The ideal raised bed is 4 feet wide, 8 feet long, and 12 inches deep. Four feet wide lets you reach the center from either side without stepping into the bed — compacting the soil defeats the entire purpose of raised beds. Twelve inches deep is enough for 90% of vegetables including tomatoes, peppers, and root crops.
If you are gardening on a patio, driveway, or over concrete, go with 18-24 inches deep to give roots enough room without any ground contact. For lettuce, herbs, and shallow-rooted crops, even 6-8 inches works. The deeper the bed, the more soil you need and the more it costs, so match depth to what you plan to grow.
Step 2: Pick the Right Material (This Is Where Most Beds Fail)
Cedar or redwood are the best choices for longevity. They naturally contain oils that resist rot and insects. A cedar raised bed lasts 10-15 years. Douglas fir or untreated pine are budget options but plan on 2-4 years before replacement. Galvanized steel beds last 20+ years, heat up faster in spring (good for zones 5-6), and look clean and modern.
Avoid these materials: Railroad ties (creosote is toxic), old pallets (often treated with harmful chemicals), thin landscape timber (warps and splits within a year), and cinder blocks with fly ash (can leach heavy metals). If you use any recycled wood, check for a stamp — only HT (heat-treated) pallets are safe. MB (methyl bromide) pallets are not safe for food gardens.
Step 3: Prepare the Site and Build the Frame
Choose a spot with 6-8 hours of direct sunlight and relatively level ground. If the ground slopes, level the area first or build the downhill side taller. Place the bed where you can easily reach it with a hose.
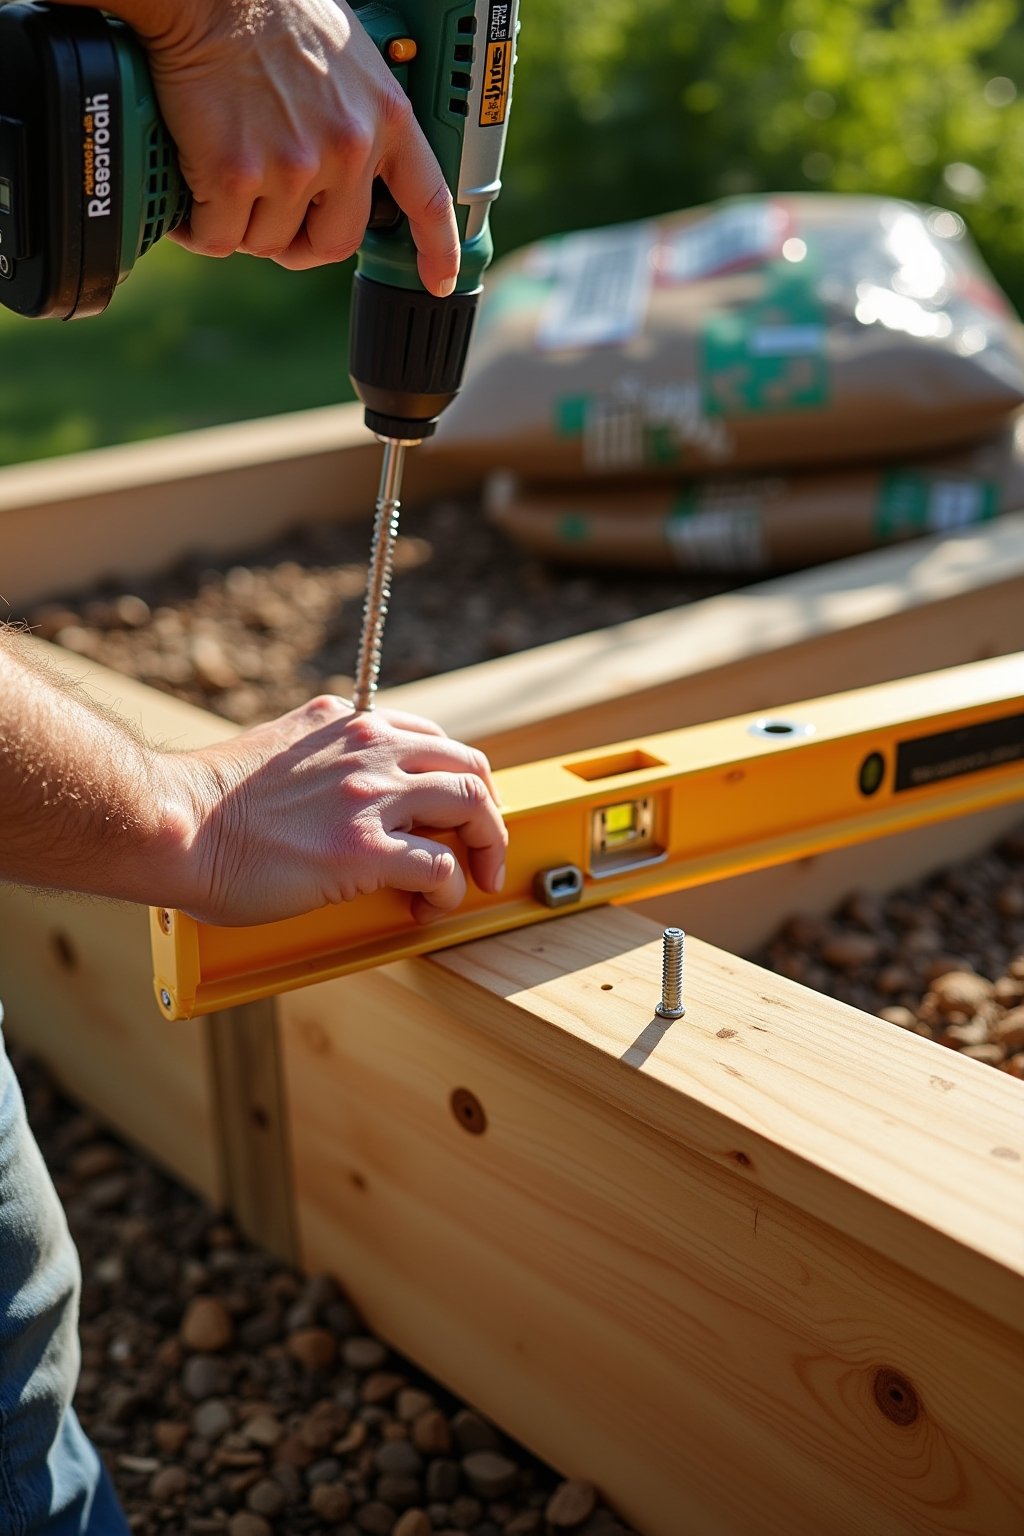
Lay cardboard on the ground inside the bed footprint before building. This free weed barrier smothers grass and weeds, then decomposes within a season as worms break it down. Remove any tape or stickers from the cardboard. Assemble the frame using galvanized screws — nails pull out as wood expands and contracts with moisture. For beds longer than 8 feet, add a center support brace to prevent the sides from bowing outward under soil pressure.
Step 4: Fill With the Right Soil Mix
This is the single most important step and where most beginners go wrong. Use the 40-40-20 blend: 40% topsoil, 40% finished compost, 20% coarse sand or perlite. Never use pure garden soil (too heavy and compacts), pure compost (too rich and waterlogged), or cheap fill dirt (no nutrients).
For a standard 4×8 foot bed at 12 inches deep, you need about 32 cubic feet of soil mix. Buying in bulk from a landscape supply yard is 3-4 times cheaper than buying bags from a garden center. Fill the bed to the very top — soil settles 10-20% in the first few weeks. Water the filled bed deeply and let it settle for 2-3 days before planting. Top off with more mix if needed.
Step 5: Install Watering and Plant
A soaker hose or drip irrigation line is the best investment for raised beds. Lay it in a serpentine pattern across the bed, connect to a timer, and you never have to think about watering again. Raised beds dry out faster than in-ground gardens because they are exposed on all sides, and consistent moisture is the difference between a great harvest and a mediocre one.
After planting, cover the soil surface with 2-3 inches of straw or shredded leaf mulch. Mulch retains moisture, suppresses weeds, and keeps the soil temperature stable. In zones 5-6, raised beds warm up 2-3 weeks earlier than in-ground plots in spring, giving you a head start on the growing season. In zones 8-9, mulch is even more critical to keep roots cool in summer heat.
Where I Look First
Soil sinking after filling: This is normal. All raised bed soil settles 10-20% in the first season as it compresses and organic matter breaks down. Top off with fresh compost in fall and again in spring each year. After 2-3 years the settling stabilizes.
Wood rotting faster than expected: The wood is either untreated pine or is in constant contact with wet soil without any air circulation. Line the inside of wood frames with heavy-duty plastic sheeting (with drainage holes at the bottom) to reduce wood-soil contact. Or upgrade to cedar for the next build.
Soil drying out too quickly: Raised beds drain fast, especially in hot weather. Add mulch, install drip irrigation, and increase watering frequency. Mixing water-retaining compost into the soil also helps. Deep beds (12+ inches) hold moisture longer than shallow ones.
Plants growing poorly despite good soil: Check sun exposure. Many new gardeners overestimate how much sun their bed gets. Track it with a sun calculator app or simply check every 2 hours throughout one day. Trees that were bare when you built the bed in March may cast full shade by June.
When to Do What
Late Winter / Early Spring: Build the frame and fill with soil 2-4 weeks before planting. This gives soil time to settle and warm up. Run the drainage test: fill one corner with water and watch it drain. Water should disappear within an hour.
Spring (Planting): Raised bed soil warms 2-3 weeks ahead of in-ground soil, giving zones 5-6 gardeners a significant head start. Plant cool-season crops in early spring, warm-season crops after last frost. Install irrigation before planting.
Summer (Maintaining): Water more frequently than in-ground beds. Side dress with compost or fertilize monthly. Keep mulch topped up. Harvest regularly to encourage continued production.
Fall / Winter: After the last harvest, add a 2-inch layer of compost on top. Do not turn it in — let worms and winter freeze-thaw cycles work it into the soil naturally. Cover beds with leaves or straw for the winter to protect soil life.
Things I Always Do Now
- Never step inside a raised bed — the whole point is uncompacted, fluffy soil that roots can penetrate easily. Once you step in, you compress the soil structure that took months to develop. Four feet wide is the maximum that lets you reach the center from either side.
- The 40-40-20 soil mix is non-negotiable — 40% topsoil for structure, 40% compost for nutrients and biology, 20% sand or perlite for drainage. This blend consistently outperforms pure compost, pure topsoil, or bagged raised bed mix from big box stores.
- Raised beds warm up 2-3 weeks earlier than ground plots — this is a huge advantage in zones 5-6 where the growing season is short. You can plant cool-season crops in early April while your neighbors in-ground beds are still frozen.
- Buy soil in bulk from a landscape supply yard — filling a 4×8 bed with bags from the garden center costs 3-4 times more than a bulk delivery. Most yards deliver for a flat fee and 32 cubic feet (one 4x8x1 bed) is a standard small delivery.
- Cardboard is free weed suppression — lay it flat on the ground before filling the bed. It blocks all weeds for one season while it decomposes, then turns into organic matter that feeds worms. Newspaper (8-10 sheets thick) works too.
- Add compost every fall and spring — raised beds deplete faster than in-ground gardens because the soil volume is limited. A 2-inch layer of compost twice a year replaces what your plants consumed and keeps the soil alive and productive.
- The Complete Guide to Raised Bed Vegetable Gardening
- How to Build a Raised Bed Vegetable Garden for Under $100
- DIY Drip Irrigation for Raised Beds: The Complete Setup Guide
What Comes Up
How deep should a raised garden bed be?
Twelve inches is ideal for most vegetables including tomatoes, peppers, and root crops. Six to eight inches works for lettuce, herbs, and shallow-rooted plants. If building on concrete or a patio with no ground contact, go 18-24 inches deep so roots have enough room. Deeper beds cost more to fill but give better results.
What is the best soil mix for raised beds?
The ideal mix is 40% topsoil, 40% finished compost, and 20% coarse sand or perlite. This blend provides structure, fertility, drainage, and moisture retention in the right balance. Avoid filling beds with pure garden soil (compacts and drains poorly), pure compost (too rich and waterlogged), or cheap fill dirt (no nutrients).
Is cedar or pine better for raised beds?
Cedar is significantly better for longevity. Cedar naturally resists rot and insects for 10-15 years without any treatment. Untreated pine rots in 2-4 years depending on your climate. Cedar costs more upfront but saves money long-term because you are not rebuilding every few years.
How much does it cost to build and fill a raised bed?
A basic 4×8 foot cedar raised bed costs roughly 80 to 150 dollars for lumber and hardware. Filling it with bulk soil mix costs another 50 to 100 dollars. Total cost is approximately 130 to 250 dollars depending on material quality and local soil prices. Pine builds are 40-60% cheaper but need replacing sooner.
Do I need to line the bottom of a raised bed?
You do not need a liner if the bed sits on soil ground. Lay cardboard on the bottom to suppress weeds — it decomposes naturally within a season. If your bed sits on concrete or you have burrowing pests like gophers, use hardware cloth on the bottom. Avoid solid plastic liners that prevent drainage.
How often do I need to add soil to raised beds?
Add a 2-inch layer of compost in fall and again in spring each year. Raised bed soil settles 10-20% in the first season and continues to deplete as plants consume nutrients. Annual compost additions replace what was used and maintain the soil biology that makes raised beds so productive.