Hugelkultur is the lazy gardener’s dream — and one of the smartest things you can do with fallen branches, old logs, and yard waste that would otherwise go to the landfill. This centuries-old German technique buries wood under soil to create raised beds that water themselves, feed themselves, and get more fertile every year as the wood slowly decomposes.
If you have ever struggled with poor soil, high water bills, or beds that dry out in summer heat, hugelkultur solves all three problems at once. The buried wood acts like a giant sponge, absorbing rainwater and releasing it slowly to plant roots during dry spells. As the wood breaks down, it generates heat (extending your growing season) and feeds a thriving ecosystem of beneficial fungi and organisms that supercharge plant growth. Best of all, you can build one in a weekend with materials you probably already have.
Quick Facts
| Sun | Full Sun to Partial Shade |
| Difficulty | Intermediate |
| Season | Build in fall or early spring |
| Zone | All USDA Zones |
| Time to Harvest | Plant immediately after building — improves each year |
What You’ll Want On Hand
- Logs and large branches (hardwood preferred — oak, maple, birch)
- Smaller branches and twigs
- Leaves, straw, or grass clippings
- Compost or aged manure
- Garden soil or topsoil
- Cardboard or newspaper (for base layer)
- Shovel and garden fork
- Wheelbarrow
- Hose or watering can (for initial soaking)
- Seeds or transplants for planting
Wood choice matters: Use hardwood logs and branches — oak, maple, birch, and apple decompose slowly and last 5-10 years. Avoid black walnut (toxic to many plants), cedar and redwood (rot-resistant, defeats the purpose), and pressure-treated wood (chemicals leach into soil).
Partially rotted wood is ideal: Logs that have been sitting in a woodpile for a year or two are perfect. They are already colonized by fungi and will break down faster than fresh-cut wood. Fresh wood works too but the bed takes longer to hit peak fertility.
Size: A typical hugelkultur bed is 3-6 feet wide and any length you want. Height ranges from 2-6 feet depending on how much wood you have. Taller beds retain more moisture and generate more heat but are harder to build.
Step 1: Choose Your Location and Dig the Base
Pick a spot that gets at least 6 hours of direct sunlight. Orient the bed north-to-south so both sides get equal sun exposure. Mark out your bed dimensions — 3-4 feet wide is ideal for reaching the center from either side.
Dig a shallow trench about 12 inches deep along the length of your bed. Set the excavated soil aside — you will use it later as a top layer. If your soil is very compacted, use a garden fork to loosen the bottom of the trench. This helps roots and water penetrate deeper. Lay cardboard in the trench bottom to suppress any grass or weeds underneath.
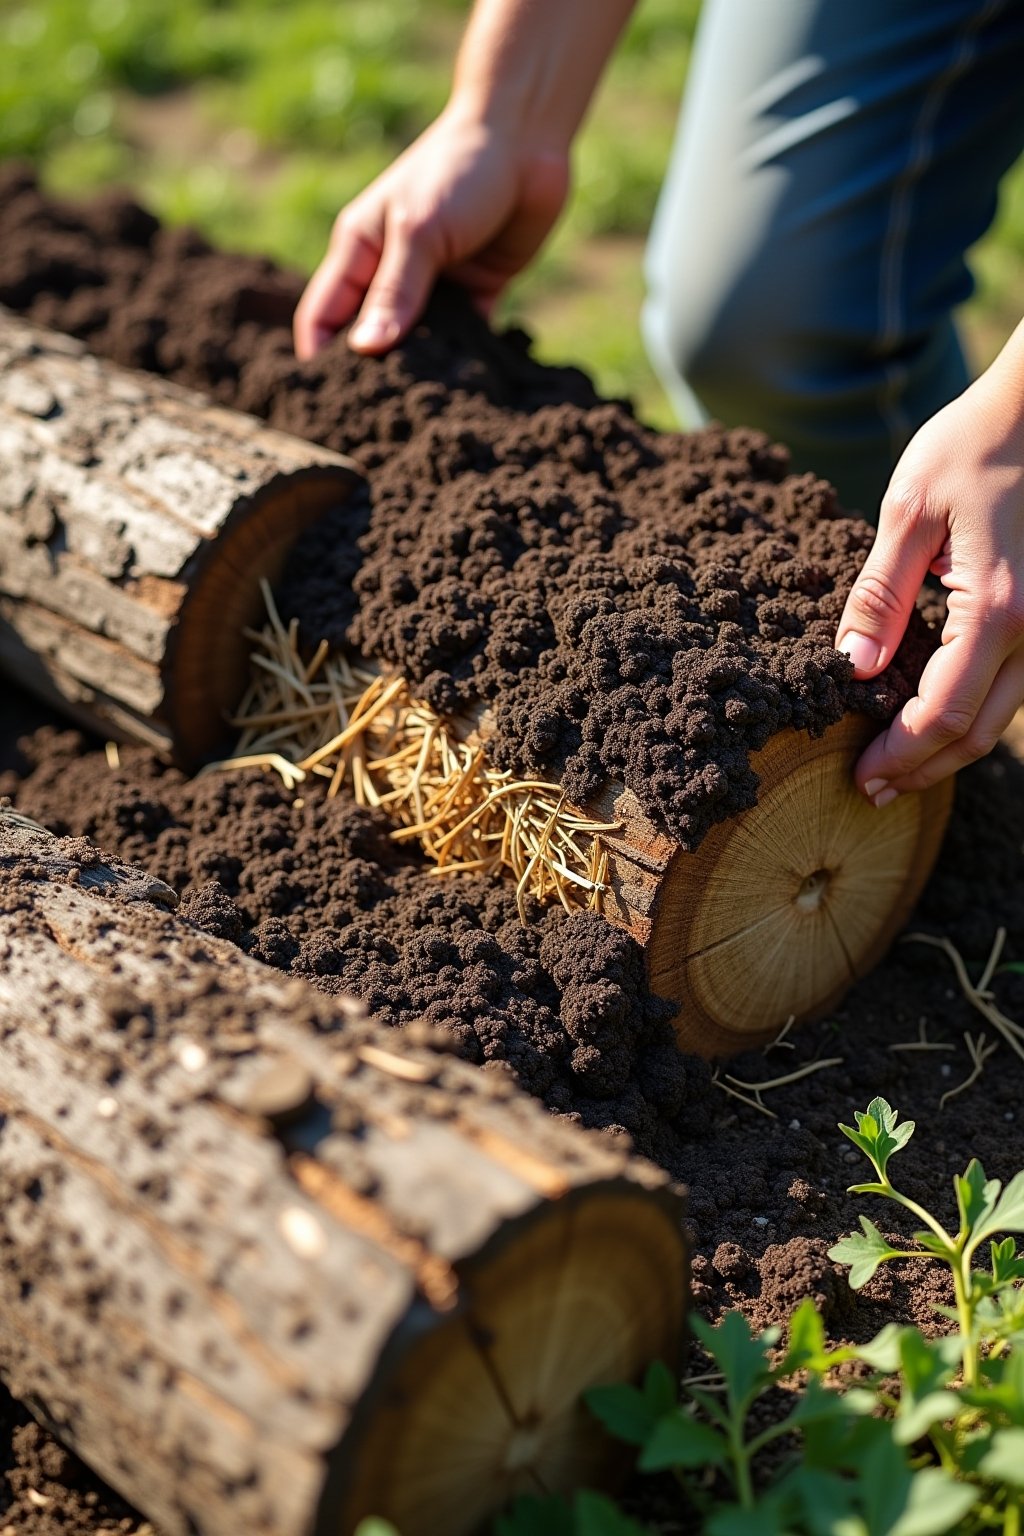
Step 2: Stack the Largest Logs First
Place your largest logs and branches in the trench, creating the core of the mound. Stack them lengthwise along the bed, packing them as tightly as possible. The bigger the wood, the longer the bed will produce moisture and nutrients — thick logs can decompose slowly for 10-20 years.
Soak the logs thoroughly with a hose before covering them. Dry wood will actually pull moisture from the surrounding soil initially, so saturating it now prevents a temporary drought zone in your new bed. Spray the logs for several minutes until water stops being absorbed immediately.
Step 3: Layer Smaller Branches and Organic Matter
On top of the large logs, pile smaller branches, twigs, and brush. These fill the gaps between logs and create air pockets that beneficial organisms love. Pack them down by walking on the pile if needed.
Next, add a thick layer of leaves, straw, or grass clippings. This is your nitrogen-rich layer that jump-starts decomposition. If you have kitchen scraps, coffee grounds, or aged manure, add those here too. The goal is to alternate carbon-heavy layers (wood, straw) with nitrogen-rich layers (grass, manure) — just like building a compost pile.
Step 4: Add Compost and Soil Layers
Spread a 2-3 inch layer of compost over the organic matter. This introduces the microorganisms that will colonize the wood and begin the decomposition process. Good compost is the engine that drives the whole system.
Top everything with 4-6 inches of garden soil — use the soil you dug from the trench plus additional topsoil if needed. The finished mound should look like a raised bed with a dome shape. The dome is intentional — it maximizes planting surface area and helps water run toward the core where the wood can absorb it.
Step 5: Water Deeply and Let It Settle
Give the entire mound a deep, thorough soaking. You want water to penetrate all the way down to the log core. Water slowly with a hose for 15-20 minutes, letting it soak in rather than running off the sides.
The mound will settle significantly over the first few weeks as organic matter compresses and gaps fill with soil. This is normal — add more soil or compost on top as needed. If you build in fall, the bed will settle over winter and be perfectly ready for spring planting.
Step 6: Plant and Mulch
You can plant immediately after building. In the first year, plant heavy feeders like squash, pumpkins, cucumbers, and tomatoes on top — the decomposing wood generates heat and nitrogen that these plants love. Plant herbs, lettuce, and root vegetables on the sides where the soil is cooler.
Mulch the surface with straw or leaves to retain moisture and prevent erosion on the slopes. By year 2-3, the bed will be incredibly fertile as the wood breaks down into rich humus. You will notice you need to water much less than conventional beds — the wood core holds moisture like a reservoir and releases it slowly to roots.
The First Things to Check
Plants yellowing in year one: Fresh wood temporarily locks up nitrogen as it begins decomposing. This is normal and resolves by year two. Compensate by adding extra compost or a nitrogen-rich fertilizer (blood meal, fish emulsion) in the first season.
Bed sinking unevenly: As different-sized logs decompose at different rates, the surface can become uneven. Add compost and soil to fill low spots each spring. This is a feature, not a bug — the sinking means the wood is doing its job.
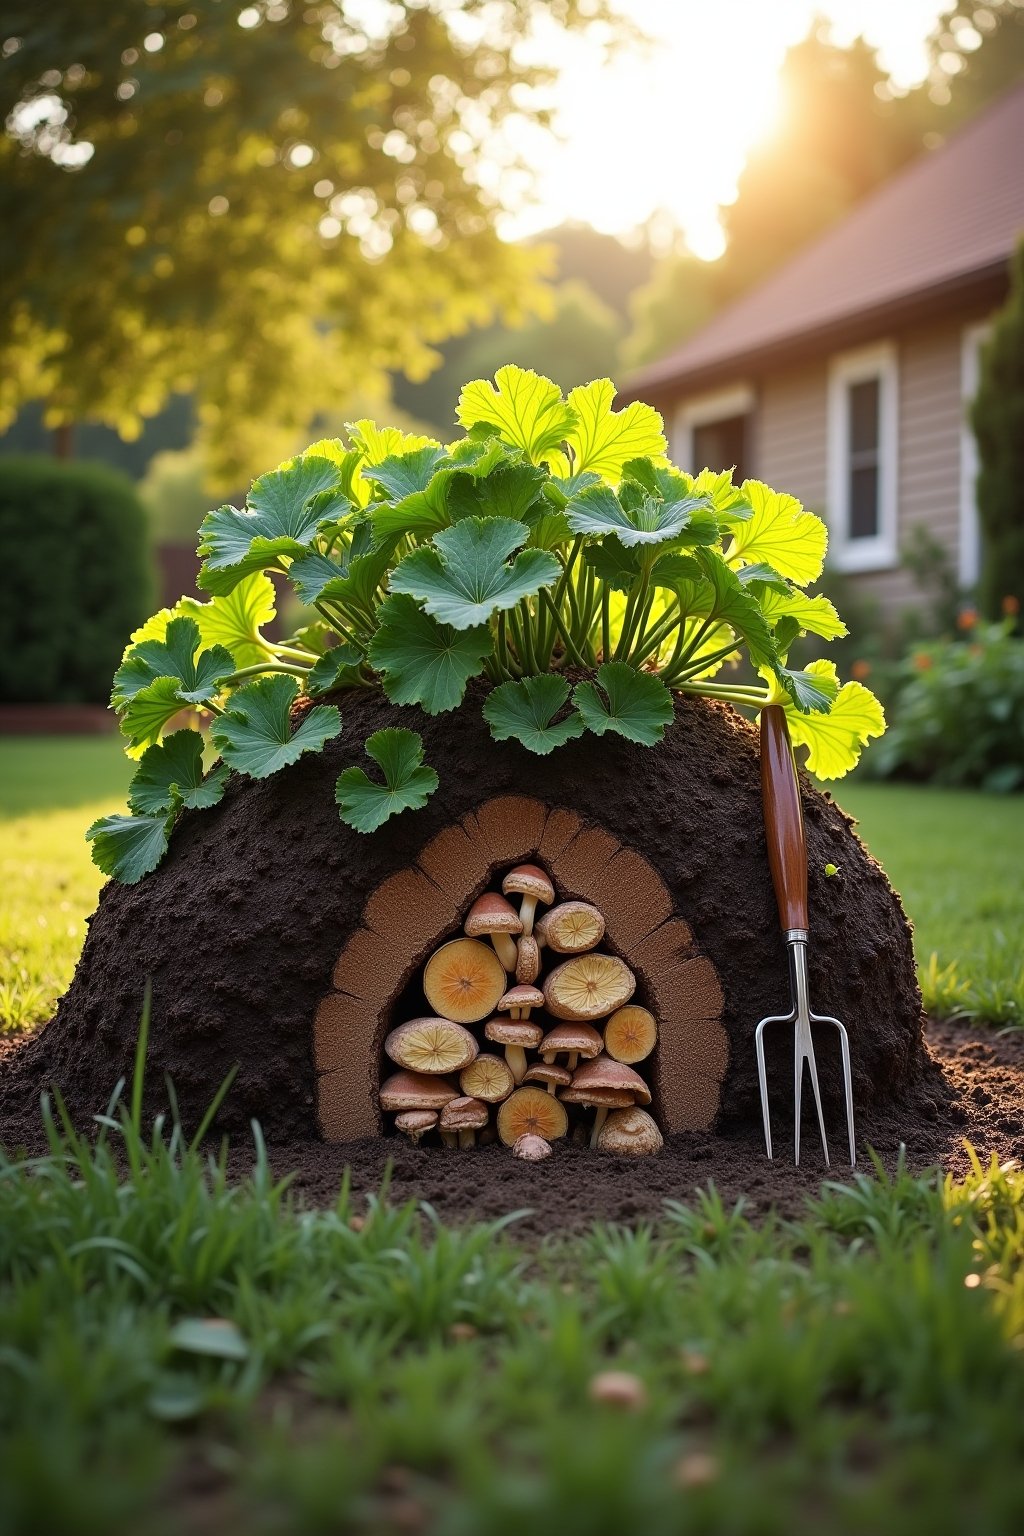
Mushrooms growing on the bed: This is excellent news. Mushrooms are the fruiting bodies of beneficial fungi that are decomposing the wood and making nutrients available to your plants. They are a sign of a healthy, active hugelkultur system.
Bed too hot for cool-season crops: The decomposition process generates heat, especially in year one. Plant heat-loving crops on top (tomatoes, squash) and cool-season crops (lettuce, spinach) on the shaded north side or on the lower edges of the mound.
Calendar Notes
Fall (Best Time to Build): Build your hugelkultur bed in fall using freshly fallen leaves and branches. The bed settles and begins decomposing over winter, and it is ready for planting in spring with no waiting period.
Early Spring: Second-best building time. Build as soon as the ground thaws. Plant immediately with heavy feeders and add extra nitrogen to compensate for fresh wood.
Summer: Not ideal for building (hot and dry), but perfect for maintaining existing beds. Top-dress with compost, mulch heavily, and enjoy the fact that your hugelkultur bed needs far less watering than conventional beds.
Winter: The bed continues decomposing underground, even in frozen soil. The wood core generates gentle heat that can extend your growing season by weeks in spring and fall.
Other Things to Try
- Hardwood lasts longer than softwood — oak and maple logs can feed your bed for 10-20 years. Softwoods like pine decompose in 3-5 years. Use a mix of both for continuous nutrient release.
- Soak logs before burying — dry wood steals moisture from surrounding soil in year one. Pre-soaking prevents this temporary drought effect and gives your plants a better start.
- Build taller than you think — a 4-foot mound settles to 2 feet within a year. Overbuilding ensures your raised bed stays elevated enough for good drainage and easy harvesting.
- Plant squash and pumpkins on top in year one — their vigorous growth and heavy feeding match the high nitrogen and heat output of fresh decomposing wood perfectly.
- Add compost tea monthly in the first year — this inoculates the wood with beneficial microorganisms that speed decomposition and unlock nutrients faster.
- Never use treated or painted wood — chemicals from pressure-treated lumber, railroad ties, and painted wood leach into the soil and contaminate your food garden.

Related Topics
- The Complete Guide to Raised Bed Vegetable Gardening
- Natural Weed Control Methods That Actually Work
Quick Answers
How long does a hugelkultur bed last?
A well-built hugelkultur bed with hardwood logs lasts 10-20 years, improving in fertility each year as the wood decomposes into rich humus. Softwood beds last 3-5 years. The bed gets better with age — years 3-7 are typically the most productive as decomposition peaks.
Can I use any type of wood for hugelkultur?
Most wood works well, but avoid black walnut (contains juglone which is toxic to many plants), cedar and redwood (too rot-resistant to decompose effectively), and any pressure-treated or painted wood. Hardwoods like oak, maple, and birch are ideal. Fruit tree prunings work great too.
Do I need to water a hugelkultur bed?
Much less than a conventional garden bed. The buried wood acts as a sponge, absorbing rainwater and releasing it slowly. After the first year, many hugelkultur beds need little to no supplemental watering except during extended droughts. The first year requires more watering as the wood fully saturates.
Will the decomposing wood attract termites?
Hugelkultur beds do attract wood-decomposing organisms including some beetles and fungi, but termites are rarely an issue in garden beds. Keep the bed at least 10-15 feet from your house foundation as a precaution. The wood is buried and wet — not the dry conditions termites prefer.
Can I build a hugelkultur bed on top of concrete or pavement?
Yes, you can build directly on any surface without digging a trench. Simply start stacking logs right on the ground, add your layers, and cover with soil. The bed will be taller since you are not digging in, but it works the same way. This is a great option for urban gardens and patios.
What should I plant in the first year?
Plant heavy feeders that love warmth and nitrogen: squash, pumpkins, cucumbers, zucchini, and tomatoes. Avoid root vegetables in year one — the uneven decomposition can produce forked carrots and misshapen potatoes. By year two, the bed is suitable for everything including root crops.