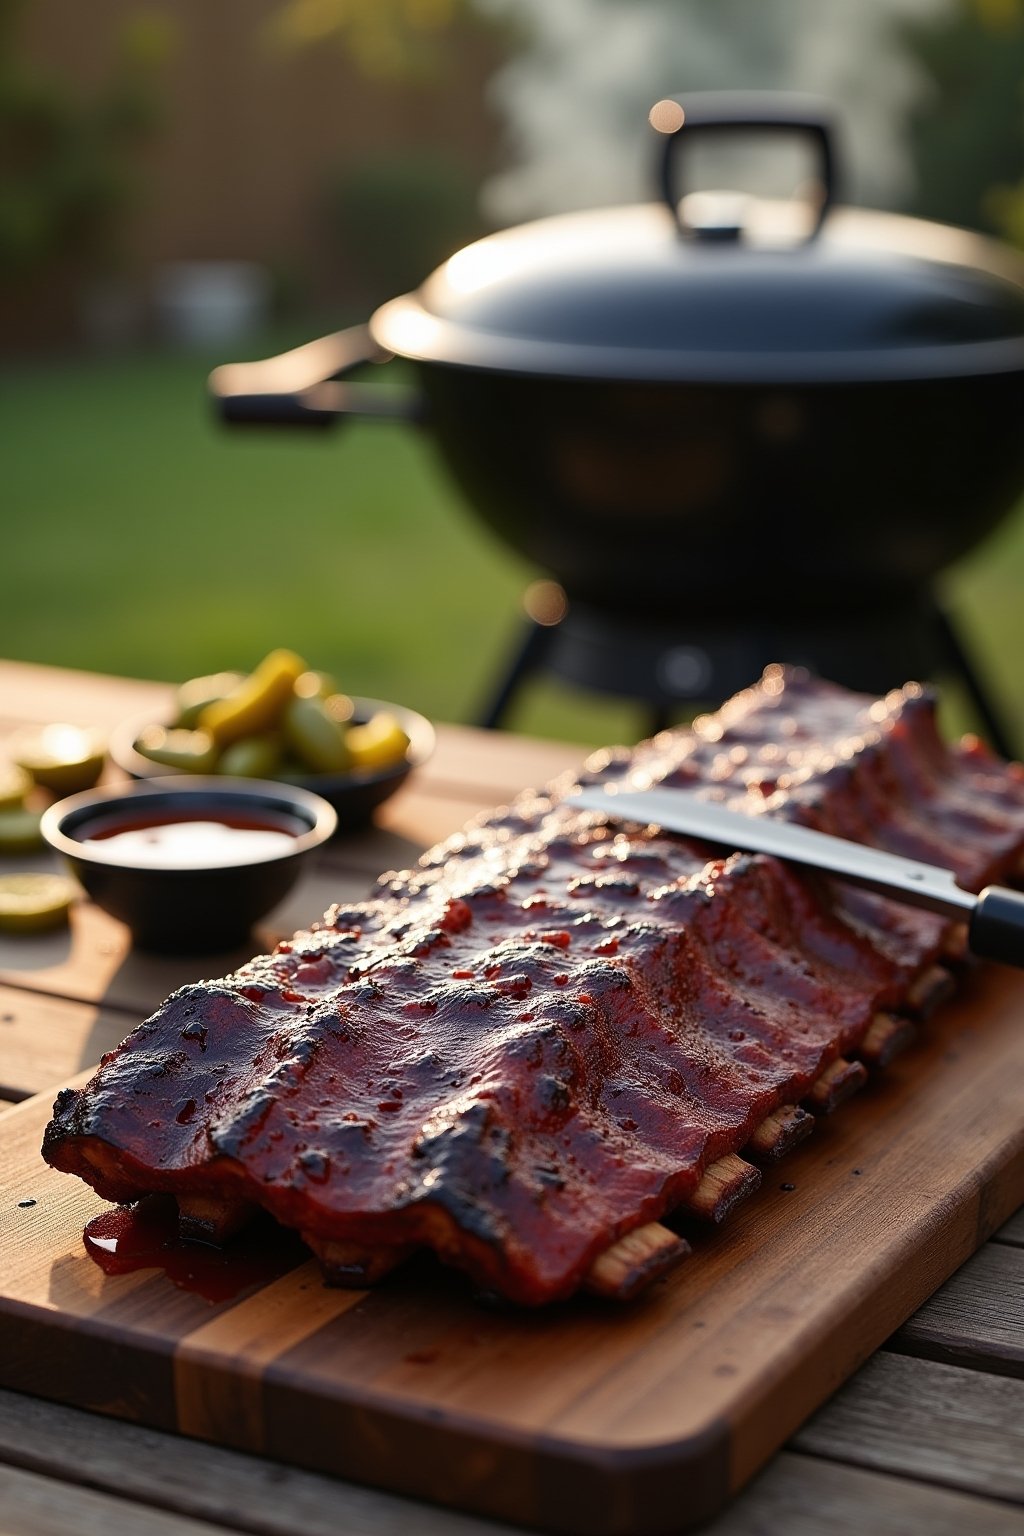
The first time I pulled a rack of these off the grill, my husband actually went quiet mid-sentence. That’s the reaction you want. The bones slide out clean, the bark is dark and sticky, and there’s that beautiful pink smoke ring running through every slice — the kind of ribs that make people stop talking and start eating.
The secret isn’t some expensive cut or a smoker the size of a refrigerator. It’s a technique called the 3-2-1 method, and it’s the reason these ribs turn out restaurant-perfect every single time. Three hours on the grill absorbing smoke, two hours wrapped in foil with a little liquid to tenderize, one hour unwrapped with sauce to set that sticky glaze. That’s it.
I started making these on lazy Sundays when I wanted something that would fill the whole backyard with smoke and give me an excuse to sit outside with a cold drink. Six hours sounds long — and it is — but ninety percent of it is hands-off. You tend the fire, flip once or twice, and let the grill do the work. The payoff is a rack of ribs that genuinely rival any BBQ joint you’ve ever paid for.
Why This Beats the Standard Version
- Fall-off-the-bone tender — the 3-2-1 method guarantees ribs so tender the bone slides clean when you pull it
- Works on any grill — gas, charcoal, pellet, or kettle — you just need indirect heat and wood chunks
- Mostly hands-off — six hours sounds long, but you’re only actively cooking for about thirty minutes total
- Bark like a BBQ pit master — the dry rub and low smoke build a dark, sticky crust with deep smoky flavor
- Crowd-pleasing every time — these are the ribs your friends will beg you to make for every cookout
- Make-ahead friendly — finish them earlier in the day and rest them wrapped; they stay juicy for hours

What You’ll Need
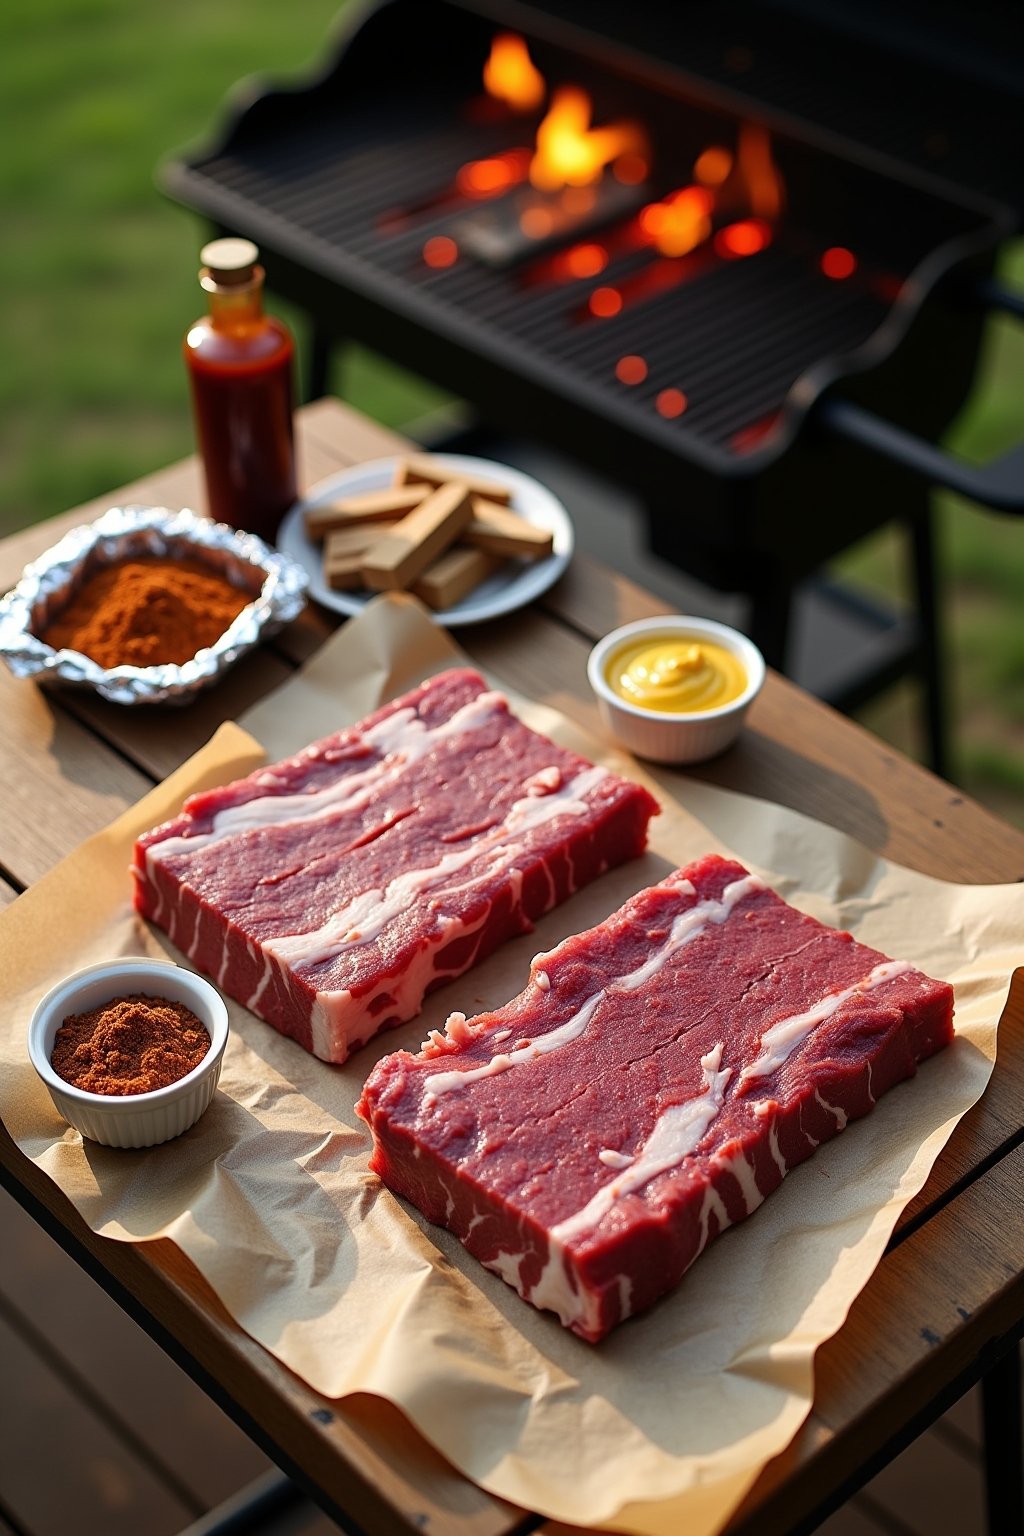
Pork spareribs — look for St. Louis-cut spareribs if you want a neater rack. Full spareribs work too, just trim the flap meat and point. Remove the silver membrane on the back or the rub can’t penetrate and the ribs turn out tough.
Yellow mustard — acts as a binder to help the rub stick. You won’t taste it in the final ribs. Olive oil works as a substitute.
Smoked paprika — the single best ingredient in the rub. It adds deep smoky flavor that amplifies whatever wood you’re using. Don’t skip it or sub in regular paprika.
Apple juice — steams the ribs during the wrap stage and adds a touch of sweetness. Apple cider, beer, or even water with a splash of vinegar all work.
Wood chunks — hickory is classic for ribs, apple is mild and sweet, cherry gives beautiful color. Avoid mesquite here — it’s too strong for a six-hour cook.
Fall-Off-the-Bone BBQ Spareribs (3-2-1 Method)
Ingredients
Equipment
Method
-
Remove the silvery membrane from the back of each rack by sliding a butter knife under it at one end, grabbing with a paper towel, and pulling. Pat the ribs dry.
-
Mix all the dry rub ingredients in a bowl. Coat the ribs with a thin layer of yellow mustard on both sides, then sprinkle the rub generously all over, pressing it in. Let the ribs sit at room temperature for 30 minutes while you set up the grill.
-
Set up your grill for indirect heat at 225°F (107°C). On a charcoal grill, push coals to one side. On a gas grill, light only the outer burners. Add 2-3 wood chunks directly on the coals or in a smoker box.
-
Place the ribs bone-side down on the cool side of the grill. Close the lid and smoke for 3 hours, adding more wood chunks once or twice to keep the smoke going. Maintain 225°F by adjusting vents.
-
After 3 hours, pull the ribs off. Lay out two large sheets of heavy-duty foil per rack. Sprinkle 1 tablespoon brown sugar, drizzle 1 tablespoon honey, add butter pats, and pour 2 tablespoons apple juice on the foil. Place ribs meat-side down and wrap tightly.
-
Return wrapped ribs to the grill, still at 225°F, and cook for 2 more hours. This is where they get fall-off-the-bone tender.
-
Unwrap the ribs (carefully — hot juices), pour off most of the liquid, and return them to the grill meat-side up. Brush generously with thinned BBQ sauce. Cook uncovered for 45-60 minutes, glazing with more sauce every 15 minutes, until the sauce is sticky and set.
-
Rest the ribs on a cutting board for 10 minutes. Slice between the bones and serve.
Notes
Nutrition Facts
Per serving
| Calories | 520 |
| Total Fat | 32g |
| Saturated Fat | 11g |
| Carbohydrates | 22g |
| Fiber | 1g |
| Sugar | 18g |
| Protein | 38g |
| Sodium | 890mg |
| Potassium | 540mg |
| Vitamin A | 15% |
| Vitamin C | 4% |
| Calcium | 6% |
| Iron | 18% |
* Percent Daily Values are based on a 2,000 calorie diet.
Storage and Reheating
Refrigerator: Wrap cooled ribs tightly in foil and refrigerate for up to 4 days. Reheat wrapped in foil with a splash of apple juice at 275°F for 30 minutes — they stay incredibly moist.
Freezer: Slice the rack, wrap portions in foil, then in a freezer bag. Good for up to 3 months. Thaw overnight in the fridge before reheating.
Reheating outdoors: Toss them back on a 300°F grill for 15-20 minutes wrapped in foil. They’re almost as good as fresh, and the smoke flavor actually deepens overnight.
Next-day use: Pull the meat off leftover ribs and use it for BBQ sandwiches, loaded nachos, or chopped into fried rice. Some of the best eating you’ll ever have.
Branching It Out
- Baby Back Ribs — same method but adjust to 2-2-1 since baby backs are smaller and leaner
- Kansas City Style — use a sweet molasses BBQ sauce and double the brown sugar in the rub
- Memphis Dry Style — skip the sauce entirely and serve with a shake of extra dry rub at the end
- Spicy Chipotle — add 2 tablespoons of chipotle powder to the rub and use a chipotle BBQ sauce
- Asian Glazed — swap the BBQ sauce for a hoisin-soy-ginger glaze in the final stage
- Maple Bourbon — mix your BBQ sauce with 2 tablespoons maple syrup and 2 tablespoons bourbon
- Coffee-Rubbed — add 2 tablespoons finely ground coffee to the rub for a deep, earthy crust
Slow Lessons
- Remove the membrane — non-negotiable. No membrane means rub penetration and tender meat. With it, the ribs turn out chewy no matter how long you cook
- Low and slow is the only way — 225°F is the magic number. Higher and the ribs toughen; lower and they won’t render the fat properly
- Don’t over-smoke — two to three wood chunks is plenty. Constant heavy smoke gives a bitter, ashy flavor
- Wrap tightly in foil — any steam escaping during the 2-hour wrap stage dries out the ribs. Double-wrap if your foil seems thin
- Sauce at the end only — BBQ sauce has sugar and burns fast. Applying it at the start means black, bitter ribs
- Let them rest — 10 minutes on the cutting board lets the juices redistribute. Cut too soon and all that moisture runs out
Round It Out With
- Creamy coleslaw — the classic cold, crunchy contrast to rich smoky ribs
- Grilled corn on the cob — throw it on the grill during the last 20 minutes
- Cornbread with honey butter — soaks up the sauce perfectly
- Baked beans — add a splash of leftover rib drippings for next-level flavor
- Mac and cheese — the ultimate indulgent BBQ side
- Pickles and pickled onions — acid cuts the richness and resets your palate
- Cold beer or sweet tea — the two traditional BBQ beverages for a reason
Front-Load What You Can
Rub ahead: Coat the ribs with mustard and rub up to 24 hours in advance. Wrap tightly and refrigerate. The salt in the rub cures the meat slightly, deepening the flavor and improving bark formation.
Cook ahead: Finish the ribs earlier in the day, wrap in foil and towels, and hold in a cooler (faux cambro) for up to 3 hours. They stay hot and the meat relaxes, getting even more tender.
Full day ahead: Cook completely, cool, wrap in foil, and refrigerate. The next day, reheat wrapped at 275°F for 30 minutes. Honestly, the flavor improves overnight — many pit masters prefer day-two ribs.
Party strategy: Start the ribs 7 hours before you want to serve. This gives you a 1-hour buffer for temperature wobbles, plus time to make sides while the ribs finish unwrapped.
Common Questions
Can I do this on a gas grill without wood?
You can, but you’ll miss most of the smoky flavor that makes these ribs special. A cheap cast-iron smoker box with wood chunks on one burner costs about $15 and transforms your gas grill. It’s the single best BBQ upgrade you can make.
My ribs turned out tough — what happened?
Three usual suspects: the membrane wasn’t removed, the grill ran too hot, or the wrap stage was too short. Check your thermometer calibration, confirm the membrane is off, and make sure you’re wrapping tightly for the full 2 hours.
Do I need a meat thermometer?
Not strictly for ribs — unlike brisket, ribs are done by feel and bend, not temperature. When you pick up the rack with tongs from one end, it should bend and crack slightly. Internal temp is usually 195-203°F when perfect.
Can I skip the wrap stage?
You can, and some purists do — this is called cooking ‘naked’ or the hot-and-fast method. The ribs will have better bark but slightly less tender meat. For first-timers, the 3-2-1 wrap method is much more forgiving.
What’s the difference between spareribs and baby backs?
Baby backs come from the top of the rib cage near the spine — shorter, leaner, and meatier on top. Spareribs come from the belly side — longer, fattier, and more flavorful. Spareribs take a bit longer but many BBQ cooks prefer them for richness.
Is the pink smoke ring safe?
Yes — it’s actually a sign of perfectly smoked meat. The pink ring forms when nitrogen dioxide from wood smoke reacts with myoglobin in the meat. It’s cosmetic and harmless, and a badge of honor for BBQ cooks.