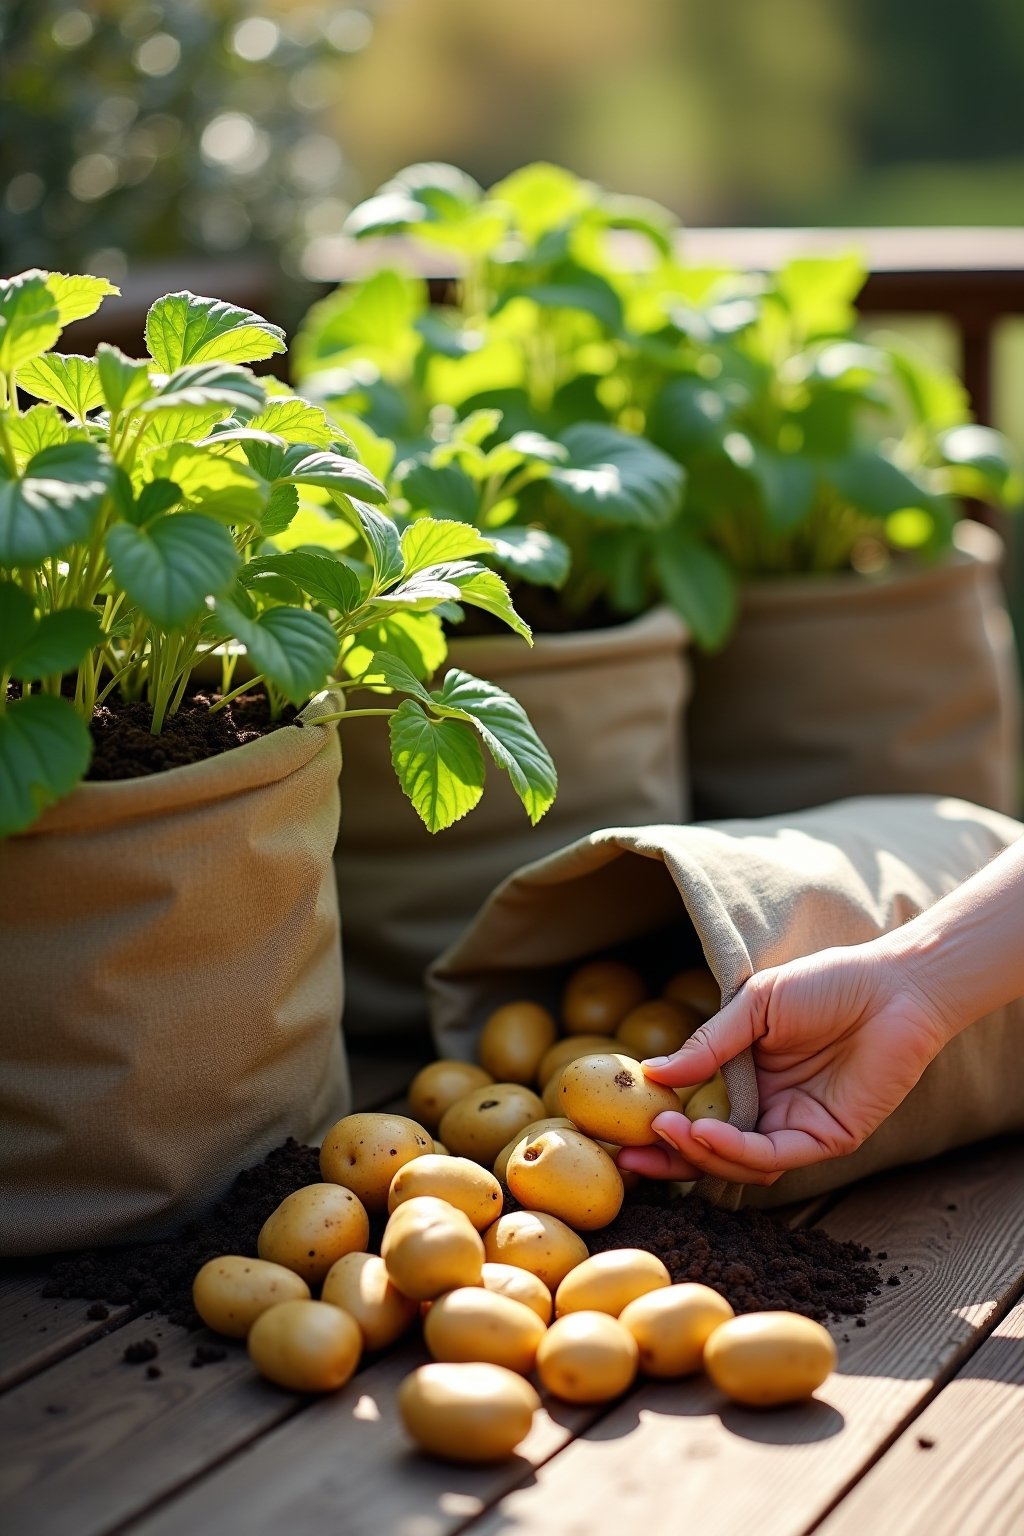
Grow bags have completely changed the potato-growing game. No digging, no hilling, no back-breaking harvest. When the potatoes are ready, you just tip the bag over and pick them up. It is genuinely that simple — and grow bag potatoes produce just as well as in-ground potatoes while taking up a fraction of the space.
If you have a sunny patio, driveway, or even a flat rooftop, you can grow potatoes. Grow bags are lightweight, inexpensive, reusable for years, and provide excellent drainage and root aeration that potatoes love. You don’t need any special gardening experience — if you can fill a bag with soil and water it, you can harvest pounds of fresh potatoes in 10-12 weeks.
Quick Facts
| Sun | Full Sun (6-8 hours minimum) |
| Difficulty | Beginner (one of the easiest container crops) |
| Season | Plant after last frost (April-May in most zones) |
| Zone | All USDA Zones |
| Time to Harvest | 70-120 days depending on variety (new potatoes in 70 days, full-size in 90-120) |
Stock Up On
- Fabric grow bags (10-15 gallon — bigger bags produce more potatoes)
- Seed potatoes (certified disease-free from a garden center)
- High-quality potting mix or compost-based growing medium
- Balanced fertilizer (10-10-10 or potato-specific)
- Watering can or hose
- Straw for mulching (optional)
- A sunny spot (patio, driveway, deck, rooftop)
Grow bag size matters: Use 10-15 gallon bags for best results. A 10-gallon bag holds 2-3 seed potatoes, a 15-gallon bag holds 3-4. Smaller bags (5-gallon) work but produce fewer tubers. Many grow bags come with convenient access flaps at the bottom so you can check on tubers and harvest new potatoes without disturbing the plant.
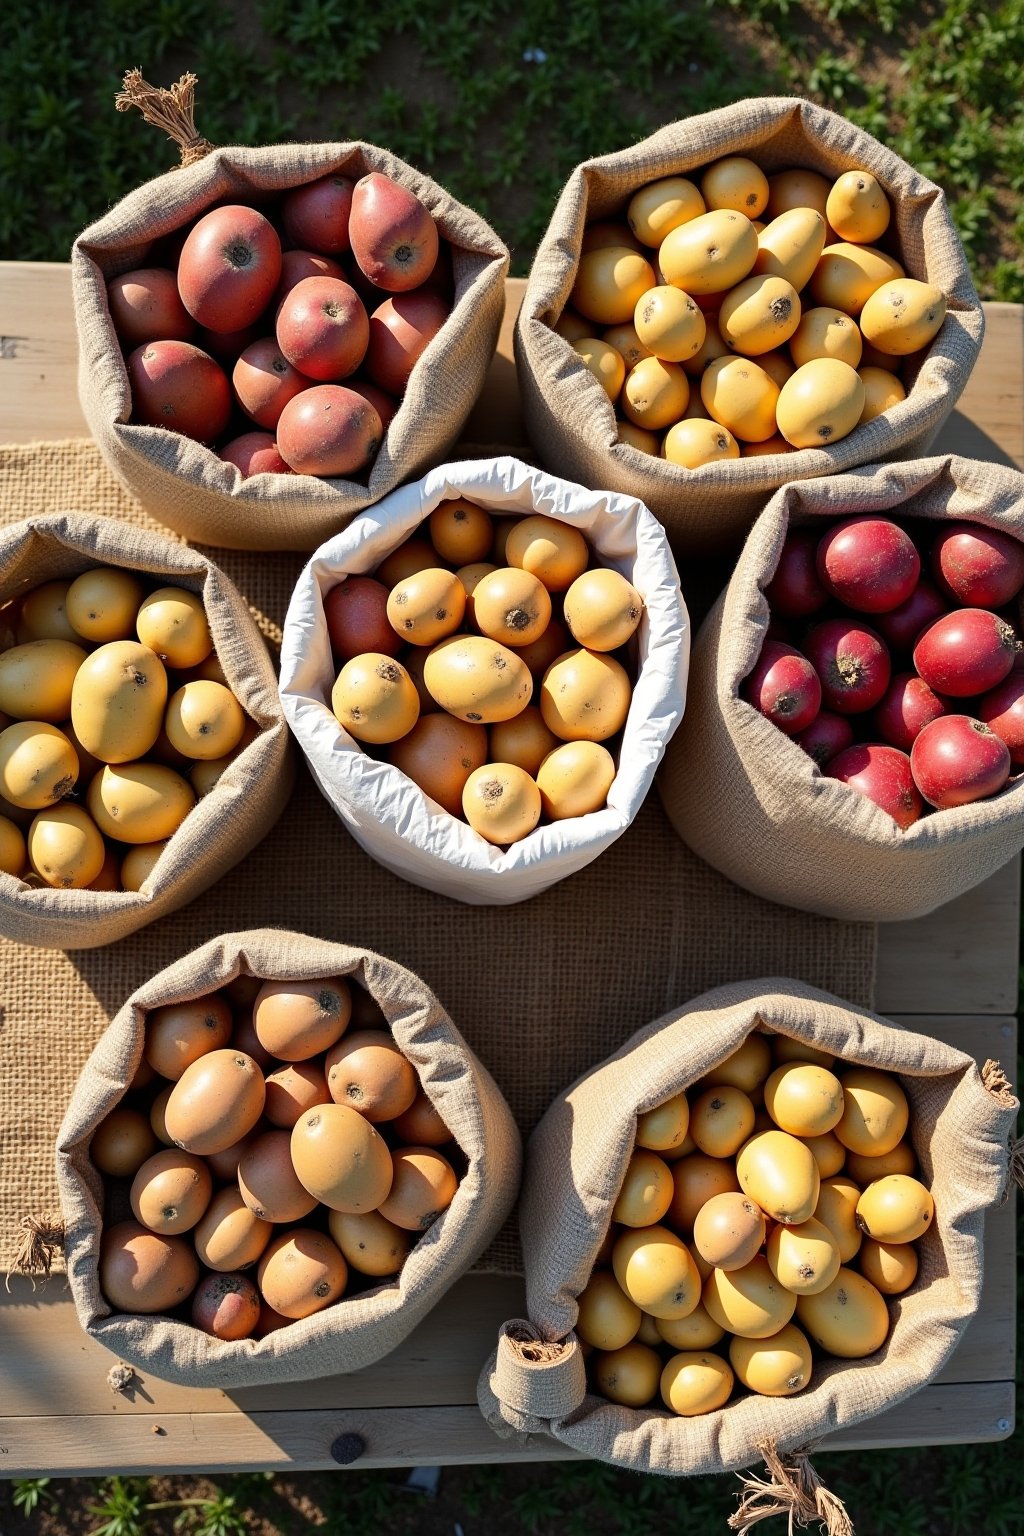
Use seed potatoes, not grocery potatoes: Certified seed potatoes from a garden center are guaranteed disease-free and selected for vigor. Grocery store potatoes may carry diseases and are often treated with sprout inhibitors. Popular easy varieties: Yukon Gold, Red Pontiac, Kennebec, and fingerling types.
Fabric vs plastic: Fabric grow bags are far superior to plastic pots for potatoes. The fabric breathes, preventing root circling and overheating. Excess water drains out the sides. Plastic pots overheat in sun and can waterlog if drainage is insufficient.
Step 1: Chit (Pre-Sprout) Your Seed Potatoes
Two to three weeks before planting, place seed potatoes in a cool, bright spot (a windowsill works perfectly) with the end that has the most eyes facing up. Short green or purple sprouts will emerge — this is called chitting. Chitted potatoes have a head start and produce tubers faster than unsprouted ones.
If your seed potatoes are larger than a golf ball, cut them into pieces so each piece has 2-3 eyes (sprouts). Let cut pieces dry for 24-48 hours so the cut surface forms a callus that prevents rot when planted. Small seed potatoes can be planted whole.
Step 2: Fill the Grow Bag One-Third Full
Roll the top of the grow bag down to about one-third of its height. Fill with potting mix or a 50/50 blend of compost and potting soil to a depth of about 4-6 inches. Mix in a handful of slow-release fertilizer.
The bag starts partially full because you will add more soil as the plants grow — this is the “hilling” technique that encourages the plant to produce tubers along the buried stem. Starting full and trying to hill later doesn’t work in a bag — you need the extra space above.
Step 3: Plant Seed Potatoes and Water
Place 2-4 seed potatoes (depending on bag size) on the soil surface, sprouts facing up, evenly spaced. Cover with 3-4 inches of potting mix. Water thoroughly until water drains from the bottom and sides of the bag.
Place the bag in a sunny location — at least 6 hours of direct sun. Patios, driveways, and south-facing decks are ideal. The dark fabric of grow bags absorbs heat, which potatoes appreciate early in the season but can be too hot in mid-summer — see troubleshooting if you are in a very hot climate.
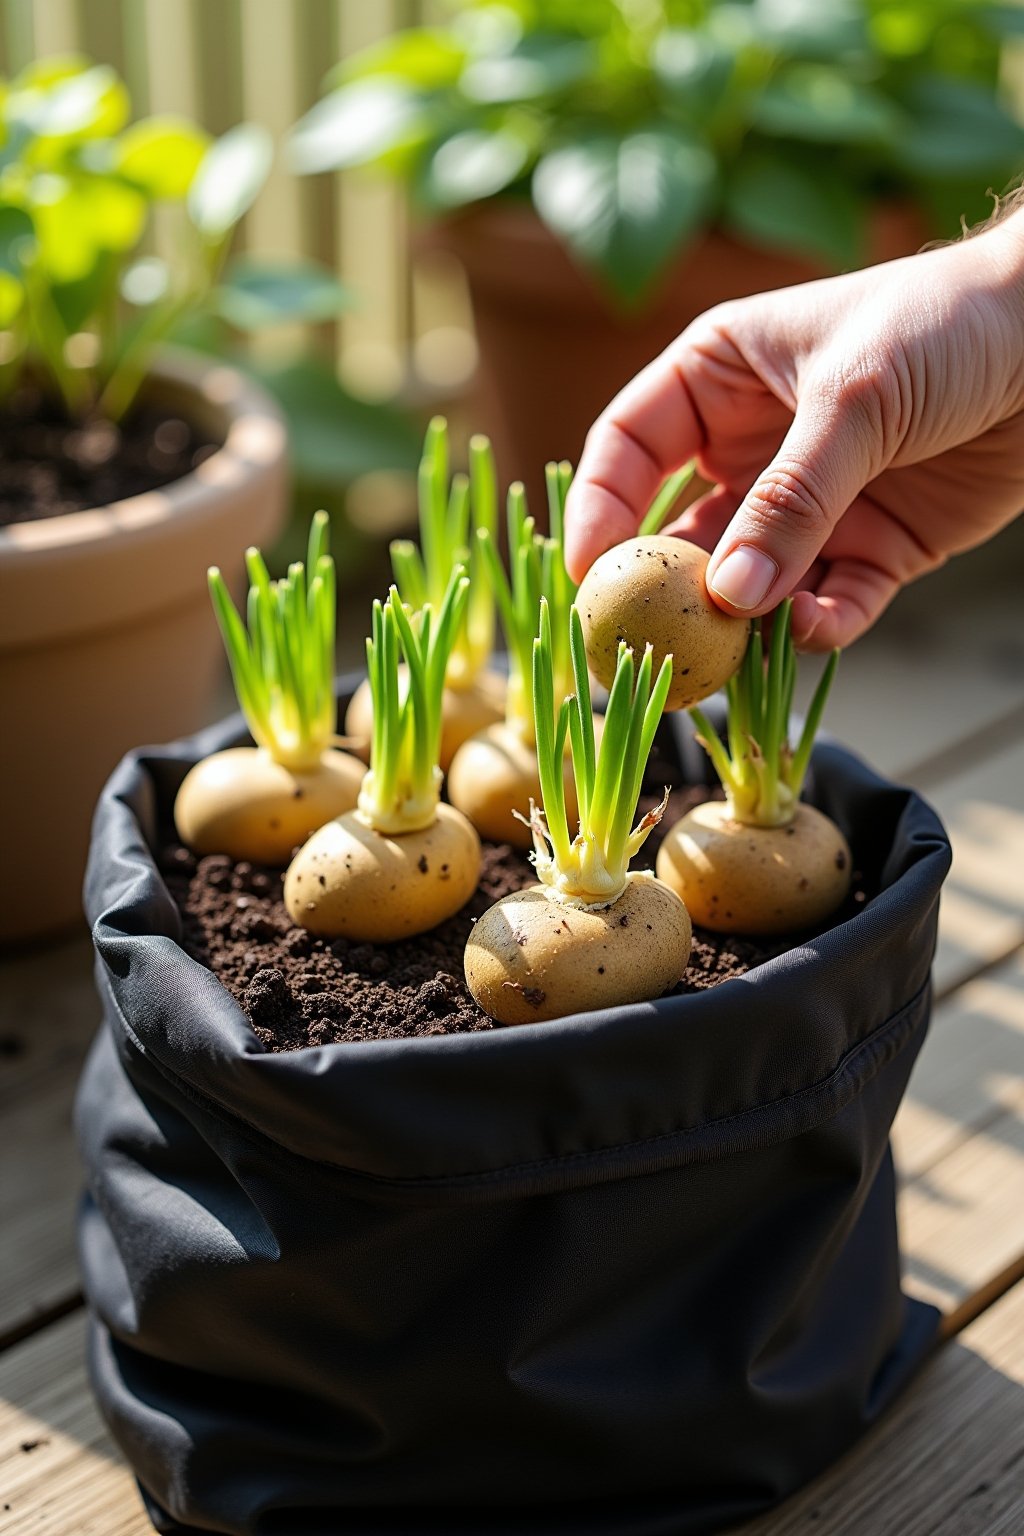
Step 4: Hill Up as Plants Grow
When the green shoots reach 6-8 inches tall, unroll the bag edges a few inches and add more potting mix until only the top 2-3 inches of green growth remain visible. This is “hilling” — it triggers the plant to produce tubers along the newly buried stem.
Repeat this process 2-3 times as the plant continues to grow, gradually unrolling the bag to its full height and adding soil each time. Each hilling session encourages a new layer of tubers. By the time the bag is full, you have potatoes forming at multiple levels — this is how you maximize yield from a single bag.
Step 5: Water Consistently and Feed Monthly
Potatoes in grow bags need consistent moisture. The fabric lets water drain and evaporate from all sides, so bags dry out faster than ground soil. Water when the top 2 inches of soil feel dry — in hot weather, this may mean daily watering.
Feed with a balanced liquid fertilizer every 3-4 weeks after the first hilling. Avoid high-nitrogen fertilizers — too much nitrogen grows lots of green tops but small tubers. A potassium-rich fertilizer (like a tomato feed) promotes tuber development. Stop fertilizing 2 weeks before harvest.
Step 6: Harvest by Tipping the Bag
Potatoes are ready when the foliage yellows and starts dying back — typically 90-120 days after planting for main-crop varieties. For new potatoes (small, tender), you can harvest earlier at 70-80 days. If your bag has an access flap, open it and feel around for tubers without disturbing the whole plant.
For the full harvest, stop watering for a few days to let the soil dry slightly, then simply tip the bag onto a tarp or into a wheelbarrow. Pick out the potatoes from the soil. This is the magic of grow bags — no digging, no fork damage, no potatoes left behind in the ground. Brush off soil (don’t wash until ready to cook) and cure in a cool dark spot for a week before storing.
If You Hit Trouble
Lots of green growth but few potatoes: Too much nitrogen fertilizer. Switch to a potassium-rich feed. Also make sure you hilled properly — tubers only form along buried stems, so inadequate hilling means fewer potatoes.
Potatoes turning green: Green skin means light exposure — the tubers were not covered deeply enough. Hill more soil on top and ensure no tubers are visible at the surface. Green potatoes contain solanine and should not be eaten.
Plants wilting in hot weather: Grow bags can overheat. Move to a spot with afternoon shade, wrap bags in burlap for insulation, or double-bag (place the grow bag inside a second bag with straw between them). Water twice daily in extreme heat.
Small harvest: Common causes: too small a bag, too many seed potatoes per bag, inconsistent watering, or insufficient hilling. Use 10-15 gallon bags, plant no more than 3-4 per bag, and hill at least 3 times during the growing season.
When to Do What
Early Spring (2-3 weeks before planting): Chit seed potatoes on a bright windowsill. Order grow bags and potting mix. Plan your sunny growing location.
Spring (After Last Frost): Plant seed potatoes in grow bags. Hill as plants grow every 2-3 weeks. Water consistently.
Summer: Continue watering and feeding. Hill until bags are full. Watch for flowering — this indicates tubers are forming. You can harvest new potatoes any time after flowering.
Late Summer/Fall: Harvest main-crop potatoes when foliage dies back. Cure, store, and enjoy. Empty bags, shake out soil onto the compost pile, rinse and store bags for next year.
After Many Tries
- Start with 10-15 gallon bags minimum — smaller bags produce disappointing harvests. The extra volume gives tubers room to form at multiple levels.
- Hill at least 3 times — each hilling session triggers a new layer of tuber formation. More hilling = more potatoes. Only stop when the bag is completely full.
- Chit (pre-sprout) before planting — this 2-3 week head start means faster emergence, earlier harvest, and higher yields. It is the easiest free productivity hack.
- Tip the bag for harvest — never dig around in a grow bag with a fork or trowel. Just dump the whole thing out. Every potato is recovered and nothing gets damaged.
- Reuse bags for 3-5 seasons — quality fabric grow bags last for years. Rinse after each season, let them dry completely, and store flat. This makes them much cheaper than pots long-term.
- Try fingerling varieties for gourmet potatoes — fingerlings like French Fingerling and Russian Banana produce beautiful, restaurant-quality potatoes that cost a fortune in stores but grow perfectly in bags.
Continued Reading
Common Questions
How many potatoes does one grow bag produce?
A 10-gallon grow bag with 3 seed potatoes typically produces 5-10 pounds of potatoes. A 15-gallon bag can produce 8-15 pounds. Actual yield depends on variety, soil quality, watering consistency, and how many times you hill. Fingerling types produce many small potatoes; russet types produce fewer large ones.
Can I use regular garden soil in grow bags?
No — garden soil compacts in containers, drains poorly, and may contain diseases. Use quality potting mix or a 50/50 blend of potting mix and compost. The growing medium needs to stay loose and fluffy for tubers to expand properly. Heavy, compacted soil produces misshapen, small potatoes.
How often should I water potatoes in grow bags?
Check daily — water when the top 2 inches of soil feel dry. In hot weather, this may mean daily watering. Grow bags dry out faster than ground soil because water evaporates through the fabric. Consistent moisture is critical — fluctuating between dry and wet causes cracking, knobby growth, and hollow heart in tubers.
What is hilling and why is it important for potatoes?
Hilling means adding soil around the growing stems as the plant gets taller. Potatoes form tubers along buried stems, so more buried stem = more potatoes. In grow bags, you hill by adding potting mix every time the shoots reach 6-8 inches tall, until the bag is full. Without hilling, you get far fewer potatoes.
Can I grow potatoes from grocery store potatoes?
It’s possible but not recommended. Grocery potatoes may carry diseases and are often treated with sprout inhibitors. Certified seed potatoes from a garden center are disease-free and selected for garden performance. They cost a few dollars per bag and are worth the small investment.
When are potatoes ready to harvest?
New potatoes (small, tender) can be harvested 70-80 days after planting when the plant flowers. Full-size main-crop potatoes are ready at 90-120 days when the foliage yellows and dies back. For the best storage potatoes, wait until the tops are completely dead, then harvest.