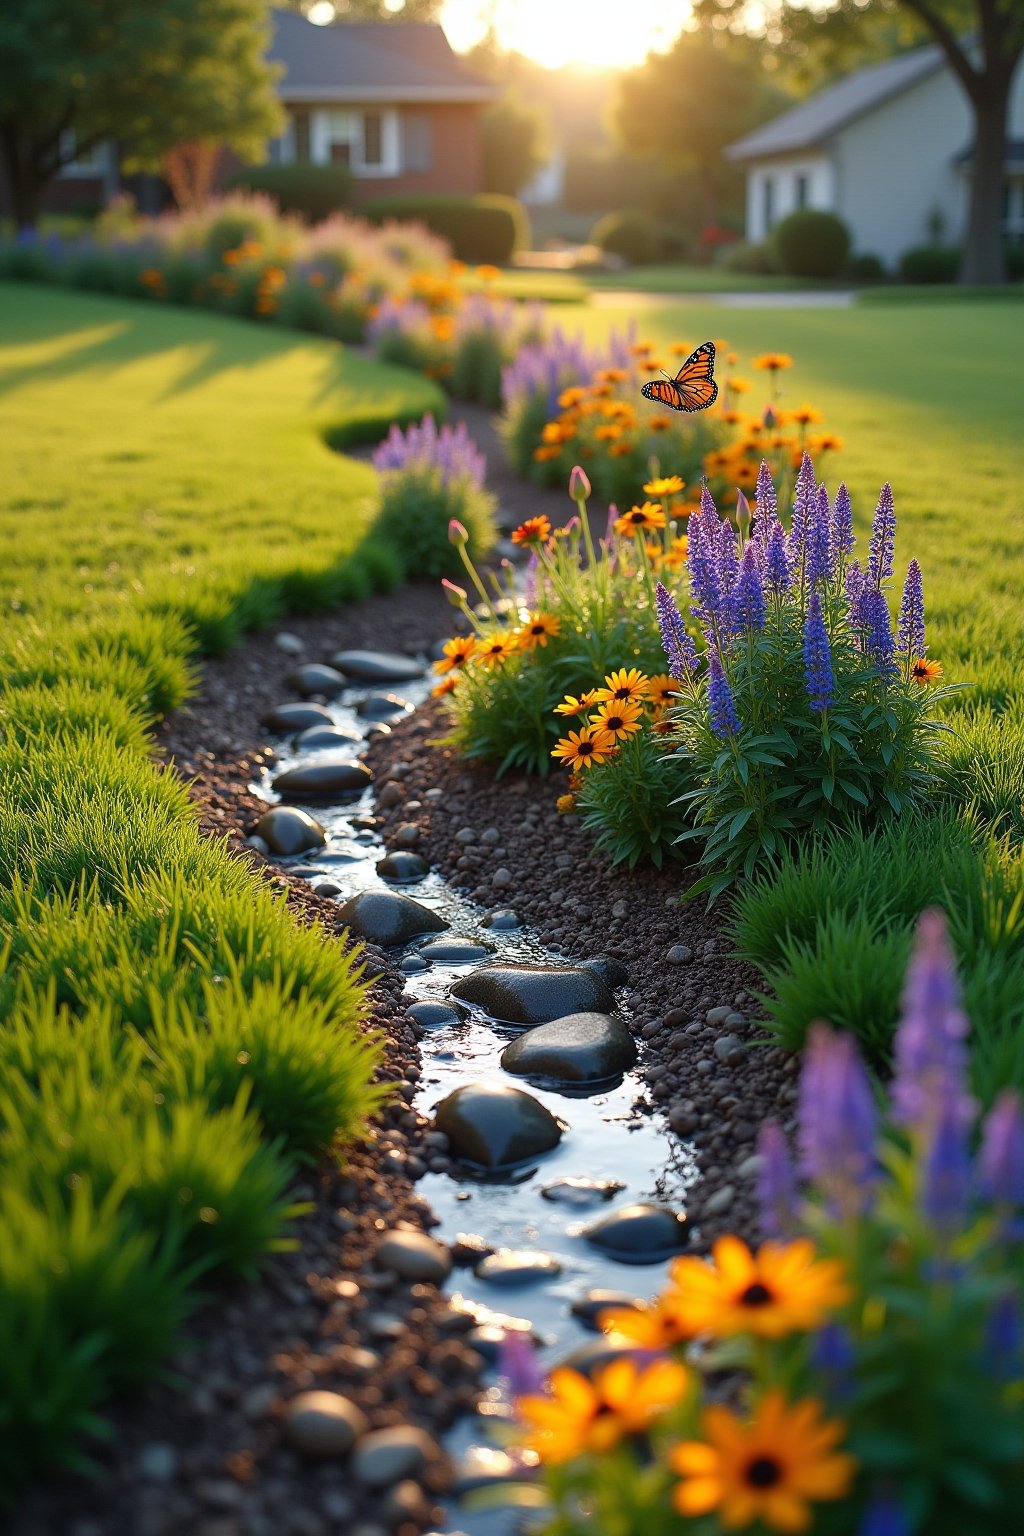
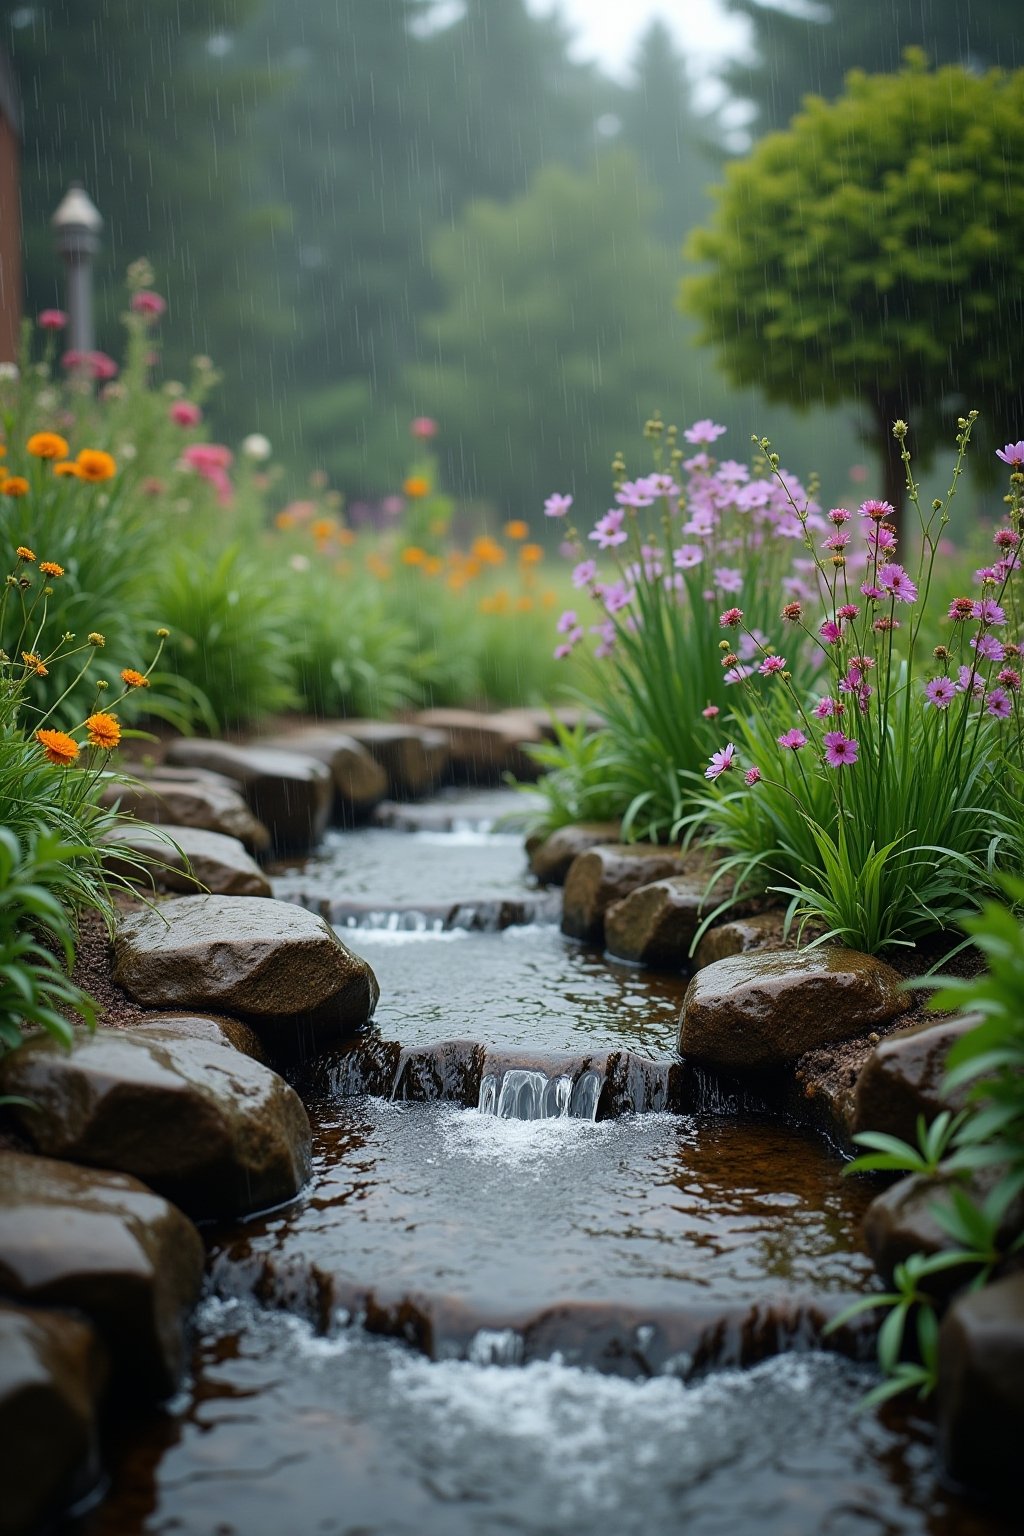
If you have a spot in your yard that turns into a swamp after every rain, you have the perfect location for a rain garden — and building one is simpler than you think. A rain garden is a shallow, planted depression designed to capture and absorb stormwater runoff from your roof, driveway, and lawn. Instead of that water pooling, flooding, or washing pollutants into storm drains, it soaks naturally into the ground while feeding beautiful, low-maintenance plants.
Rain gardens are gaining massive popularity for good reason. They solve drainage problems without expensive French drains or regrading, they create habitat for pollinators and birds, and they filter pollutants like oil, fertilizer, and pesticides before they reach groundwater. A well-designed rain garden absorbs 30% more water than a regular lawn and can handle storms that would overwhelm conventional landscaping.
Quick Facts
| Sun | Full Sun to Partial Shade (depends on plant selection) |
| Difficulty | Intermediate |
| Season | Build in spring or fall (avoid frozen ground) |
| Zone | All USDA Zones (use native plants for your region) |
| Time to Harvest | Plants establish in 1-2 years; full function in year 2 |
Stock Up On
- Shovel and garden fork for excavation
- Native rain garden plants (deep-rooted species that tolerate wet AND dry conditions)
- Compost to amend soil
- Sand or gravel (if soil is heavy clay)
- Mulch (shredded bark or wood chips, NOT dyed mulch)
- Garden hose for testing water flow
- String and stakes for marking the garden outline
- Level or string level for grading
- Overflow area or drain (for extreme rain events)
- Wheelbarrow for moving soil
Location is critical: Place your rain garden at least 10 feet from your house foundation and downhill from wherever water naturally collects or flows. The ideal spot is in a natural low point where you already see water pooling. Avoid placing rain gardens over septic systems, utility lines, or tree root zones.
Native plants are essential: Use plants native to your region that tolerate both standing water AND dry periods. Rain gardens alternate between soaked and dry conditions — only native species adapted to this cycle thrive long-term. Great universal choices: black-eyed Susan, swamp milkweed, blue flag iris, cardinal flower, switchgrass, and sedges.
Size: A typical residential rain garden is 100-300 square feet and 6-8 inches deep. It should be about 20-30% of the impervious area draining into it (roof, driveway). Bigger handles more water, but even a small rain garden makes a significant difference.
Step 1: Find the Right Location and Test Soil Drainage
Identify where water flows during a rainstorm — watch the yard during the next rain or run a hose from a downspout to see where water naturally wants to go. Place the rain garden in a natural low point, at least 10 feet from any building foundation and away from large tree roots.
Test your soil drainage by digging a hole 12 inches deep, filling it with water, and timing how long it takes to drain. If it drains in 12-24 hours, your soil is ideal. If it takes longer, you have heavy clay and will need to amend with sand and compost to improve drainage. Soil that drains in under 4 hours is too sandy and may need a compost-rich layer to slow water down enough for plants to benefit.
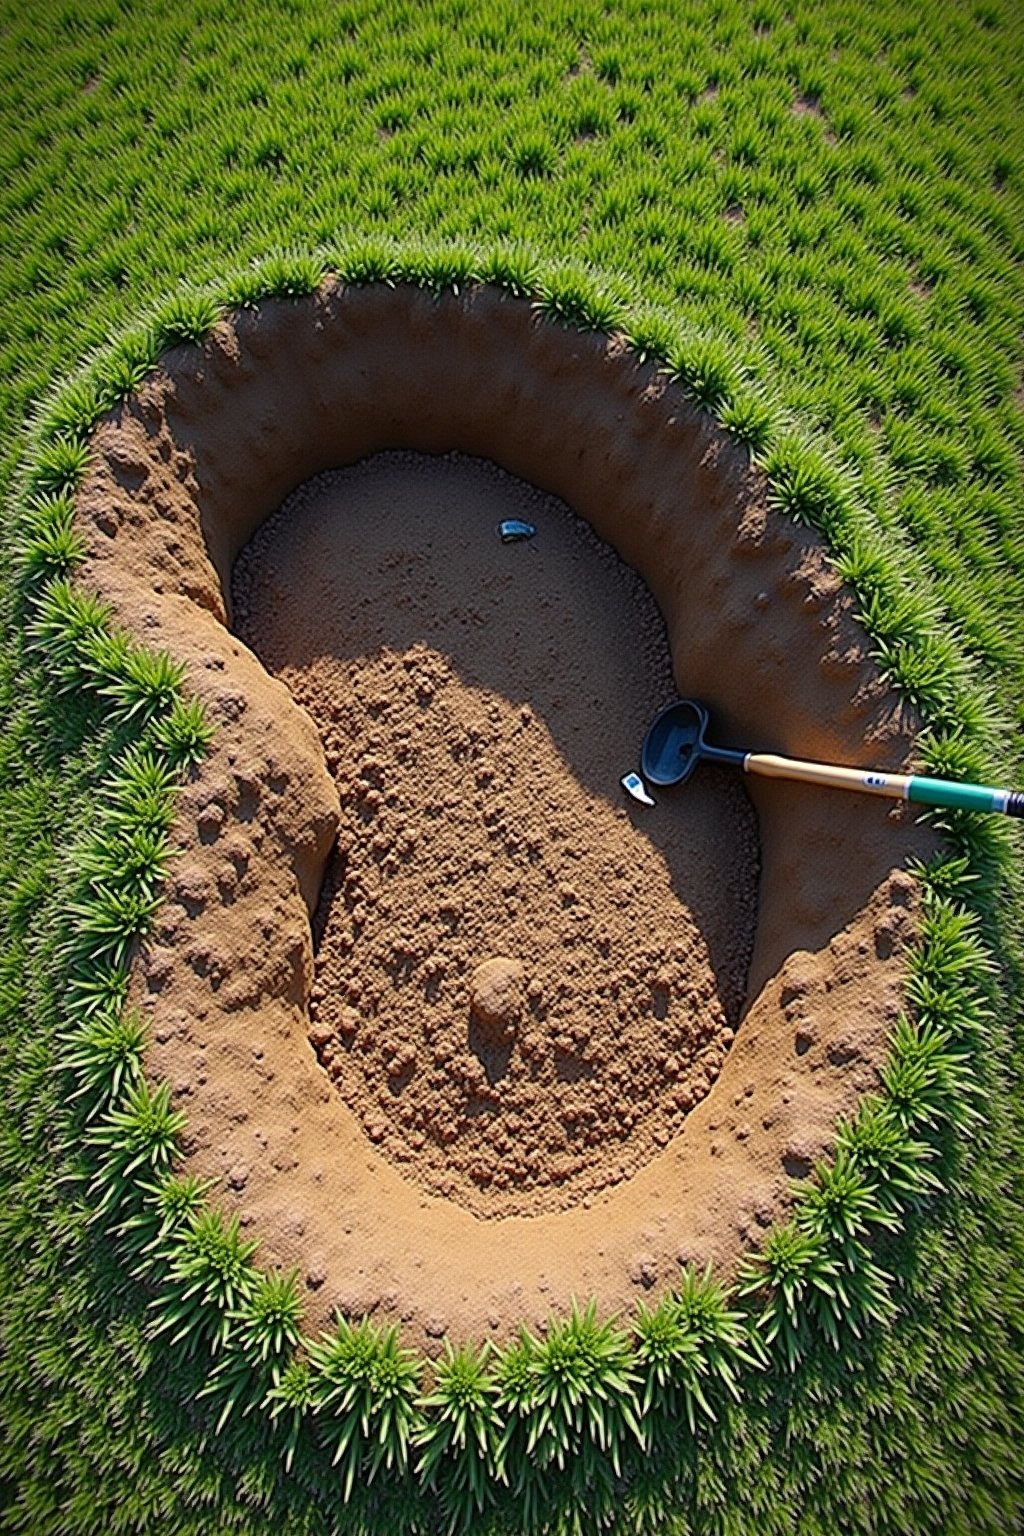
Step 2: Mark and Excavate the Garden
Mark the outline of your rain garden using string and stakes. A kidney or oval shape looks natural and handles water flow better than sharp corners. For a typical residential lot, aim for 100-300 square feet and a depth of 6-8 inches in the center.
Dig out the marked area, creating a shallow bowl shape with gently sloping sides. The deepest point should be in the center. Pile the excavated soil on the downhill side to create a berm (a raised edge) that holds water in the garden during heavy rain. Make sure the bottom of the garden is level so water spreads evenly rather than pooling in one corner.
Step 3: Amend the Soil for Optimal Absorption
If your soil is heavy clay, mix in compost and coarse sand to improve drainage. A good rain garden soil mix is roughly 60% sand, 20% compost, and 20% topsoil. This drains fast enough to prevent standing water for more than 24-48 hours (the maximum for most rain garden plants).
For sandy soil, add extra compost to improve water retention and provide nutrients. The goal is soil that absorbs water quickly but holds enough moisture for plant roots. Spread the amended soil mix evenly across the bottom of the excavated area to a depth of 6-8 inches.
Step 4: Create an Inlet and Overflow
Direct water into your rain garden from a downspout extension, swale, or gentle slope from the impervious surface draining to it. The inlet should guide water gently into the garden without causing erosion — lay river rocks or a gravel channel at the entry point to slow and spread the flow.
Every rain garden needs an overflow for extreme storms that exceed its capacity. Create a low point in the berm on the downhill side where excess water can sheet out across the lawn without flooding anything important. The overflow should be at the same height as the maximum water level — typically 6-8 inches above the garden floor.
Step 5: Plant in Zones Based on Moisture
A rain garden has three distinct moisture zones. Plant according to each zone’s conditions:
- Center (wettest): Plants that tolerate standing water for 24-48 hours. Good choices: blue flag iris, cardinal flower, swamp milkweed, sedges, soft rush.
- Middle slope: Plants that tolerate alternating wet and dry conditions. Good choices: black-eyed Susan, Joe Pye weed, bee balm, switchgrass, aster.
- Edge (driest): Plants that prefer drier conditions but tolerate occasional moisture. Good choices: coneflower, little bluestem, butterfly weed, lavender, yarrow.
Space plants 12-18 inches apart and plant in groups of 3-5 of the same species for a natural look. Water thoroughly after planting to establish roots.
Step 6: Mulch and Maintain
Apply 2-3 inches of shredded hardwood mulch over the entire garden surface. Mulch prevents erosion, retains moisture between rain events, and suppresses weeds while plants establish. Do not use dyed mulch or rubber mulch — these defeat the water filtration purpose of a rain garden. Avoid piling mulch against plant stems.
First-year maintenance: water during dry spells (the plants need time to develop deep roots), pull weeds monthly, and replace mulch as it washes away. After the first year, a rain garden is extremely low maintenance — plants are established, their deep roots absorb water naturally, and the garden largely takes care of itself. Cut back dead growth in late winter and add a thin layer of mulch annually.
Reading the Signs
Water standing for more than 48 hours: Your soil does not drain fast enough. Dig out the rain garden 4-6 inches deeper and replace with a sand-compost-topsoil mix (60/20/20). Heavy clay soil may need an underdrain connected to a perforated pipe that carries excess water away.
Plants drowning in the center: You may have planted species that do not tolerate standing water. Replace with truly water-tolerant natives: blue flag iris, soft rush, swamp milkweed, or cardinal flower. These can handle being submerged for 24-48 hours.
Erosion at the water inlet: The water flow is too concentrated and fast. Add a layer of river rocks or a gravel apron at the inlet to slow and spread the water before it enters the planted area.
Mosquitoes: Rain gardens should drain within 48 hours — too fast for mosquito larvae to develop (they need 7+ days of standing water). If water lingers longer, improve drainage. Moving water features or mosquito dunks (Bti) are safe treatments if needed temporarily.
When to Do What
Spring (Best Planting Time): Build the garden and plant native species. Spring rain naturally waters new plants. A spring-built rain garden has a full growing season to establish before winter.
Summer: Water new plantings during dry spells for the first year. Established rain gardens need no supplemental water. Pull weeds and enjoy the pollinator activity.
Fall (Second Best Building Time): Build and plant — many native species establish roots well when planted in fall. Add extra mulch before winter to protect young plants.
Late Winter/Early Spring: Cut back dead growth before new growth emerges. Add a fresh thin layer of mulch. Check the inlet and overflow for any debris blockages after winter storms.
Refinements
- Use only native plants — they have deep root systems adapted to your local rainfall patterns and will thrive in the wet-dry cycling that kills non-native plants.
- Keep it at least 10 feet from your foundation — closer than this risks directing water toward your basement or crawl space. When in doubt, go further away.
- Test soil drainage BEFORE building — the 12-inch hole test takes 5 minutes and prevents the disappointment of building a rain garden in soil that won’t absorb water.
- Layer river rocks at the inlet — this single step prevents erosion problems that ruin rain gardens. Slow the water before it enters the planted area.
- Plant densely for faster establishment — closely spaced native plants outcompete weeds faster and create a thicker root network that absorbs more water.
- Don’t fertilize a rain garden — the whole point is filtering pollutants from runoff. Adding fertilizer adds nutrients that should not be there. Native plants in rain garden soil need no supplemental feeding.
Worth Your Next Click
Quick Answers
Will a rain garden attract mosquitoes?
No — a properly designed rain garden drains within 24-48 hours, which is too fast for mosquito larvae to develop (they need 7-10 days of standing water). If your rain garden holds water longer than 48 hours, improve the drainage. Standing bird baths and clogged gutters are far bigger mosquito sources than rain gardens.
How big should a rain garden be?
A residential rain garden should be about 20-30% of the impervious area draining into it. For a typical house with 1,000 square feet of roof area, a rain garden of 200-300 square feet handles most storms. Even a small 50-square-foot rain garden makes a meaningful difference in managing runoff.
Can I build a rain garden in clay soil?
Yes, but you need to amend the soil. Dig out the rain garden area 12-18 inches deep and fill with a mix of 60% sand, 20% compost, and 20% topsoil. This gives you much faster drainage while still supporting plant growth. Alternatively, install a perforated underdrain pipe to help move water through heavy clay.
What plants are best for a rain garden?
Use native plants adapted to your region. Universal favorites include black-eyed Susan, swamp milkweed, blue flag iris, cardinal flower, switchgrass, coneflower, and native sedges. These tolerate the wet-dry cycling that defines rain gardens. Contact your local native plant society or extension service for region-specific recommendations.
How much does a rain garden cost?
A DIY rain garden costs $200-500 for plants, soil amendments, mulch, and materials. Professional installation runs $2,000-5,000 depending on size. Many municipalities offer rebates or grants for rain garden installation because they reduce stormwater burden on public infrastructure — check with your local government.
How long does it take for a rain garden to be fully functional?
A new rain garden works immediately for capturing runoff, but plants need 1-2 growing seasons to fully establish their deep root systems. By year 2-3, the garden is at peak water absorption and filtration capacity. Once established, rain gardens are extremely low-maintenance and improve in performance every year.