Mint is the herb that every gardener loves and every gardener fears in equal measure. It tastes incredible, smells amazing, grows effortlessly — and will absolutely take over your entire garden if you let it. Those innocent-looking little mint plants send underground runners in every direction, popping up between your tomatoes, through your flower bed, and into your neighbor’s lawn.
But here is the thing: mint is too useful and too delicious to avoid just because it is aggressive. The solution is simple — grow it in containers. A mint plant confined to a pot gives you all the fresh mint you could ever want for mojitos, tea, salads, and sauces, with zero risk of invasion. This guide shows you how to grow it productively while keeping it contained.
Quick Facts
| Sun | Partial to Full Sun (4-6 hours ideal) |
| Difficulty | Beginner |
| Season | Spring through Fall (perennial zones 3-11) |
| Zone | USDA Zones 3-11 (extremely hardy) |
| Time to Harvest | 2-3 weeks from transplant |

What You’ll Need
- Mint plant (spearmint, peppermint, chocolate mint, or mojito mint)
- Container with drainage (12+ inches wide recommended)
- Quality potting mix
- Liquid fertilizer
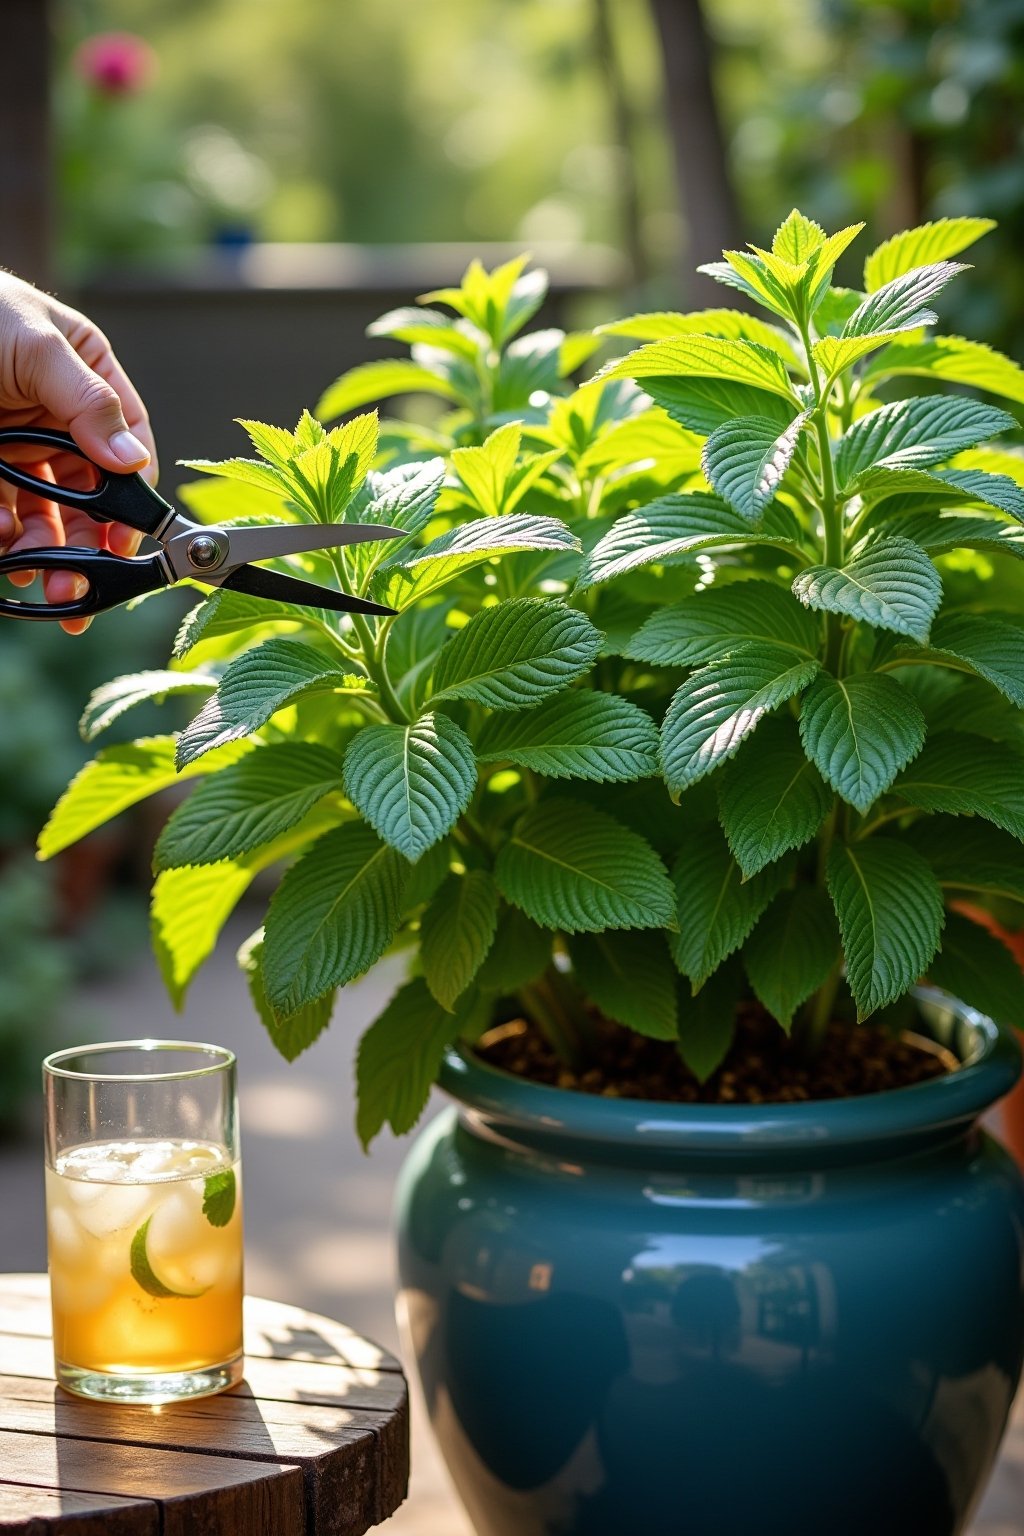
- Scissors or pruning shears for harvesting
ALWAYS grow mint in a container — even if you have a big garden. Plant it in the ground and it will spread aggressively through underground runners and take over surrounding areas. A pot is the only safe way to enjoy mint without it becoming an invasive problem.
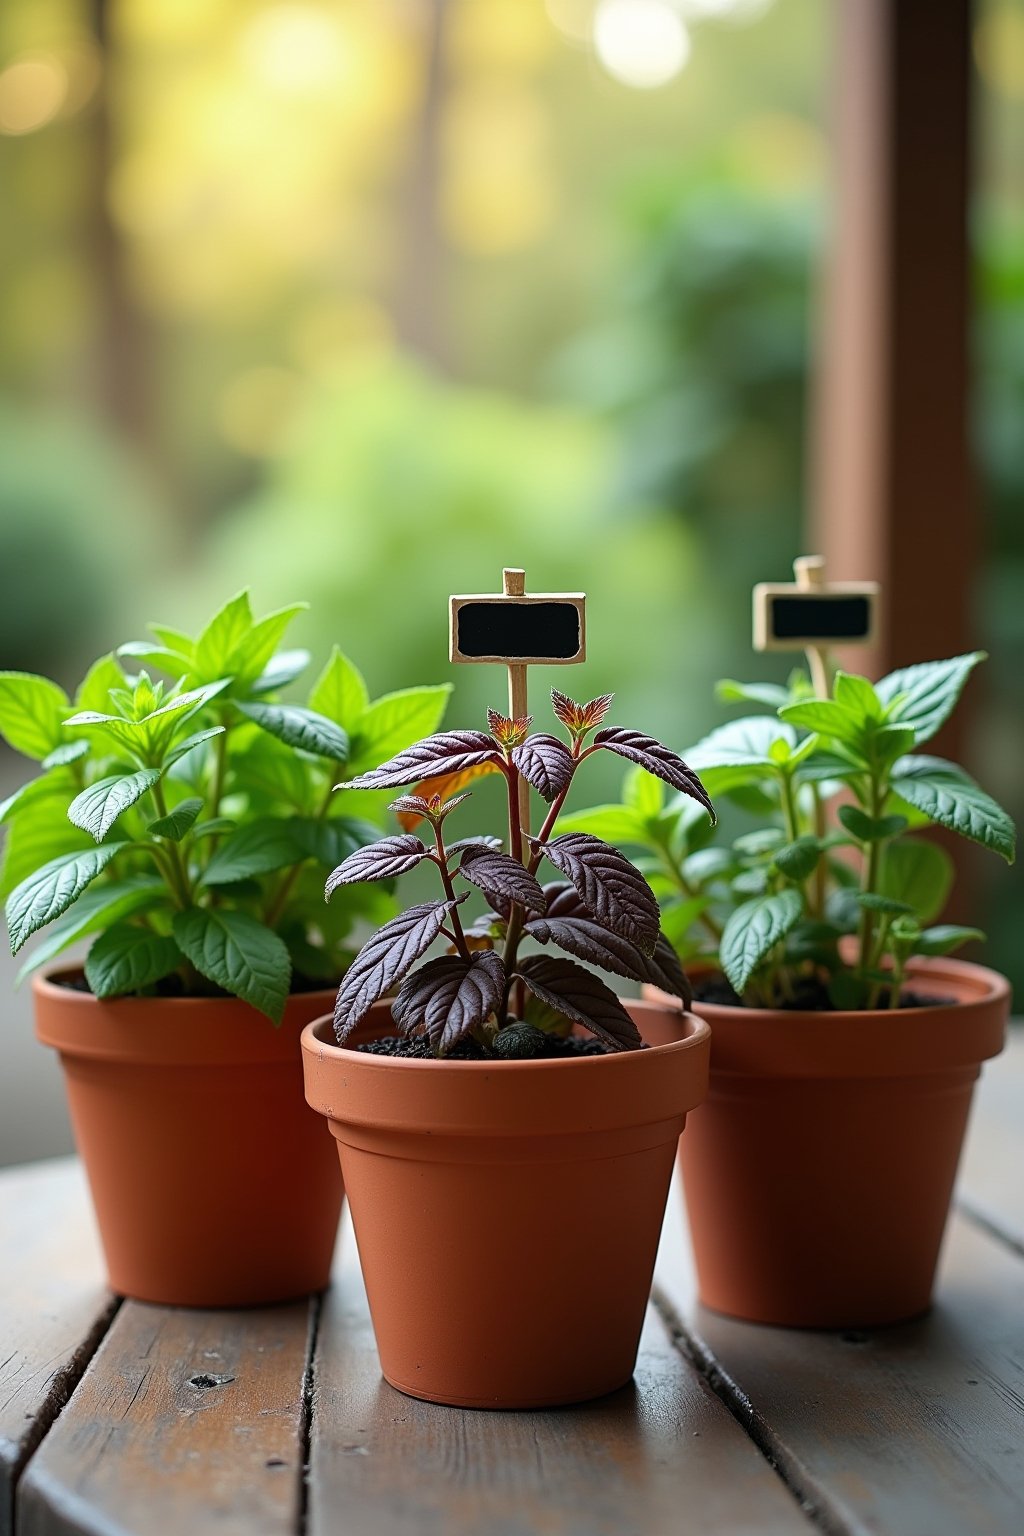
Popular varieties: Spearmint (classic, sweet, great for cooking), Peppermint (stronger menthol, perfect for tea), Chocolate mint (brownish stems, subtle chocolate notes), Mojito mint (mild, perfect for cocktails). You can grow several varieties in separate pots.
Step 1: Choose Your Variety and Container
Pick 1-3 mint varieties based on how you’ll use them. Use a pot at least 12 inches wide and 8 inches deep — mint’s shallow, spreading root system needs width more than depth. One variety per pot, because different mints planted together cross and lose their distinct flavors.
If you want mint in a garden bed, sink the entire pot into the ground with the rim 2 inches above soil level. This contains the roots while making it look like a garden plant. Check periodically that runners haven’t escaped over the rim.
Step 2: Plant and Position for Best Growth
Fill the pot with potting mix and plant the mint transplant at the same depth it was in its nursery pot. Water thoroughly. Mint prefers partial sun to partial shade — 4-6 hours of direct light is ideal. Full sun is fine if you keep the soil moist, but mint is one of the few herbs that actually grows better with some afternoon shade, especially in hot climates.
This shade tolerance makes mint perfect for spots where other herbs struggle — north-facing patios, shady porches, or under trees. It is more versatile in terms of placement than basil, rosemary, or most other herbs.
Step 3: Keep the Soil Consistently Moist
Mint likes more moisture than most herbs. Keep the soil evenly damp but not waterlogged. Unlike rosemary (which prefers dry conditions), mint will wilt and drop leaves if the soil dries out completely. Water whenever the top inch feels dry, which in summer may be daily for container plants.
Mulch the soil surface to retain moisture. Mint is one of the few herbs that actually thrives near water features or in boggy conditions — if you have a consistently damp corner of your patio, that is a perfect mint location.
Step 4: Harvest Hard and Often
Like basil, mint responds to harvesting by growing more. Cut stems back to just above a leaf pair, and two new branches will grow from that point. Harvest up to one-third of the plant at a time — it recovers quickly. Regular harvesting prevents flowering, which reduces leaf quality.
Harvest in the morning when the essential oils in the leaves are at their peak concentration. This gives you the most flavor and aroma. Use immediately, store stems in water at room temperature, or dry leaves for tea.
Step 5: Manage and Contain the Growth
Even in a container, mint grows vigorously. By midsummer, it may look overgrown and woody. When this happens, cut the entire plant back to 2 inches above the soil. It will regrow fresh, tender new stems within 1-2 weeks. This rejuvenation can be done 2-3 times per season.
Check for runners escaping through drainage holes — mint is resourceful and will root into whatever it touches below the pot. Place a saucer under the pot or set it on a paved surface to prevent escapees. Every spring, repot the plant with fresh soil to prevent it from becoming rootbound.
Step 6: Overwinter and Divide Each Spring
Mint is a perennial in zones 3-11, meaning the roots survive winter even when the top growth dies back. In cold climates, move the container to a sheltered spot (against a wall, in an unheated garage) and mulch the top with straw. The plant will emerge on its own in spring.
Each spring, divide the root ball by pulling it apart into 2-3 sections and replanting in fresh soil. This keeps the plant vigorous and prevents it from becoming a dense, underperforming rootbound mass. Share divisions with friends — everyone needs fresh mint.
Troubleshooting
Mint escaped into the garden: Dig out all visible plants AND roots. Mint regrows from even tiny root fragments left in the soil. For persistent invasions, lay cardboard over the area for one full season to smother it. In the future, only grow mint in containers with no ground contact.
Plant is leggy and flowering: Needs more aggressive harvesting. Cut the whole plant back to 2 inches above soil level. It will regrow bushy and fresh within 1-2 weeks. Harvest regularly to prevent flowering.
Brown spots on leaves: Mint rust (fungal). Remove affected leaves, improve air circulation, and avoid overhead watering. If severe, cut the plant to the ground and let fresh growth emerge.
Leaves losing flavor: Different mint varieties cross-pollinate if planted in the same pot, producing bland hybrids. Keep each variety in its own container. Also, old woody stems produce less flavorful leaves — cut back to encourage fresh tender growth.
A Seasonal Rhythm
Spring: Divide and repot mint. New growth emerges quickly as temperatures warm. Begin harvesting once stems reach 6 inches.
Summer: Peak harvest season. Cut hard and often — every 1-2 weeks. Water daily in containers. Cut the whole plant back to 2 inches if it looks leggy or overgrown. Fresh regrowth appears within 2 weeks.
Fall: Harvest heavily before the first frost. Dry extra leaves for winter tea. Move containers to a sheltered spot or mulch the top.
Winter: Roots survive underground in zones 3-11. In cold climates, insulate the container. No watering or feeding needed when dormant. The plant returns on its own in spring.
On the Margin
- NEVER plant mint directly in the ground — it will invade your entire garden via underground runners. Always use a container. Even sinking a pot in the ground requires vigilance.
- Cut the whole plant back to 2 inches when it gets scraggly — mint regrows fresh and bushy within 1-2 weeks. Don’t be afraid to be aggressive with pruning.
- One variety per pot — different mints cross and their offspring lose the distinct flavors that make each variety special. Keep spearmint, peppermint, and chocolate mint in separate containers.
- Mint grows great in shade — it’s one of the few herbs that thrives with only 4 hours of sun. Perfect for shady patios, balconies, and porches where basil and rosemary would struggle.
- Freeze mint in ice cubes — place fresh mint leaves in ice cube trays with water and freeze. Drop them into drinks for instant mint-infused refreshment all winter.
- Divide and share every spring — spring division keeps your plant vigorous and gives you extra plants. Mint is the perfect gift plant because it’s basically indestructible.
A Few More on This
Common Questions
Why should I grow mint in a container instead of the ground?
Mint spreads aggressively through underground runners (stolons) and will invade neighboring plants, flower beds, and lawns. In a container, the roots are confined and cannot spread. This is the single most important rule of growing mint.
Which mint variety is best for beginners?
Spearmint is the most versatile and easiest to grow — it’s the classic mint flavor used in cooking, drinks, and tea. Peppermint is great if you primarily want mint for tea. Mojito mint is mild and perfect for cocktails. All are equally easy to grow.
How do I keep mint from taking over?
Grow it exclusively in containers with no ground contact. Check drainage holes for escaping runners. Set pots on paved surfaces. If you sink a pot in the ground, keep the rim 2 inches above soil level and check monthly for runners going over the edge.
Can I grow mint indoors?
Yes, mint grows well indoors in a pot by a bright window. It needs at least 4 hours of direct sunlight or supplemental grow light. Water consistently and harvest regularly. Indoor mint tends to be less vigorous than outdoor but still provides plenty for tea and cooking.
Does mint come back every year?
Yes! Mint is a perennial in zones 3-11. The top growth dies back in winter but the roots survive and send up new growth in spring. In containers, protect the pot from extreme cold by moving it to a sheltered spot and mulching the top.
How do I dry mint for tea?
Cut stems in the morning when oils are strongest. Bundle 5-6 stems together and hang upside down in a warm, dry, dark place for 1-2 weeks. When leaves crumble easily, strip them from the stems and store in an airtight jar. Alternatively, spread leaves on a baking sheet at 170°F for 1-2 hours.