Your Mattress Is Dirtier Than You Think
Here’s something nobody likes to hear: the average mattress doubles in weight over the course of its lifetime from accumulated dust mites, dead skin cells, body oils, and sweat. Even if your sheets look clean and your bedroom smells fine, your mattress is quietly collecting biological debris every single night. An estimated two million dust mites can live in a single mattress, feeding on the dead skin you shed during sleep.
The good news? Deep cleaning a mattress is simpler than you’d expect, it doesn’t require any special equipment, and doing it regularly can dramatically improve your sleep quality, reduce allergy symptoms, and extend the life of your mattress by years. Here’s how to clean every type of mattress — whether it’s innerspring, memory foam, latex, or hybrid — using methods that actually work.
Step 1: Strip and Wash Everything
Start by removing all bedding — sheets, pillowcases, mattress protector, mattress pad, everything. Wash it all in hot water (at least 130°F / 54°C) to kill dust mites. If your mattress protector is waterproof, check the care label — most can be machine washed but should be tumble dried on low to preserve the waterproof membrane.
While the bedding is in the wash, this is the perfect time to clean the mattress itself. Open the windows if weather permits — fresh air and sunlight are natural deodorizers and mild disinfectants.
Step 2: Vacuum the Entire Surface
Use your vacuum’s upholstery attachment to vacuum the entire surface of the mattress — top, sides, and all seams and crevices. The seams and piping edges are where dust mites, dead skin, and debris accumulate most heavily, so spend extra time there.
If your vacuum has a HEPA filter, even better — it will trap the fine allergen particles instead of blowing them back into the room. A Handheld Mattress Vacuum with UV-C Light is purpose-built for this task and uses UV light to kill bacteria and dust mites as you vacuum. If you deal with allergies, it’s a worthwhile investment.
For memory foam mattresses, use gentle suction. High-powered vacuums on the strongest setting can damage the foam surface. Use a low or medium suction setting with the soft brush attachment.
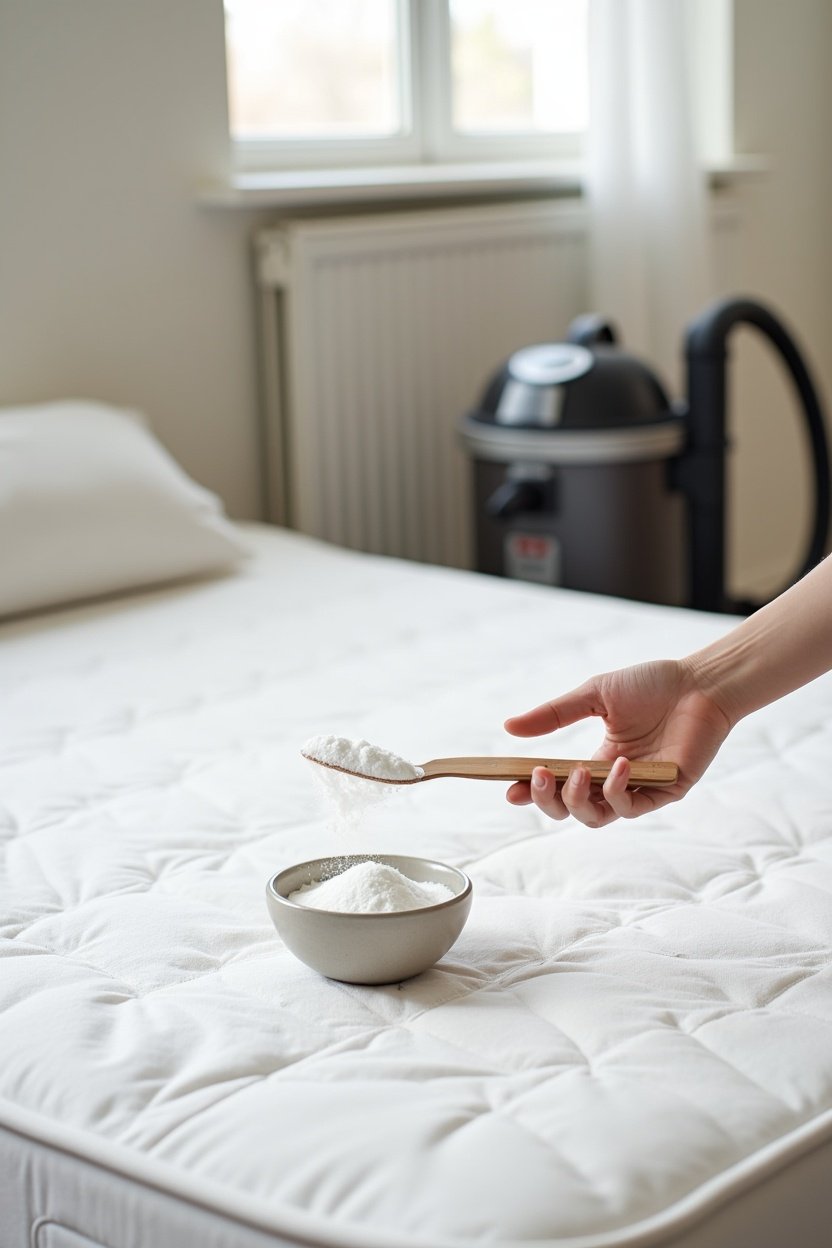
Step 3: Deodorize With Baking Soda
Baking soda is your mattress’s best friend. It absorbs odors, draws out moisture, and helps break down body oils that have soaked into the surface. Sprinkle a generous layer of baking soda over the entire mattress surface. Don’t be shy — use at least a full cup for a queen-size mattress.
For extra deodorizing power, mix 5-10 drops of lavender or tea tree essential oil into the baking soda before sprinkling. Lavender promotes sleep, and tea tree has natural antibacterial properties. Let the baking soda sit for at least 30 minutes — ideally 2-4 hours or even overnight if you can. The longer it sits, the more moisture and odor it absorbs.
When time is up, vacuum the baking soda thoroughly, again using the upholstery attachment. Make sure to get every bit out of seams and tufting.
How to Remove Specific Stains
Different stains require different treatments. Here are the most common mattress stains and how to handle each one:
Sweat and body oil stains (yellowish discoloration): Mix 1 cup hydrogen peroxide (3%), 3 tablespoons of baking soda, and a drop of dish soap. Spray or dab the solution onto the stain — don’t soak it. Let it sit for 15-20 minutes until it dries and forms a residue, then vacuum the residue away. The hydrogen peroxide breaks down the proteins in sweat stains, and the baking soda lifts the discoloration.
Blood stains: Always use cold water — hot water sets blood stains permanently. Make a paste of salt and cold water, apply it to the stain, let it sit for 30 minutes, then blot with a cold damp cloth. For older blood stains, hydrogen peroxide applied with a cloth (dab, don’t rub) is remarkably effective. You’ll see it fizz on contact — that’s the peroxide breaking down the blood proteins.
Urine stains: Blot up as much liquid as possible immediately. Then spray liberally with a solution of 1 part white vinegar and 1 part water. Blot again. Cover the area with baking soda and let it sit for 8-10 hours. Vacuum thoroughly. The vinegar neutralizes the ammonia in urine, and the baking soda absorbs remaining moisture and odor. For persistent odor, an Enzyme-Based Pet Stain and Odor Remover breaks down the uric acid crystals that cause lingering smell.
Coffee or tea stains: Blot immediately with a dry cloth. Mix a small amount of dish soap with cold water, dab the solution onto the stain, and blot with a clean cloth. Repeat until the stain lifts. Follow with a damp cloth to remove soap residue, then blot dry.
Cleaning Different Mattress Types
Innerspring mattresses are the most forgiving. They can handle most cleaning methods and dry relatively quickly because air circulates through the coil structure. You can use slightly more liquid when treating stains, as long as you blot well and ensure full drying.
Memory foam mattresses require extra care because they absorb and hold moisture. Never soak a memory foam mattress — excess water can get trapped inside and promote mold growth. Use sprays sparingly, blot immediately, and ensure thorough drying with a fan or open windows. Never wring or compress the foam aggressively when cleaning.
Latex mattresses are naturally antimicrobial and dust-mite resistant, which gives them a head start on cleanliness. Clean them the same way as memory foam — light spray, gentle blotting, thorough drying. Avoid harsh chemicals, which can degrade latex over time.
Hybrid mattresses (foam top over coil base) should be treated like memory foam for the top surface. The foam comfort layer holds moisture the same way, so keep liquid applications minimal and drying thorough.

Dust Mite Prevention: The Long Game
Cleaning your mattress kills and removes existing dust mites, but preventing new ones from setting up camp is equally important. Here’s how:
- Use a mattress encasement. A zippered, allergen-proof mattress encasement (not just a protector — a full encasement) creates a barrier that dust mites cannot penetrate. It’s the single most effective dust mite prevention tool available. Look for one certified to block particles down to 1 micron.
- Wash bedding weekly in hot water. Sheets and pillowcases should be washed at 130°F or higher every week. This kills any dust mites living in the bedding before they can migrate to the mattress.
- Keep bedroom humidity below 50%. Dust mites thrive in humid environments. A dehumidifier in damp climates or seasons keeps conditions inhospitable for mites.
- Vacuum the mattress monthly. A quick vacuum with the upholstery attachment once a month prevents buildup between deep cleanings.
How Often Should You Clean Your Mattress?
Here’s a practical schedule that balances thoroughness with real life:
- Monthly: Vacuum the mattress surface and sides.
- Every 3 months: Full baking soda deodorizing treatment.
- Every 6 months: Deep clean — vacuum, deodorize, treat any stains, flip or rotate the mattress.
- Immediately: Treat any new stains as soon as they happen. Fresh stains are dramatically easier to remove than set-in ones.
A clean mattress isn’t just about aesthetics — it directly affects your sleep quality and health. Allergens, odors, and accumulated moisture all interfere with restful sleep, even if you don’t consciously notice them. A few hours of cleaning twice a year is a small investment for thousands of nights of better rest.