Homegrown garlic is one of those things that, once you try it, makes you question everything you thought you knew about garlic. Store-bought garlic is fine for cooking, but it has been sitting in a warehouse for months, shipped from thousands of miles away, and often treated with chemicals to prevent sprouting. Freshly harvested garlic from your own garden is sharper, juicier, and explosively more flavorful.
The best part is that garlic is one of the easiest crops to grow. You plant individual cloves in fall, they develop roots before winter, grow through spring, and you harvest beautiful bulbs in mid-summer. The entire process requires almost zero maintenance — no pruning, no trellising, no complicated pest management. Just plant, mulch, wait, and harvest. One bulb of seed garlic gives you 6-10 cloves to plant, and each clove produces a full new bulb. That is a 600-1000% return on your investment.
Quick Facts
| Sun | Full Sun (6-8 hours minimum) |
| Difficulty | Beginner (one of the easiest crops) |
| Season | Plant in fall (October-November), harvest mid-summer (June-July) |
| Zone | USDA Zones 1-9 (hardneck for cold climates, softneck for mild) |
| Time to Harvest | 8-9 months from planting to harvest |
What You’ll Want On Hand
- Seed garlic bulbs (from a garden center or seed catalog — not grocery store garlic)
- Well-drained garden bed with loose soil
- Compost or aged manure
- Straw or leaf mulch (4-6 inches for winter protection)
- Balanced fertilizer (10-10-10)
- Garden trowel or dibber
- Watering can or hose
- Curing area (dry, well-ventilated spot for post-harvest curing)
Hardneck vs Softneck: Hardneck varieties (Music, German Extra Hardy, Chesnok Red) are best for cold climates (zones 1-6). They produce fewer but larger cloves and a bonus edible flower stalk called a scape. Softneck varieties (California Early, Inchelium Red) are better for mild climates (zones 7-9), produce more cloves per bulb, and store longer. Softneck is what you find in grocery stores.
Never plant grocery store garlic: Most grocery garlic is softneck from China, often treated with growth inhibitors. Buy seed garlic from a reputable seed catalog or garden center — it is certified disease-free and selected for garden performance. The varieties available as seed garlic are also far more flavorful than generic store garlic.
Each clove becomes a bulb: One garlic bulb contains 6-10 cloves. Plant each clove separately and it grows into a full new bulb. So one $10 bag of seed garlic can produce 40-60 bulbs — enough garlic for a year of cooking.
Step 1: Prepare the Bed in Early Fall
Choose a spot with full sun and well-drained soil. Garlic will not tolerate wet, soggy soil — the bulbs rot over winter if waterlogged. If your soil is heavy clay, amend with compost and consider a raised bed.
Work 2-3 inches of compost into the top 8 inches of soil. Garlic is a moderate feeder and benefits from rich, loose soil. Add a balanced fertilizer (10-10-10) according to package directions. Rake the bed smooth and let it settle for a week before planting.
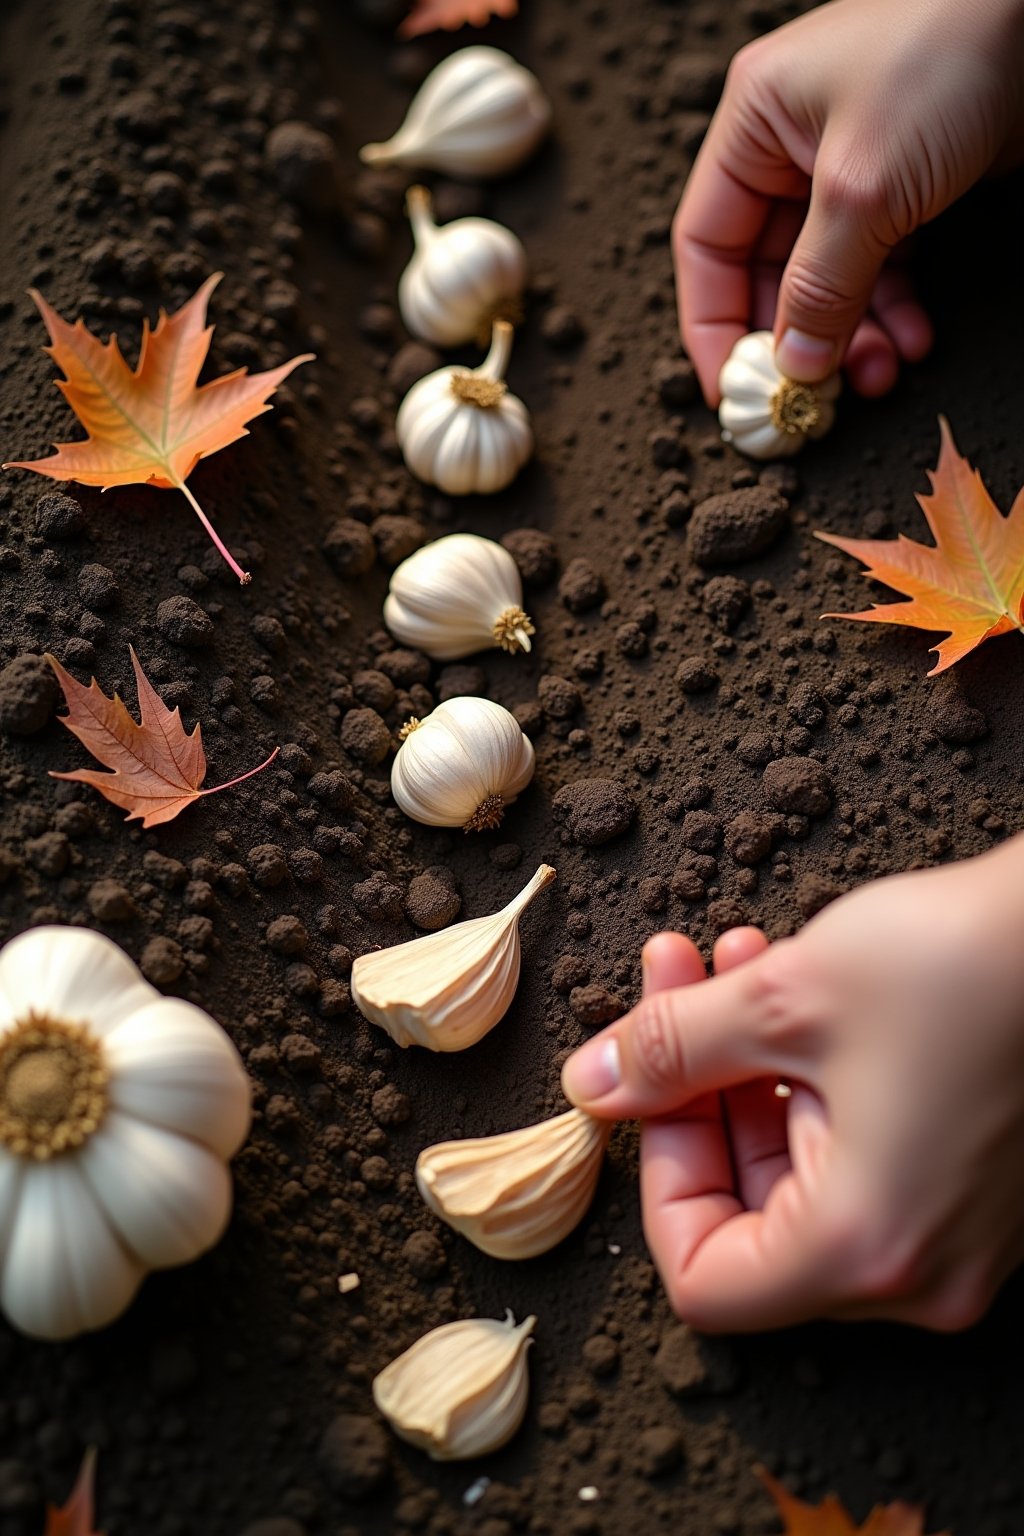
Step 2: Separate Cloves and Plant
Break garlic bulbs into individual cloves no more than 1-2 days before planting — separated cloves dry out quickly. Keep the papery skin on each clove. Use only the largest, healthiest cloves for planting — small inner cloves produce small bulbs.
Plant each clove pointed end up, 2-3 inches deep, and 6 inches apart in rows 12 inches apart. The pointed end is the top where the shoot will emerge. Planting upside down still works but wastes energy as the shoot curves around to find the surface. Cover with soil and water gently to settle.
Step 3: Mulch Heavily for Winter
After planting, cover the entire bed with 4-6 inches of straw or shredded leaf mulch. This insulation protects the cloves from freeze-thaw cycles that can heave them out of the ground. In mild climates (zones 7+), 2-3 inches of mulch is sufficient.
The cloves will develop roots before the ground freezes but will not send up green shoots until spring. This root development is critical — it is why fall planting produces much bigger bulbs than spring planting. The mulch also suppresses weeds, which is important because garlic is a weak competitor against weeds.
Step 4: Spring Growth and Feeding
Green shoots will push through the mulch in early spring — sometimes while snow is still on the ground. This is normal and nothing to worry about. Leave the mulch in place; the shoots will grow right through it.
When shoots are 4-6 inches tall, apply a nitrogen-rich fertilizer (blood meal or a 10-10-10 blend) to fuel rapid spring growth. Water consistently — garlic needs about 1 inch of water per week during active growth. Stop fertilizing by late spring when the plants shift energy from leaf growth to bulb formation.
Step 5: Cut the Scapes (Hardneck Only)
In late spring, hardneck garlic sends up a curly flower stalk called a scape. Snap or cut these off when they make one full curl — this redirects the plant’s energy into bulb growth and can increase bulb size by 20-30%. Scapes are edible and delicious — use them in pesto, stir-fries, or grilled as a vegetable.
Softneck varieties do not produce scapes, so skip this step if you are growing softneck garlic. The scape harvest is one of the perks of growing hardneck varieties — it is essentially a free bonus crop that makes removing scapes feel less like pruning and more like harvesting.
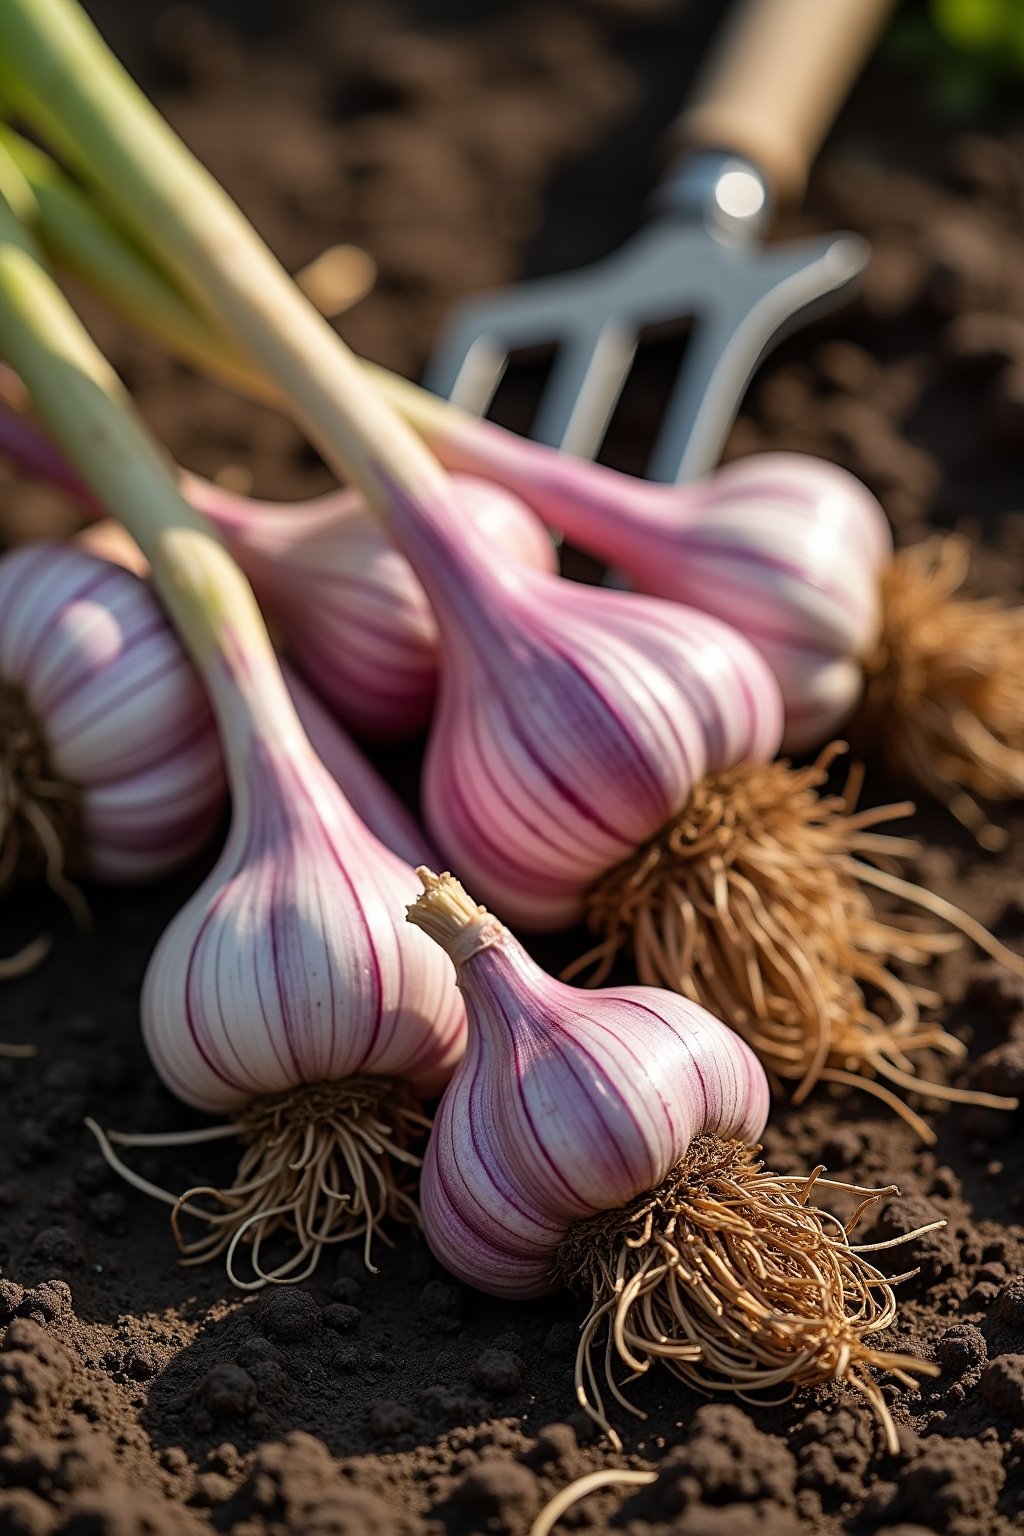
Step 6: Harvest, Cure, and Store
Garlic is ready to harvest when the lower 3-4 leaves have turned brown but 4-5 green leaves remain at the top. This usually happens in mid-June to early July. Each green leaf corresponds to a wrapper layer protecting the bulb — too few green leaves means the wrappers have decomposed and the bulb won’t store well.
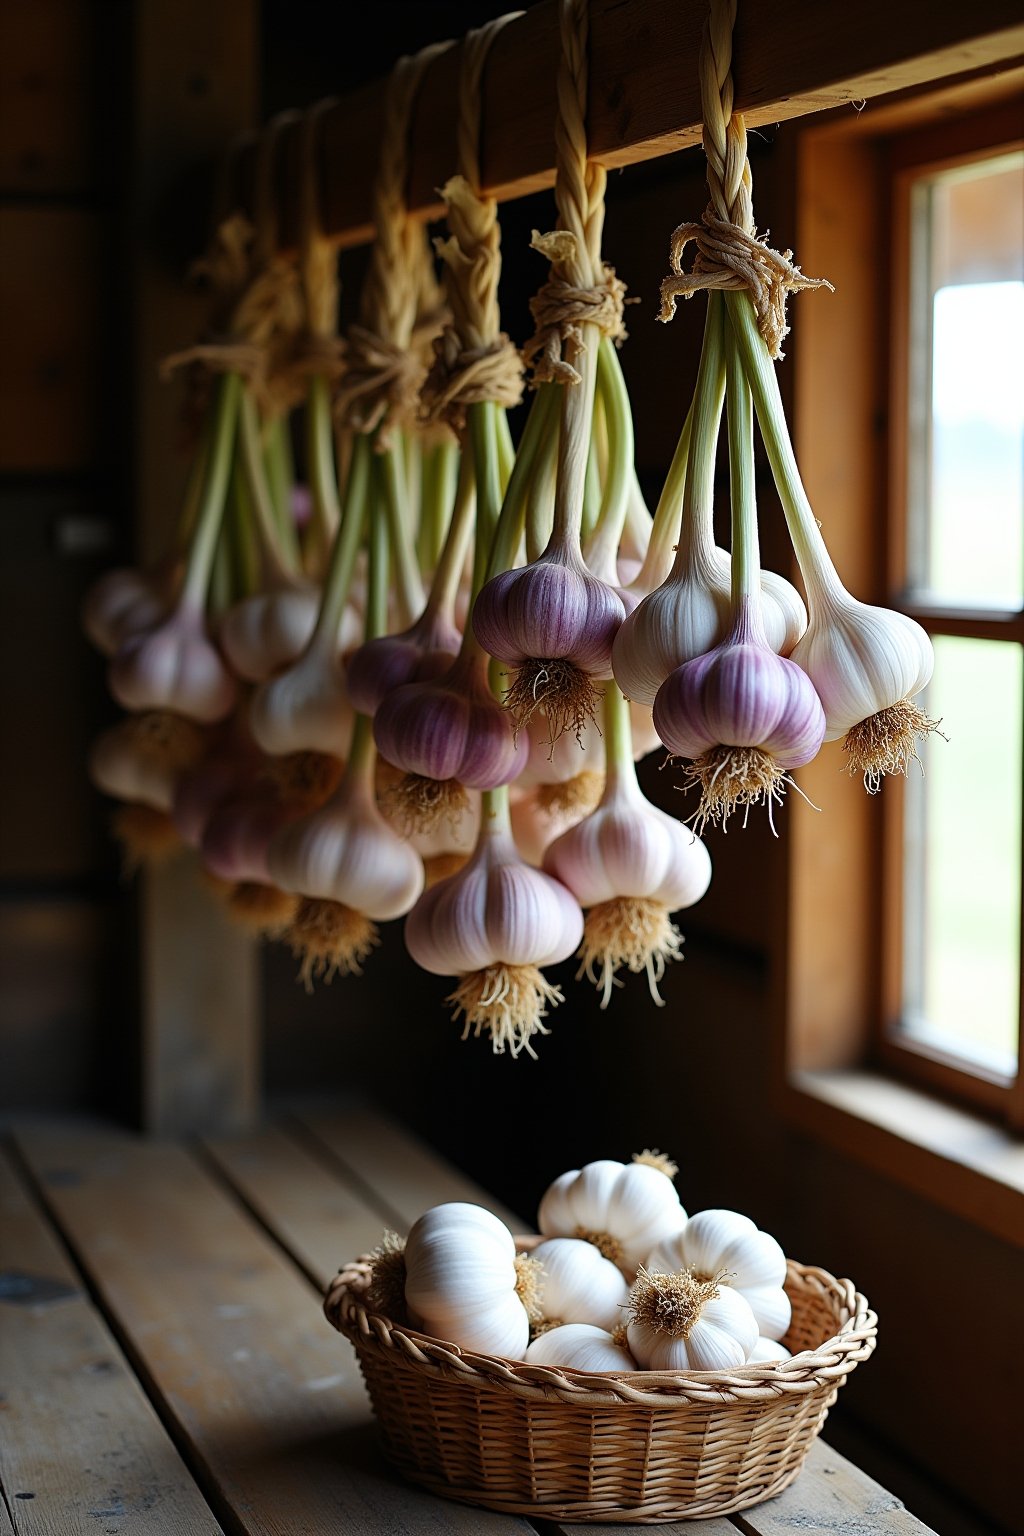
Loosen the soil with a garden fork and gently pull the bulbs. Do not wash them. Brush off loose soil and hang the bulbs in a dry, well-ventilated spot out of direct sun for 2-3 weeks to cure. Once the outer wrappers are papery and dry, trim the roots and stems and store in a cool, dark place. Properly cured softneck garlic stores 6-9 months; hardneck stores 3-5 months.
Troubleshooting
Bulbs are small: Most commonly caused by planting too late in fall (cloves didn’t have time to root before winter), planting small cloves, overcrowding, or not removing scapes on hardneck varieties. Use only the largest cloves, plant 4-6 weeks before hard freeze, and maintain 6-inch spacing.
Garlic rotting in the ground: Waterlogged soil. Garlic needs well-drained soil — amend heavy clay with compost or grow in raised beds. Don’t over-water, especially in the month before harvest when the bulbs are swelling.
Leaves yellowing too early: Could be nitrogen deficiency (feed in spring), overwatering, or disease. Pull one bulb and check — if it looks normal, the yellowing may just be early maturity. If the bulb is soft or moldy, you have a disease issue.
Garlic sprouting in storage: Storage conditions are too warm or too humid. Keep cured garlic in a cool (50-60°F), dark, dry spot with good air circulation. Mesh bags or braids allow airflow. Never store garlic in the fridge — the cold triggers sprouting.
Year-Round Care
Fall (October-November) — PLANTING TIME: This is the main event. Plant cloves 4-6 weeks before the ground freezes. In zones 5-6, this means mid-October to early November. Milder climates can plant through December. Mulch immediately after planting.
Winter: Nothing to do. The garlic is rooting underground beneath the mulch. In very cold areas, add extra straw mulch if there is no snow cover to insulate the soil.
Spring (March-May): Green shoots emerge. Feed with nitrogen-rich fertilizer when shoots are 4-6 inches tall. Water 1 inch per week. Cut scapes on hardneck varieties in late spring.
Summer (June-July) — HARVEST TIME: Harvest when lower leaves brown. Cure for 2-3 weeks in a dry spot. Store and enjoy fresh garlic for months.
Helpful Pointers
- Plant the biggest cloves only — small inner cloves produce small bulbs. Save those for cooking and plant only the fattest outer cloves for the biggest harvest.
- Fall planting beats spring planting every time — fall-planted garlic develops roots before winter, gets a massive head start in spring, and produces bulbs 2-3 times larger than spring-planted garlic.
- Cut the scapes for bigger bulbs — removing scapes from hardneck garlic increases bulb size by up to 30%. Plus, scapes are delicious — garlic scape pesto is a spring delicacy.
- Don’t wash bulbs before curing — wet garlic molds. Brush off soil and let the bulbs dry with roots and stems attached for 2-3 weeks before trimming and storing.
- Save your best bulbs for next year’s planting — instead of buying seed garlic every year, set aside your 10 biggest, healthiest bulbs after harvest to plant in fall. They are adapted to your specific growing conditions.
- Garlic is a natural pest repellent — interplant garlic between roses, fruit trees, and vegetables. It repels aphids, Japanese beetles, and many other pests while taking up minimal space.
Continued Reading
- How to Prepare Your Garden Soil for Spring Planting (Step-by-Step)
- Succession Planting: How to Harvest Fresh Vegetables All Season Long
Frequently Asked Questions
Can I plant garlic from the grocery store?
You can, but it is not recommended. Most grocery garlic is softneck from China, often treated with growth inhibitors that prevent sprouting. Even untreated grocery garlic may carry diseases. Buy certified seed garlic from a garden center or seed catalog for the best results and variety selection.
When is the best time to plant garlic?
Fall — specifically 4-6 weeks before the ground freezes. In most areas, this means October to November. Fall planting gives cloves time to develop roots before winter, resulting in bigger, better bulbs than spring planting. Spring planting works but produces smaller bulbs.
How long does it take to grow garlic?
About 8-9 months from planting to harvest. Plant cloves in fall (October-November), they grow through winter and spring, and you harvest in mid-summer (June-July). It is a long-season crop but requires almost no work during the growing period.
What are garlic scapes and can you eat them?
Scapes are the curly flower stalks that hardneck garlic produces in late spring. They are 100% edible and have a mild garlic flavor. Chop them into stir-fries, blend into pesto, grill them whole, or pickle them. Removing scapes also increases bulb size, so you get a bonus harvest and bigger garlic.
How many bulbs of garlic does one clove produce?
Each clove produces exactly one new bulb. A typical bulb contains 6-10 cloves, so one bulb of seed garlic planted in fall gives you 6-10 full bulbs at harvest. That is a 6-10x multiplication rate every year.
How do I store garlic after harvest?
Cure bulbs for 2-3 weeks in a dry, well-ventilated spot out of direct sun (a shaded porch, garage, or barn works). Once the outer wrappers are papery, trim roots and stems and store in a cool (50-60°F), dark, dry location. Softneck stores 6-9 months, hardneck stores 3-5 months. Never refrigerate — cold triggers sprouting.