
I learned how to properly clean kitchen cabinets from a professional house cleaner who had been doing it for 22 years. She walked into my kitchen, ran her finger along the cabinet above my stove, held it up, and showed me the sticky brownish film that had accumulated there. “This is aerosolized cooking oil,” she said. “It’s on every cabinet in this kitchen. You just can’t see it on the lower ones yet.”
She was right. That invisible layer of grease mixed with dust is on virtually every kitchen cabinet in every home where someone cooks regularly. It builds up slowly, becoming tacky and then sticky, eventually turning into a gummy film that attracts more dust and discolors the finish. Most people never clean it until it’s visible and stubborn. Here’s the professional method that works on every cabinet type — wood, painted, and laminate.
| ⏱ Time Required: | 1-2 hours |
| 📈 Difficulty: | Medium |
| 💰 Supplies Cost: | $5-15 |
| 🔄 How Often: | Every 3-6 months |
What I Changed and Why
- Addresses the grease that regular cleaning misses — aerosolized cooking oil settles on every surface in the kitchen, but cabinets above and beside the stove accumulate the thickest buildup
- Tailored to your cabinet material — wood, painted, and laminate surfaces each need slightly different products and techniques to clean safely without damage
- Uses a professional degreasing sequence — the warm water, dish soap, and vinegar method used by professional house cleaners works better than spray-and-wipe products
- Restores the original finish — removing the grease layer reveals the cabinet’s true color and sheen, often making them look years newer
- Prevents long-term damage — built-up grease eventually degrades paint, damages wood finish, and causes permanent discoloration if left untreated
- Takes about 30 minutes for an average kitchen — once you know the method, maintaining clean cabinets is a fast quarterly task rather than a dreaded annual project
The Lineup
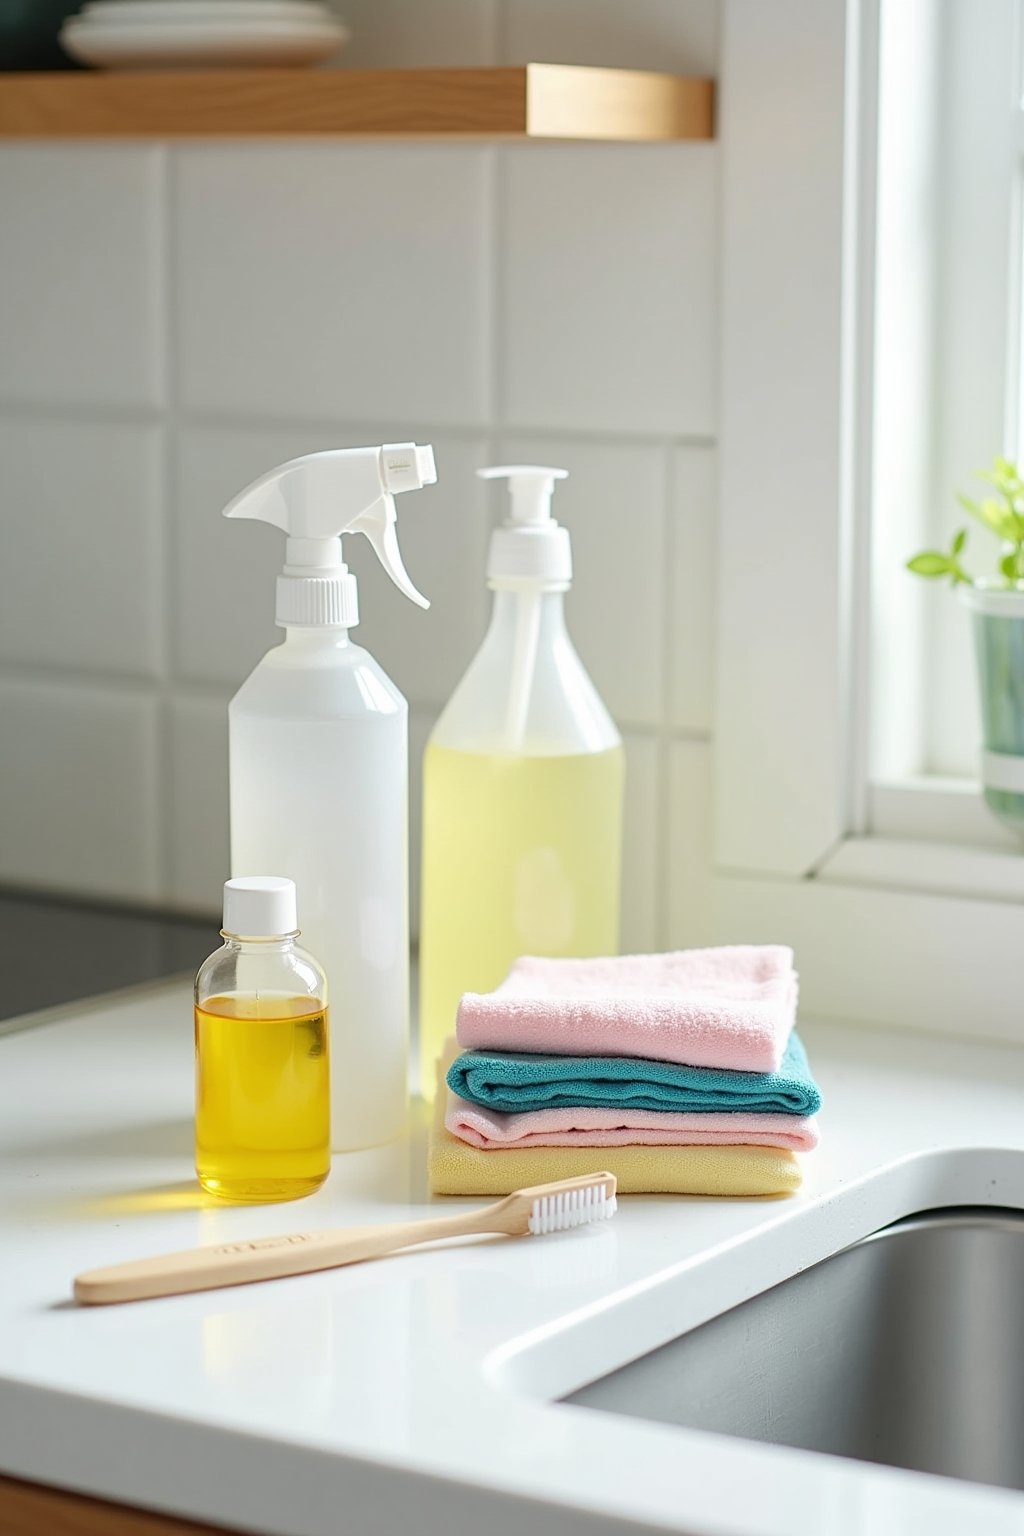
Professional cabinet cleaners keep it simple. Specialty products are unnecessary for most kitchen grease:
- Dish soap (Dawn or similar) — the degreasing agent in dish soap is designed to dissolve cooking oils, making it the perfect cabinet cleaner
- White distilled vinegar — cuts through grease film and removes the hazy residue that soap alone can leave behind
- Warm water — warm (not hot) water softens hardened grease and helps the soap work more effectively
- Microfiber cloths — at least 3-4 cloths, because you will need clean ones for rinsing and drying
- Baking soda — makes a non-scratch scrubbing paste for the worst buildup areas near the stove
- Mineral oil or wood polish — for conditioning and protecting natural wood cabinets after cleaning
- Soft-bristle toothbrush — for cleaning recessed panel details, hinges, and handles where grease hides
The Order That Works
Test Your Cabinet Finish First
Before cleaning, identify your cabinet material and test your cleaning solution in a hidden area (inside a cabinet door or the side panel against the wall). Mix a few drops of dish soap in warm water, apply to the test area with a cloth, and wipe. Check for any discoloration, finish removal, or damage after drying. This takes 5 minutes and prevents accidentally damaging your cabinets with a product that is too harsh for the finish.
Wood cabinets with a polyurethane or varnish finish handle the dish soap method perfectly. Painted cabinets are safe with dish soap but can be damaged by abrasive scrubbing or harsh chemicals that strip the paint. Laminate cabinets are the most durable and can handle almost any degreaser. The one product to avoid on all cabinet types: undiluted bleach, which can discolor, warp, and degrade both paint and wood finishes.
Start With the Worst Areas First
The cabinets directly above and beside your stove have the thickest grease buildup. Start there so the cleaning solution has extra time to work. Mix about 1 tablespoon of dish soap into 2 cups of warm water. Dip a microfiber cloth, wring it so it is damp but not dripping, and wipe down the cabinet surfaces. For heavy buildup, let the soapy cloth sit on the surface for 2-3 minutes to soften the grease before wiping.
For the gummiest areas that do not come clean with the soap solution alone, make a paste of baking soda and a few drops of dish soap. Apply this paste with a soft cloth and rub gently in the direction of the wood grain (or in any direction for painted and laminate surfaces). The baking soda provides just enough grit to lift the grease without scratching the finish. Wipe away the paste with a clean damp cloth and check the results. Most heavy grease comes off in one or two applications.
Clean All Remaining Cabinets
Work your way around the kitchen, cleaning all cabinet doors and frames. Upper cabinets accumulate more airborne grease than lower ones, but lower cabinets near the stove and sink get splatter and fingerprint buildup. Don’t forget the top of upper cabinets — if your cabinets do not go all the way to the ceiling, the top surfaces are often the greasiest, dustiest surfaces in the entire kitchen.
Use the toothbrush to clean recessed panel details, around hinges, and along the edges of cabinet doors where grease accumulates in crevices. Pay attention to the area around handles and knobs — these spots get touched constantly with greasy cooking hands and build up a noticeable grime ring over time. If your cabinet handles are removable, take them off periodically and soak them in warm soapy water while you clean the doors.
Rinse and Dry Thoroughly
This step is critical, especially for wood cabinets. After cleaning with the soap solution, dampen a fresh microfiber cloth with plain warm water (no soap) and wipe every surface again. This removes soap residue, which can leave a hazy film on the surface that attracts dust and new grease faster. Then immediately follow with a dry microfiber cloth to remove all moisture.
Standing moisture is the enemy of wood cabinets. Water left on the surface can seep into the grain, cause the finish to cloud, or even swell the wood over time. The rinse-and-dry step should be done within a minute or two of the soap wash — do not let soapy water sit on wood surfaces. For painted and laminate cabinets, this step is less critical but still recommended for the best appearance.
Condition and Protect (Wood Cabinets)
If you have natural wood cabinets with a stain and varnish finish, conditioning after cleaning restores moisture to the wood and adds a protective layer that makes future grease removal easier. Apply a small amount of mineral oil or specialized wood cabinet polish to a soft cloth and rub it into the wood following the grain direction. Use very little — a thin, even coat is all you need. Let it sit for 5 minutes, then buff with a clean dry cloth.
This conditioning step is not necessary for painted or laminate cabinets. For those surfaces, the rinse-and-dry step is the final one. However, if your painted cabinets look dull after cleaning, a very light coat of furniture polish designed for painted surfaces can restore their sheen. Do this conditioning step quarterly after your deep clean — it takes about 10 extra minutes and keeps your cabinets looking their best year-round.
Establish a Maintenance Schedule
The professional cleaner who taught me this method told me her secret: the clients whose kitchens were easiest to clean were the ones who wiped down their stove-adjacent cabinets weekly. A quick wipe with a damp microfiber cloth after cooking catches the fresh grease before it hardens and becomes difficult to remove. This weekly spot wipe takes about 2 minutes.
Beyond the weekly wipe, do a full kitchen cabinet clean every 3 months. This involves the full dish soap wash, rinse, dry, and condition cycle on all cabinets. With this quarterly schedule, grease never builds up to the point where it becomes a stubborn, time-consuming project. You will also notice that your kitchen smells fresher and looks brighter when the cabinets are regularly degreased — that invisible grease film traps cooking odors as well as dust.
Where I Look First
- Using abrasive scrub pads on wood or painted cabinets — scouring pads, steel wool, and even rough sponges will scratch through the finish. Use only microfiber cloths, soft sponges, and a baking soda paste for the worst spots
- Spraying cleaner directly onto cabinet surfaces — liquid running into the joints and seams of cabinets causes warping, swelling, and finish damage. Always apply cleaning solution to the cloth first, never directly to the cabinet
- Using vinegar or citrus cleaners on unsealed wood — acids can damage and discolor bare or unfinished wood. If your cabinets are sealed with polyurethane or varnish, vinegar is safe. If they are unfinished, stick to mild dish soap only
- Letting water sit on wood surfaces — even a few minutes of standing moisture can cloud a wood finish. Always dry immediately after cleaning with a rinse cloth
- Only cleaning the fronts — grease accumulates on the tops of upper cabinets, inside cabinet frames near the stove, and on the undersides of overhead cabinets. Clean all surfaces, not just the visible door fronts
When the Effort’s Worth It
Above and Beside the Stove
These cabinets need the most frequent attention. Grease buildup here is 3-5 times heavier than anywhere else in the kitchen. Wipe these cabinets weekly after cooking heavy or greasy meals. During your quarterly deep clean, spend extra time here with the baking soda paste on any stubborn spots. If your range hood isn’t venting properly, grease buildup on these cabinets will be significantly worse — check that the hood filter is clean and the fan is working.
Around the Sink
Cabinets beside and below the sink get splatter and moisture exposure. The area under the sink is particularly vulnerable to water damage from leaks. Check for signs of warping, peeling finish, or mold during your cleaning routine. Wipe the cabinet fronts beside the sink as part of your daily or weekly kitchen wipe-down.
Island and Pantry Cabinets
These get less airborne grease but more fingerprints, especially if you have children. A quick wipe with a damp microfiber cloth handles fingerprints easily. During the quarterly deep clean, give these a soap wash and dry, but they typically do not need the baking soda paste treatment unless they are near the cooking area.
Common Asks
How often should I deep clean kitchen cabinets?
Every 3 months for a thorough soap-wash-rinse-condition cycle. Cabinets directly beside the stove benefit from weekly wipe-downs as well. If you cook frequently with oils (stir-frying, deep frying), monthly deep cleans on the stove-adjacent cabinets may be warranted.
Can I use Murphy’s Oil Soap on kitchen cabinets?
Yes, Murphy’s Oil Soap is safe for sealed wood cabinets and works well for regular maintenance. However, for heavy grease buildup, dish soap (like Dawn) is a stronger degreaser. Murphy’s is best for routine cleaning after the grease has been removed.
Will vinegar damage my cabinet finish?
Diluted vinegar is safe for polyurethane, varnish, lacquer, and paint-finished cabinets. Do not use it on unsealed, unfinished, or waxed wood. When in doubt, test in a hidden area first. Always dilute the vinegar with equal parts water rather than using it at full strength.
How do I clean the sticky grease on top of my upper cabinets?
The tops of upper cabinets develop the thickest grease and dust buildup. Apply the dish soap solution with a cloth, let it sit for 5 minutes, then wipe. For very heavy buildup, lay a warm soapy cloth on the surface for 10 minutes to soften the grease before wiping. A baking soda paste may be needed for the worst spots.
What is the best way to clean around cabinet hardware?
Remove handles and knobs if possible and soak them in warm soapy water. Use a soft toothbrush to clean the area around the mounting holes and the recessed spots where grime collects. If the hardware is not removable, use the toothbrush with soapy water to scrub around it in place.
Should I clean inside my cabinets too?
Interior cabinet shelves should be wiped down twice a year. Cabinets near the stove may have grease inside as well, especially if left open during cooking. Pull everything out, wipe shelves with a damp cloth, dry completely, and replace items. This is also a good time to check for expired pantry items.