I have a confession: the first homemade cleaner I ever made was terrible. I found a recipe online, mixed vinegar with castile soap (do not do this — I will explain why), sprayed it on my counter, and was left with a streaky, filmy mess that looked worse than before I cleaned. I almost gave up on DIY cleaners entirely.
But I am stubborn, so I spent the next month testing different combinations, ratios, and ingredients. I tried at least fifteen variations, tested each one on kitchen counters, bathroom tile, glass, appliance fronts, and wood surfaces. After all that experimenting, I landed on three recipes that genuinely work — not “work for a homemade product” but actually work as well as the commercial sprays I was replacing. Here are all three, including exactly which surfaces each one is designed for and which surfaces you should never use them on.
| ⏱ Time Required: | 1-2 hours |
| 📈 Difficulty: | Easy-Medium |
| 💰 Supplies Cost: | $15-25 |
| 🔄 How Often: | Whenever it comes up |
Why It Stays Together
- Three recipes cover every surface type in your home — one for general surfaces, one for natural stone, and one for heavy grease, so you are never using the wrong formula on the wrong material
- Each recipe costs under 50 cents to make — compared to four to six dollars for a commercial spray bottle that contains mostly water anyway
- You control exactly what touches your surfaces — no hidden fragrances, dyes, preservatives, or synthetic chemicals
- These specific ratios have been tested — unlike many online recipes that combine ingredients that cancel each other out, these formulas use ingredients that enhance each other’s cleaning power
- Refillable and zero-waste — you mix in the same bottles forever, eliminating the cycle of buying and discarding plastic spray bottles
To Save You Time Later
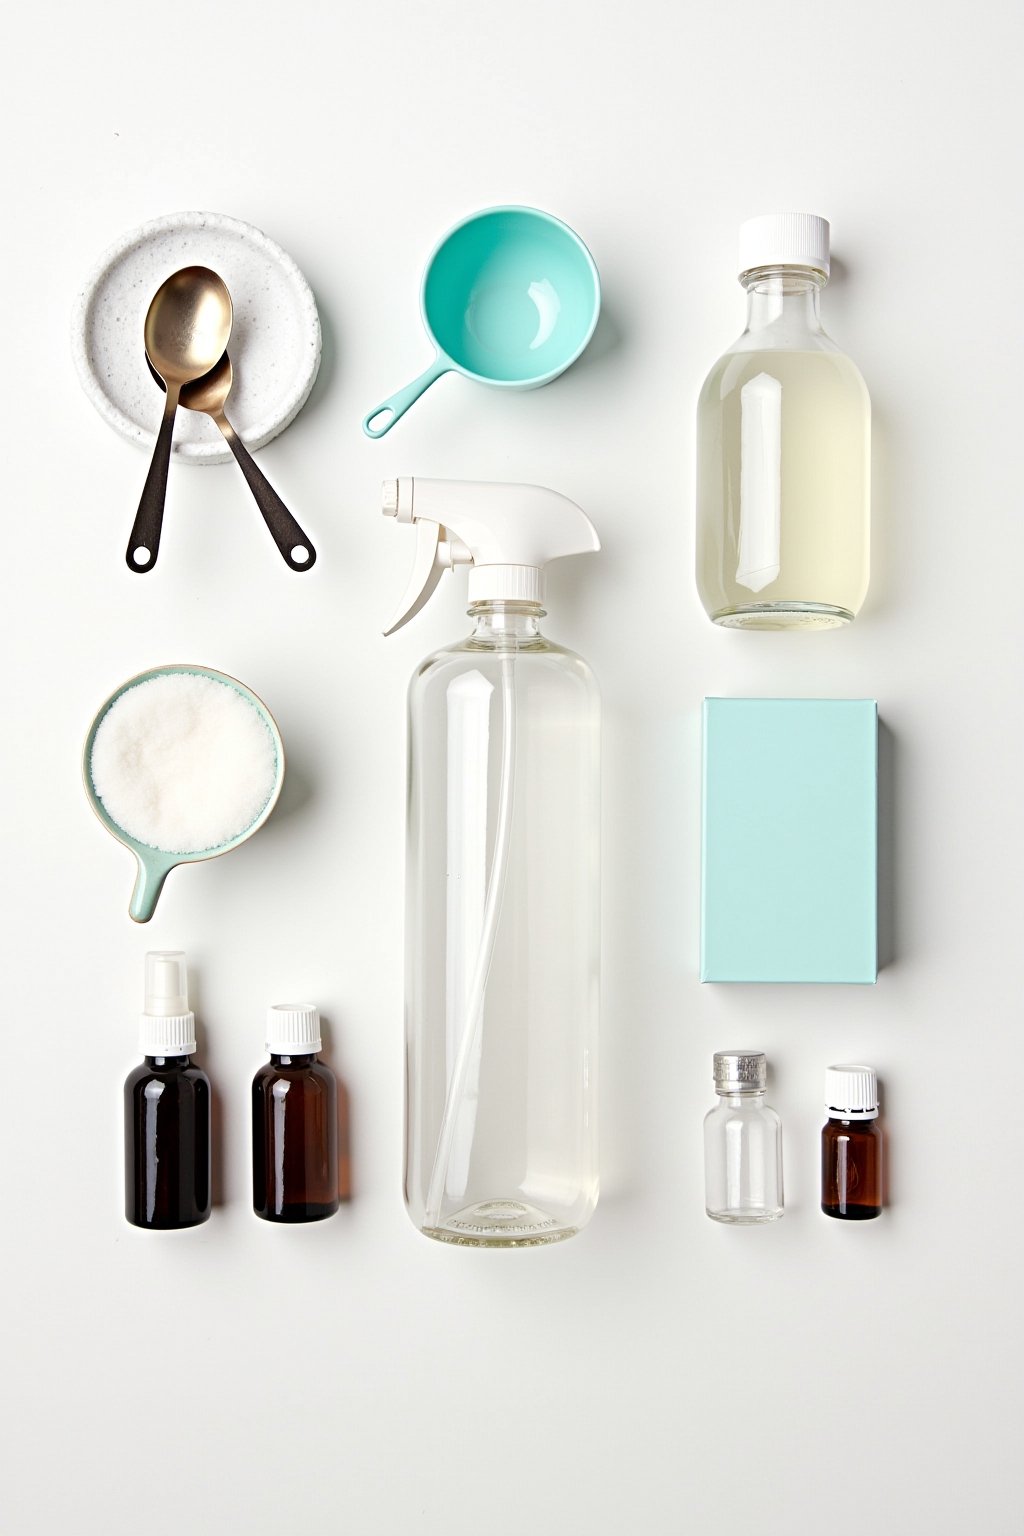
These ingredients cover all three recipes with plenty left over for months of refills:
- White distilled vinegar (gallon jug) — the acidic base for Recipe 1 that dissolves grease, mineral deposits, and soap residue
- Rubbing alcohol (70% isopropyl, one bottle) — the evaporative base for Recipe 2 that cleans without streaking or acid damage
- Liquid dish soap (clear, unscented) — a surfactant that helps solutions spread and lift grime from surfaces
- Baking soda (one box) — boosts the degreasing power of Recipe 3 for tough kitchen grime
- Essential oils (optional) — lemon, lavender, or tea tree for scent and mild antimicrobial properties
- Three spray bottles (16–32 oz) — glass bottles are ideal but clean recycled plastic bottles work fine
- Measuring cups and spoons — accurate measurements matter for these recipes
- Funnel — makes pouring into narrow-neck bottles mess-free
The Order That Works
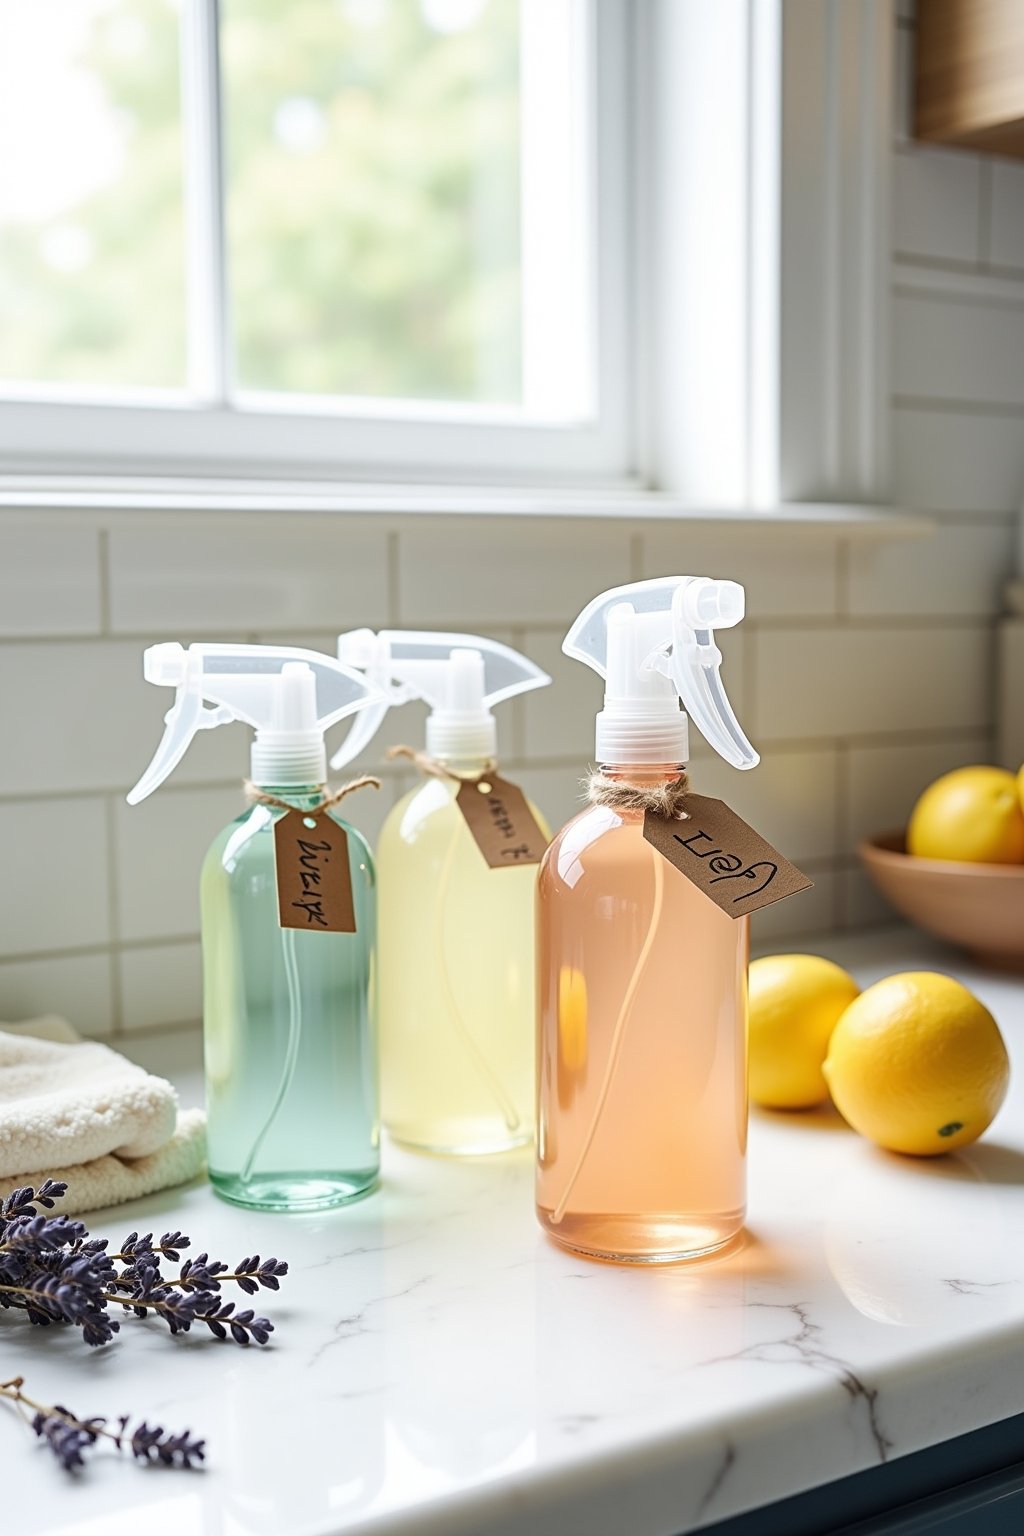
Recipe 1: The Everyday Vinegar Spray (For Most Surfaces)
This is your daily driver — the bottle you reach for ten times a day. In a 32-ounce spray bottle, combine two cups of water, one cup of white distilled vinegar, one teaspoon of clear liquid dish soap, and 15 drops of essential oil if desired. Shake gently (too vigorous and the dish soap creates excessive foam). The vinegar provides acidity that cuts through grease and dissolves mineral buildup. The dish soap acts as a surfactant, helping the solution spread evenly and lift grime off surfaces rather than just pushing it around.
Use on: laminate and solid-surface countertops, tile, glass cooktops, stainless steel appliance fronts, vinyl and laminate floors, ceramic sinks, and general hard surfaces. Do NOT use on: granite, marble, quartz, travertine, or any natural stone. Do not use on unsealed wood, cast iron, or aluminum. Vinegar’s acidity etches natural stone and reacts badly with certain metals. Pro tip: spray the surface and wait 30 seconds before wiping. This contact time allows the vinegar to dissolve grease rather than you having to scrub it off mechanically.
Recipe 2: The Stone-Safe Alcohol Spray (For Natural Stone and Sensitive Surfaces)
This recipe exists because vinegar will ruin your granite countertops, and most people learn this the hard way. In a 32-ounce spray bottle, combine two cups of water, one cup of rubbing alcohol (70% isopropyl), and half a teaspoon of clear liquid dish soap. Shake gently. The rubbing alcohol is pH-neutral, evaporates quickly without streaking, and provides genuine antimicrobial action. The dish soap adds just enough surfactant to lift oily residue without leaving a film.
Use on: granite, marble, quartz, quartzite, and all natural stone countertops. Also excellent on glass, mirrors, stainless steel, and finished wood surfaces. This is the single best streak-free cleaner for any smooth surface. Do NOT use on: painted surfaces that are not fully cured (rubbing alcohol can dissolve fresh paint) or acrylic and plexiglass (alcohol can cause clouding). Pro tip: this recipe doubles as the best mirror and glass cleaner you will ever use. Spray and wipe with a lint-free microfiber cloth for a perfectly streak-free finish.
Recipe 3: The Heavy-Duty Degreaser (For Kitchen Grease and Tough Grime)
When the everyday vinegar spray meets its match — baked-on stovetop grease, range hood filters, the greasy film above the stove — this is the recipe you need. In a 32-ounce spray bottle, combine two cups of warm water, half a cup of white vinegar, two tablespoons of dish soap, and one tablespoon of baking soda. Add the baking soda last and slowly, because it will fizz when it hits the vinegar. Leave the bottle open until the fizzing stops, then close.
This creates an alkaline solution with extra surfactant power. The baking soda reacts with the vinegar and creates sodium acetate, which is actually a mild degreaser in its own right. The extra dish soap boosts the grease-cutting ability. Use on: stovetops, range hoods, oven exteriors, grill grates, backsplash tiles with grease splatter, and any heavily soiled kitchen surface. Do NOT use on: natural stone (still contains vinegar) or delicate surfaces. Pro tip: for extreme grease, spray generously and let it soak for five minutes before wiping. The soak time does most of the work.
How to Store and Maintain Your DIY Cleaners
Proper storage extends the life and effectiveness of your homemade cleaners significantly. Store all bottles in a cool, dark cabinet away from direct sunlight. The vinegar-based recipes (1 and 3) last indefinitely since vinegar does not expire. The alcohol-based recipe (2) also lasts indefinitely as long as the bottle stays sealed between uses, since alcohol evaporates over time if left open.
Label every bottle clearly with the recipe name, the date you made it, and what surfaces it is safe for. This is especially important if anyone else in your household uses them. Consider a permanent marker on the bottle or waterproof adhesive labels. Pro tip: make your labels color-coded. Green label for the everyday spray, blue for the stone-safe spray, red for the heavy degreaser. Visual cues prevent grabbing the wrong bottle when you are cleaning quickly.
Why Certain Common DIY Recipes Do Not Work
Vinegar + castile soap = curdled mess. This is the most common bad recipe on the internet. Castile soap is alkaline, vinegar is acidic, and mixing them causes the soap to un-saponify, creating a white, filmy residue that coats surfaces and is harder to clean off than the original dirt. Use dish soap (a synthetic detergent) with vinegar instead — detergents are acid-stable and won’t curdle.
Baking soda + vinegar pre-mixed in a bottle = flavored water. When baking soda and vinegar react, they neutralize each other and produce water plus carbon dioxide gas. The fizzing action is useful in the moment (pour baking soda, then spray vinegar), but pre-mixing them in a bottle gives you a solution with zero cleaning power. Use them sequentially, not combined. Pro tip: if a recipe sounds too simple to be true, test it on a small area first. Many viral cleaning hacks look impressive in a video but leave residue or damage surfaces.
Common Hiccups
- Mixing vinegar with castile soap — the acid-base reaction creates a white filmy residue that coats everything and requires extra cleaning to remove. Always use dish soap (synthetic detergent) as the surfactant with vinegar
- Using too much dish soap — a little goes a very long way. More than a teaspoon per 32 ounces creates excessive suds and leaves a sticky film that attracts dirt faster than it would without cleaning at all
- Not testing on a hidden area first — even gentle ingredients can react unexpectedly with certain finishes, coatings, and sealants. Always test a new recipe in an inconspicuous spot before cleaning the whole surface
- Spraying and wiping immediately — every cleaner needs contact time to break down grime. Spray, count to thirty, then wipe. This small change dramatically improves results with any product
- Using hot water to mix recipes with essential oils — heat causes essential oils to evaporate and lose their scent and antimicrobial properties quickly. Always mix with room temperature or cool water
Where This Shines
Kitchen
Recipe 1 is your everyday counter spray. Recipe 3 handles stovetop grease, range hood degreasing, and backsplash cleaning. If you have natural stone countertops, Recipe 2 is your counter spray instead. Between these three, every kitchen surface is covered without a single commercial product.
Bathroom
Recipe 1 handles the counter, sink, and tub. Recipe 2 is your mirror cleaner. For heavy soap scum, use the baking soda paste from Recipe 3’s degreasing principle (baking soda plus dish soap). The bathroom is where you will notice the biggest air quality improvement from ditching chemical products.
Living Areas and Bedrooms
Recipe 2 is ideal for living areas because it works on virtually every surface — glass, wood, metal, and stone — and leaves zero streaks. Use it on coffee tables, glass shelves, picture frames, TV screens (spray the cloth, not the screen), and stainless steel lamps or hardware.
Common Questions
Why does my DIY cleaner leave streaks?
The most common cause is too much dish soap. Use only half a teaspoon to one teaspoon per 32 ounces. The second cause is using a damp cloth instead of a dry one. Always finish with a dry microfiber cloth in a Z-pattern for a streak-free result.
Can I use apple cider vinegar instead of white vinegar?
White distilled vinegar is strongly preferred because it is clear and leaves no residue. Apple cider vinegar can stain light-colored surfaces and leave a brownish tint. It also has a stronger, more persistent smell. Stick with white vinegar for cleaning.
How long does a bottle of DIY all-purpose cleaner last?
The vinegar and alcohol-based recipes last indefinitely if stored properly. Make a fresh batch of the heavy-duty degreaser (Recipe 3) every two weeks for best results since the baking soda can settle and lose effectiveness over time.
Is vinegar a disinfectant?
Vinegar has mild antimicrobial properties but is not classified as a disinfectant by the EPA. For true disinfection, use rubbing alcohol (70%) or hydrogen peroxide (3%) with at least one minute of contact time. Vinegar is excellent for general cleaning but should not be relied on as a sanitizer.
Can I add bleach to these recipes for extra disinfecting?
Never add bleach to vinegar. This creates toxic chlorine gas. Never add bleach to rubbing alcohol either. If you need to disinfect, use straight hydrogen peroxide or 70% rubbing alcohol as a separate step after cleaning with your DIY spray.
What is the best spray bottle for DIY cleaners?
Glass bottles are ideal because they do not absorb odors or stain. However, they are heavier and can break if dropped. Good quality recycled plastic bottles work well for everyday use. Avoid cheap spray nozzles that clog easily and invest in a quality trigger sprayer that produces a fine mist.