Every great garden starts beneath the surface. I learned this the hard way my first year gardening, when I tossed seeds into compacted clay and wondered why nothing thrived. The truth is, healthy soil is the single biggest factor that determines whether your plants flourish or struggle — and spring is the perfect time to get it right.
Preparing your garden soil does not have to be complicated or expensive. Whether you are working with sandy ground, heavy clay, or tired beds that have not been amended in years, a few simple steps can transform your soil into a rich, crumbly paradise that roots love. In this guide, I will walk you through everything from testing your soil to building fertility so your spring garden gets the strongest possible start.
Quick Facts
| Sun | Full Sun to Partial Shade (depends on what you plant) |
| Difficulty | Beginner |
| Season | Early Spring (4-6 weeks before last frost) |
| Zone | USDA Zones 3-10 |
| Time to Harvest | N/A (soil preparation) |
Your Shopping List
- Soil test kit or mail-in test
- Compost (homemade or bagged)
- Aged manure
- Garden fork or broadfork
- Wheelbarrow
- Garden rake
- Granular lime or sulfur (if pH adjustment needed)
- Organic mulch (straw, shredded leaves, or wood chips)
- Perlite or coarse sand (for clay soils)
- Watering can or garden hose
The most important material on this list is compost. It fixes almost every soil problem — it loosens clay, helps sandy soil hold moisture, and feeds the microbial life that makes nutrients available to plants. If you only do one thing, add compost. A soil test kit is inexpensive and takes the guesswork out of amendments. You can pick up a basic kit at any garden center or send a sample to your local cooperative extension for a detailed analysis. For pH adjustment, garden lime raises pH in acidic soil, while elemental sulfur lowers pH in alkaline soil — but always test first so you know what you actually need.
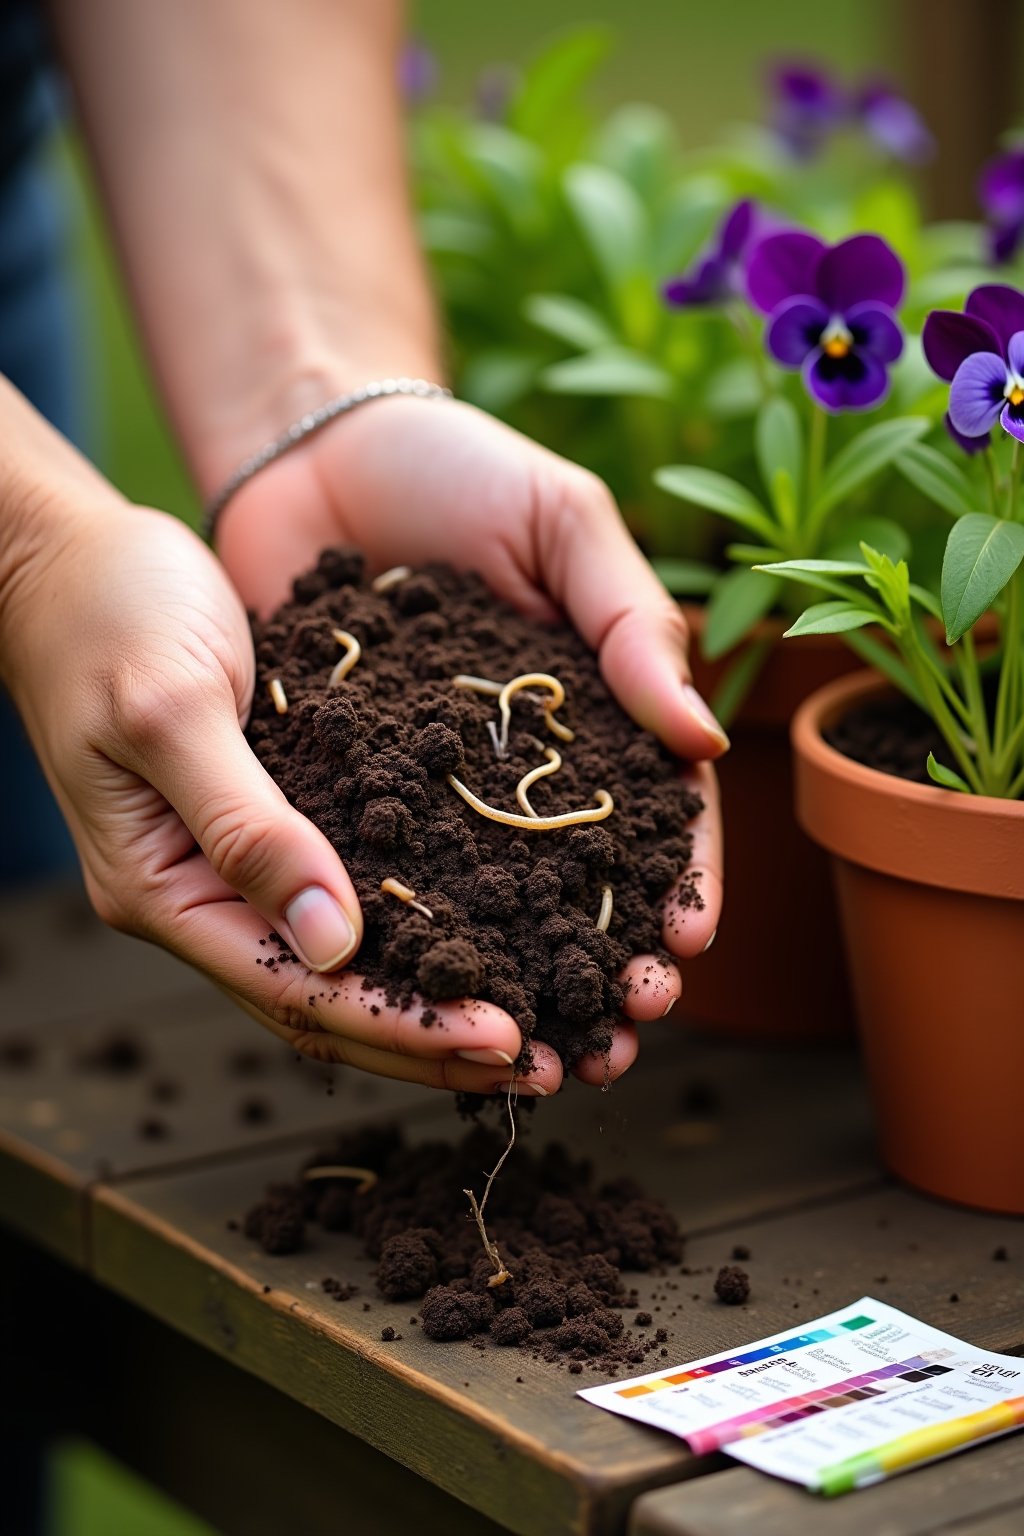
Step 1: Test Your Soil Before You Touch It
Before adding anything to your garden beds, you need to know what you are working with. Grab a soil test kit from your local garden center or order a mail-in test through your county cooperative extension office. A good test will tell you your soil’s pH level, nutrient content (nitrogen, phosphorus, potassium), and organic matter percentage.
To take a proper sample, dig down about 6 inches in several spots across your garden bed. Mix the samples together in a clean bucket, then fill your test kit or bag. Avoid testing right after rain or fertilizing, as this can skew results. Most vegetable gardens thrive with a pH between 6.0 and 7.0, so your test results will guide every decision that follows.
Step 2: Clear Debris and Old Plant Material
Walk through your garden beds and remove any dead plant material, fallen branches, old mulch that has not decomposed, and weeds. Pull weeds by the roots — if you just snap them off, they will be back before your tomatoes are in the ground. Toss healthy plant debris into your compost pile, but throw away anything that showed signs of disease last season.
This cleanup step matters more than people realize. Old, diseased plant material can harbor fungal spores and pest eggs that overwinter in the soil. A clean bed gives your new plants a fresh, healthy start without last year’s problems lurking beneath the surface.
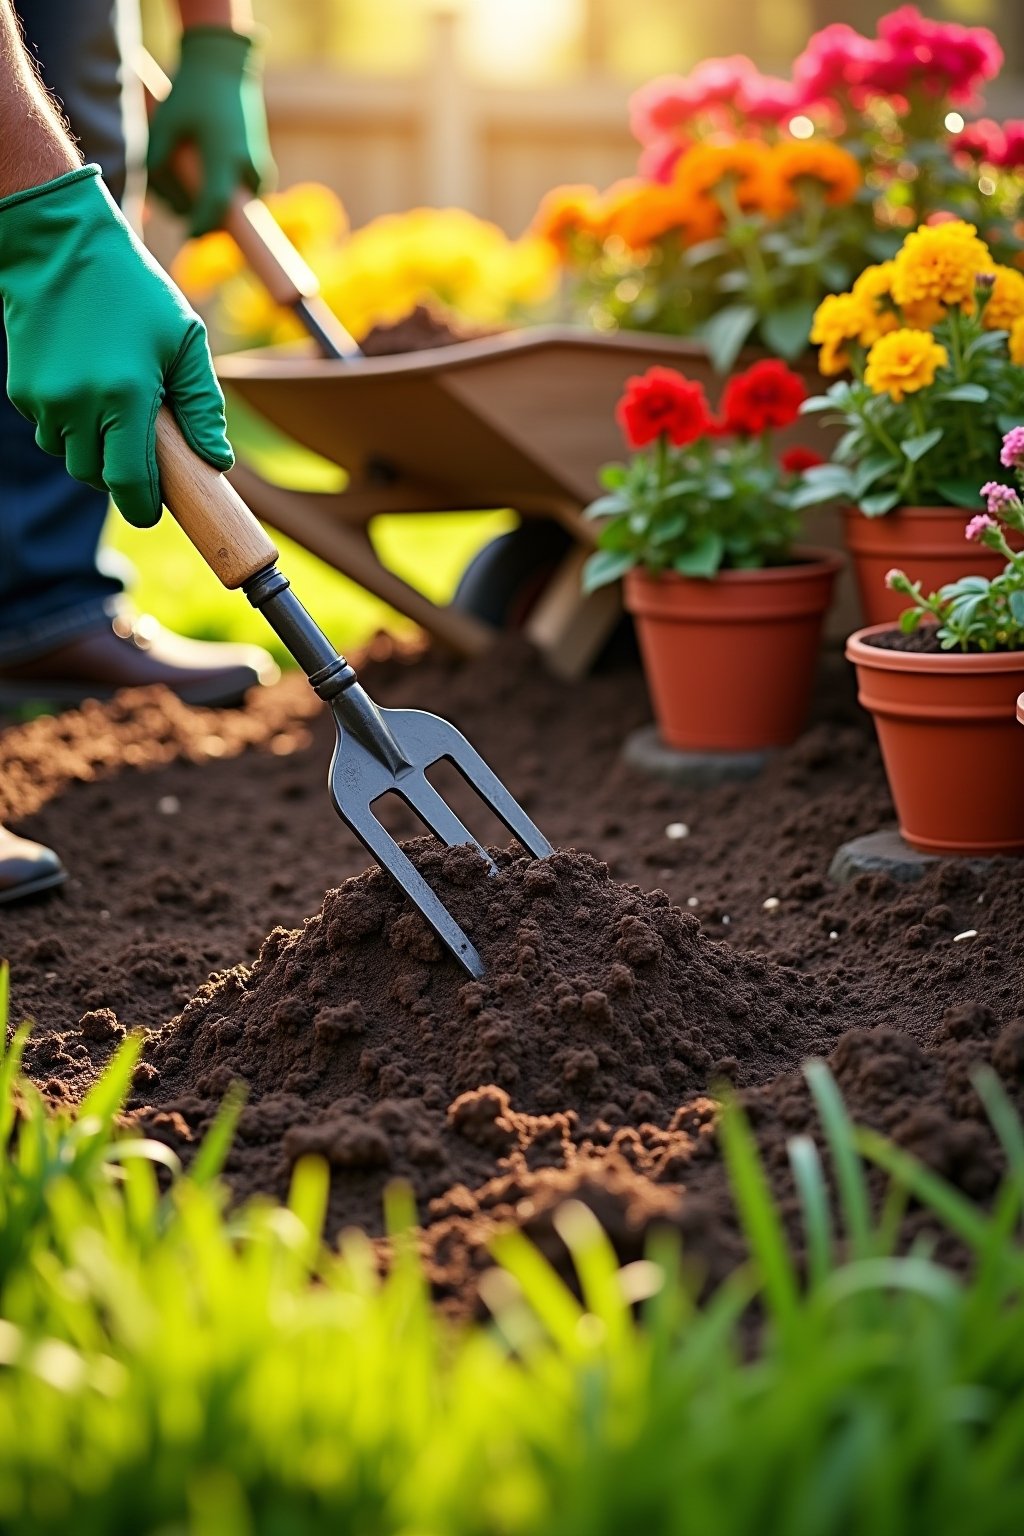
Step 3: Loosen Compacted Soil
Compacted soil is one of the most common reasons gardens underperform. When soil is packed tight, roots cannot penetrate deeply, water pools on the surface instead of soaking in, and beneficial organisms cannot thrive. Use a garden fork or broadfork to loosen the top 8 to 12 inches of soil.
Push the fork in, lean it back gently, and wiggle it — you are not trying to flip the soil completely, just break up compaction and create air pockets. If you practice no-till gardening, you can skip deep turning and simply use the fork to gently aerate without disturbing the soil layers. Work when the soil is moist but not soggy — grab a handful and squeeze. If it crumbles apart, it is ready. If it forms a sticky ball, wait a few days.
Step 4: Adjust Your Soil pH
Your soil test results will tell you if your pH needs adjusting. Most vegetables and flowers prefer a slightly acidic to neutral pH of 6.0 to 7.0. If your soil is too acidic (below 6.0), work in garden lime (calcium carbonate) according to the package directions for your soil type. If your soil is too alkaline (above 7.5), add elemental sulfur or acidic amendments like peat moss.
Keep in mind that pH changes happen slowly — it can take several weeks to a few months for amendments to fully shift the pH. This is why testing and amending in early spring gives your soil time to adjust before the main planting season. Apply amendments evenly and work them into the top 6 inches of soil with a rake or fork.
Step 5: Add Generous Amounts of Compost
If there is one step that makes the biggest difference, this is it. Spread a 2- to 4-inch layer of finished compost over the entire surface of your garden bed. Compost is the ultimate soil conditioner — it improves drainage in clay soil, increases water retention in sandy soil, and introduces billions of beneficial microorganisms that break down nutrients into forms your plants can absorb.
Use homemade compost if you have it, or purchase bagged compost or bulk compost from a local landscape supply yard. You can also mix in aged manure (never fresh — it can burn plants and contain pathogens). Work the compost into the top 6 to 8 inches of soil with a garden fork. Your soil should start to look dark, crumbly, and smell earthy — that is the smell of a healthy, living soil ecosystem.
Step 6: Improve Soil Structure for Your Soil Type
Different soil types need different fixes beyond compost. If you have heavy clay soil, mix in perlite, coarse sand, or composted bark to improve drainage and prevent waterlogging. For sandy soil that drains too fast and does not hold nutrients, work in extra compost, coconut coir, or well-rotted leaf mold to increase water and nutrient retention.
A simple test: dig a hole about 12 inches deep, fill it with water, and time how long it takes to drain. If it empties in under 10 minutes, your soil is too sandy. If water is still sitting after 4 hours, you have a drainage problem. Ideally, you want the water to drain within 1 to 3 hours.
Step 7: Add Organic Fertilizer if Needed
Based on your soil test, you may need to add specific nutrients. A balanced organic granular fertilizer with an NPK ratio like 4-4-4 or 5-5-5 is a good all-purpose choice for spring beds. If your test showed low phosphorus, bone meal is excellent. For low potassium, try greensand or kelp meal. Low nitrogen can be addressed with blood meal or feather meal.
Scatter the fertilizer evenly over the bed and rake it into the top few inches of soil. Avoid over-fertilizing — more is not better. Excess nitrogen in particular can cause lush leafy growth with very little fruit or flowers. Follow the recommended application rates on the package and let the compost you already added do most of the heavy lifting.
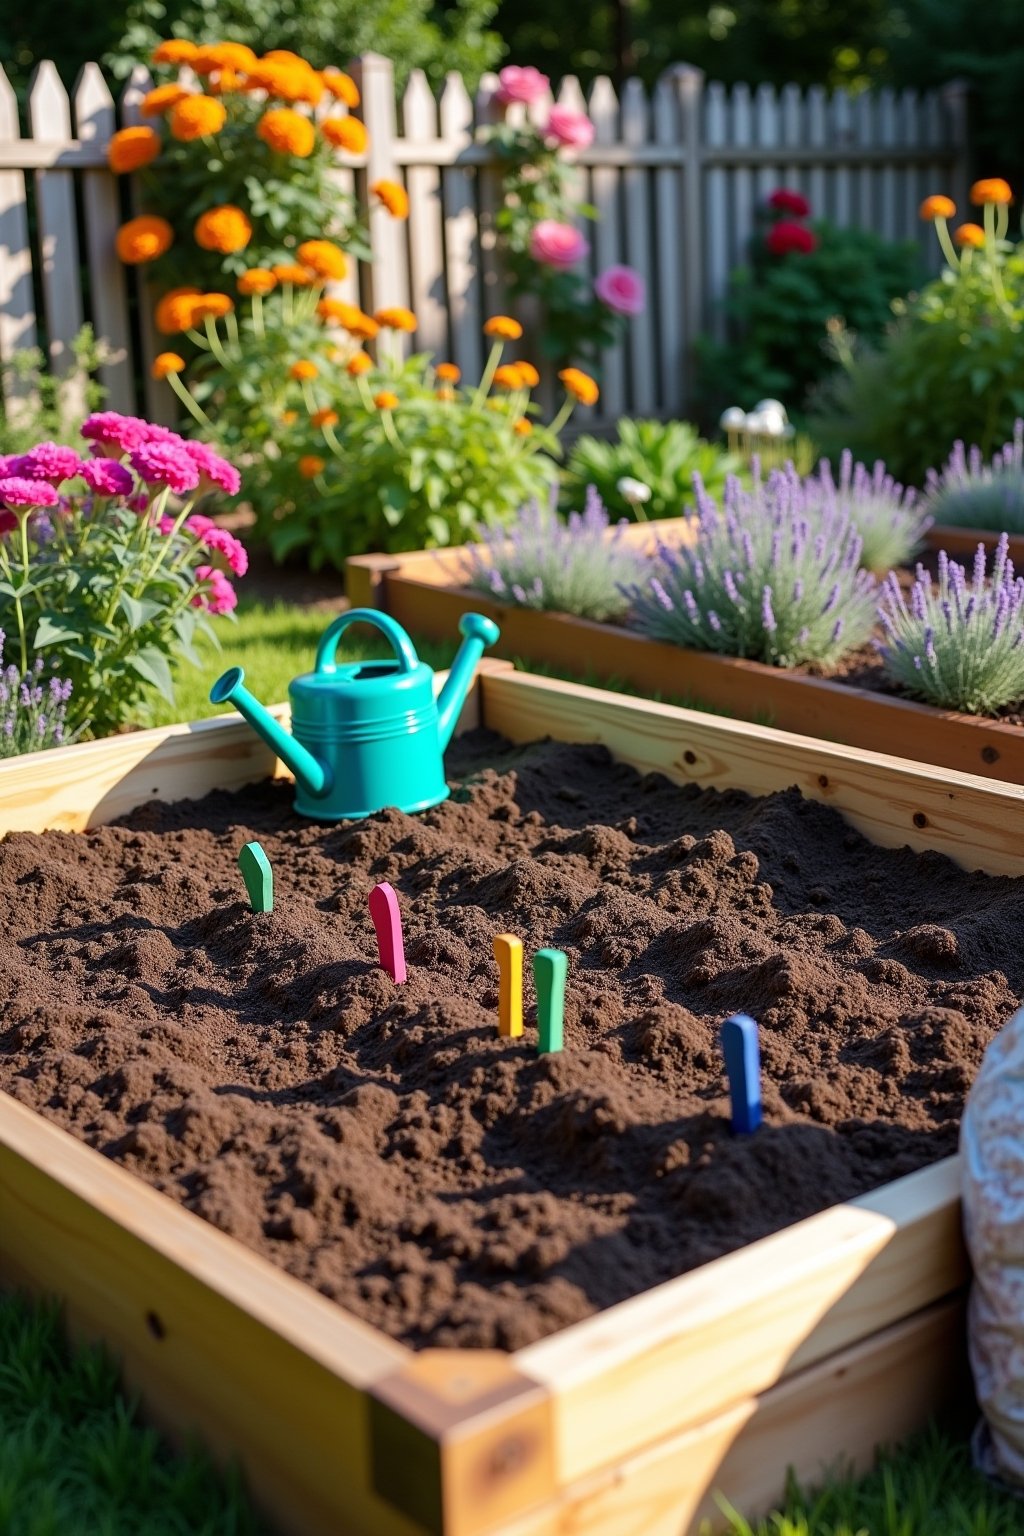
Step 8: Rake Smooth and Apply Mulch
Once all your amendments are mixed in, use a garden rake to smooth the surface of your beds. Break up any remaining clumps and create a level planting surface. If you are planting seeds, you want a finer texture on top so tiny roots can establish easily.
Finally, add a 2- to 3-inch layer of organic mulch — straw, shredded leaves, or wood chips work beautifully. Mulch suppresses weeds, regulates soil temperature, and retains moisture. Pull mulch back a few inches from where you will plant to let the soil warm up, then push it back around plants once they are established. Your beds are now ready for the best spring garden you have ever had.
What I See Trip People Up
Soil is too wet to work: If your soil sticks to your boots and tools or forms a tight ball when squeezed, it is too wet. Working soil when it is waterlogged destroys its structure and creates rock-hard clumps when it dries. Wait a few dry days and test again before digging.
Soil smells sour or rotten: A foul smell usually indicates anaerobic conditions — the soil is so compacted or waterlogged that oxygen cannot reach beneficial organisms. Loosen the soil deeply with a fork, add compost, and improve drainage. Raised beds are an excellent solution for chronically waterlogged areas.
White crusty buildup on soil surface: This is usually a sign of salt buildup or high alkalinity. It can happen from over-fertilizing or using hard water. Flush the area with deep watering, add sulfur to lower pH if needed, and switch to organic fertilizers which are less likely to cause salt issues.
Soil test shows very low organic matter: If your organic matter is below 2 percent, your soil is essentially dead. Be aggressive with compost — apply 4 to 6 inches and consider planting a cover crop like crimson clover or winter rye in fall to build organic matter over time. It may take 2 to 3 seasons to fully revive depleted soil, but every amendment you make helps immediately.
When to Do What
Timing your soil preparation correctly makes all the difference. Here is a spring soil prep timeline based on your region:
| Timeframe | Task | Notes |
|---|---|---|
| 6-8 weeks before last frost | Soil testing | Send samples to extension or use home kit |
| 4-6 weeks before last frost | pH amendments (lime/sulfur) | Needs time to take effect |
| 3-4 weeks before last frost | Clear beds, loosen soil, add compost | Work soil only when dry enough |
| 2-3 weeks before last frost | Add organic fertilizer, rake beds smooth | Let amendments settle in |
| 1-2 weeks before last frost | Apply mulch, prep planting holes | Pull mulch back from planting spots |
| After last frost | Plant warm-season crops | Soil temp should be 60°F+ for tomatoes, peppers |
In Zones 3-5, begin soil prep in late March to mid-April. In Zones 6-7, start in early to mid-March. In Zones 8-10, you can begin as early as late January or February.
What Holds the Line
- Do the squeeze test before digging — Grab a handful of soil and squeeze. If it crumbles when you poke it, conditions are perfect for working. If it stays in a tight ball, the soil is too wet and you should wait.
- Never rototill wet clay soil — Tilling wet clay creates hardpan layers beneath the surface that block root growth and drainage for years. If you must till, wait until clay soil is barely moist and crumbly.
- Layer compost on top if you practice no-till — You do not have to dig compost in. Spread 3 to 4 inches on the surface and let worms and rain pull it down naturally. This method preserves the soil food web and saves your back.
- Use a soil thermometer for planting timing — Air temperature can be deceiving. Stick a thermometer 4 inches into the soil in the morning. Cool-season crops need 40°F soil, while warm-season crops like tomatoes need at least 60°F.
- Save autumn leaves for spring mulch — Shredded fall leaves make one of the best free mulches available. They break down into rich leaf mold that earthworms love. Store bags of shredded leaves over winter and spread them in spring.
- Add compost every single season — Even great soil benefits from a fresh 1- to 2-inch compost top-dress each spring and fall. Think of it as feeding the billions of organisms that do the real work of making nutrients available to your plants.
Quick Answers
When should I start preparing my garden soil in spring?
Start 4 to 6 weeks before your last expected frost date. This gives amendments like lime or sulfur time to adjust pH, and allows compost to integrate into the soil before planting. In most areas, this means late February to early April depending on your USDA zone.
How do I know if my garden soil is healthy?
Healthy soil is dark brown to black, crumbly (not powdery or clumpy), and smells earthy. It should hold moisture without becoming waterlogged and drain within 1 to 3 hours after heavy rain. A soil test showing pH between 6.0 and 7.0, organic matter above 3 percent, and balanced nutrients confirms good health.
Can I plant directly into soil that I just amended?
If you added compost and organic fertilizer, you can plant within a few days. However, if you applied lime, sulfur, or fresh manure, wait at least 2 to 4 weeks before planting so these amendments can stabilize and will not burn tender roots.
How much compost should I add to garden soil?
For established garden beds, add a 2- to 3-inch layer of compost each spring. For brand new beds or severely depleted soil, apply 4 to 6 inches. Work it into the top 6 to 8 inches of soil. You really cannot add too much compost — it is the single best thing you can do for your garden.
Do I need to replace garden soil every year?
No. You never need to replace garden soil. Instead, replenish it each season with compost and organic amendments. Healthy soil is a living ecosystem that improves over time with proper care. The goal is to feed the soil, not replace it.
What is the fastest way to improve clay soil for spring planting?
Mix in 4 to 6 inches of compost along with perlite or coarse sand to immediately improve drainage and texture. Avoid rototilling wet clay, as it creates hardpan. For a long-term fix, plant cover crops in fall and add compost every season. Most gardeners see dramatic improvement within 2 to 3 years.