Composting is one of those habits that seems complicated or messy from the outside but turns out to be remarkably simple in practice. Once you understand the basic principles, making compost is almost automatic — and the result is the best fertilizer your garden will ever get, made entirely from material you would have thrown away.
Here’s everything you need to start composting at home, whether you have a large garden or just a small balcony.
What Compost Actually Is
Compost is decomposed organic matter — refresh your kitchen without a renovation scraps, garden trimmings, and other natural materials broken down by microorganisms into a dark, rich, earthy material that improves soil structure, adds nutrients, and supports plant health. It’s essentially nature’s recycling system, and it happens whether you manage it or not. Managing it just makes the process faster and more useful.
The Greens and Browns Balance
Composting works best with a balance of “greens” (nitrogen-rich materials) and “browns” (carbon-rich materials), roughly 1 part greens to 3 parts browns by volume.
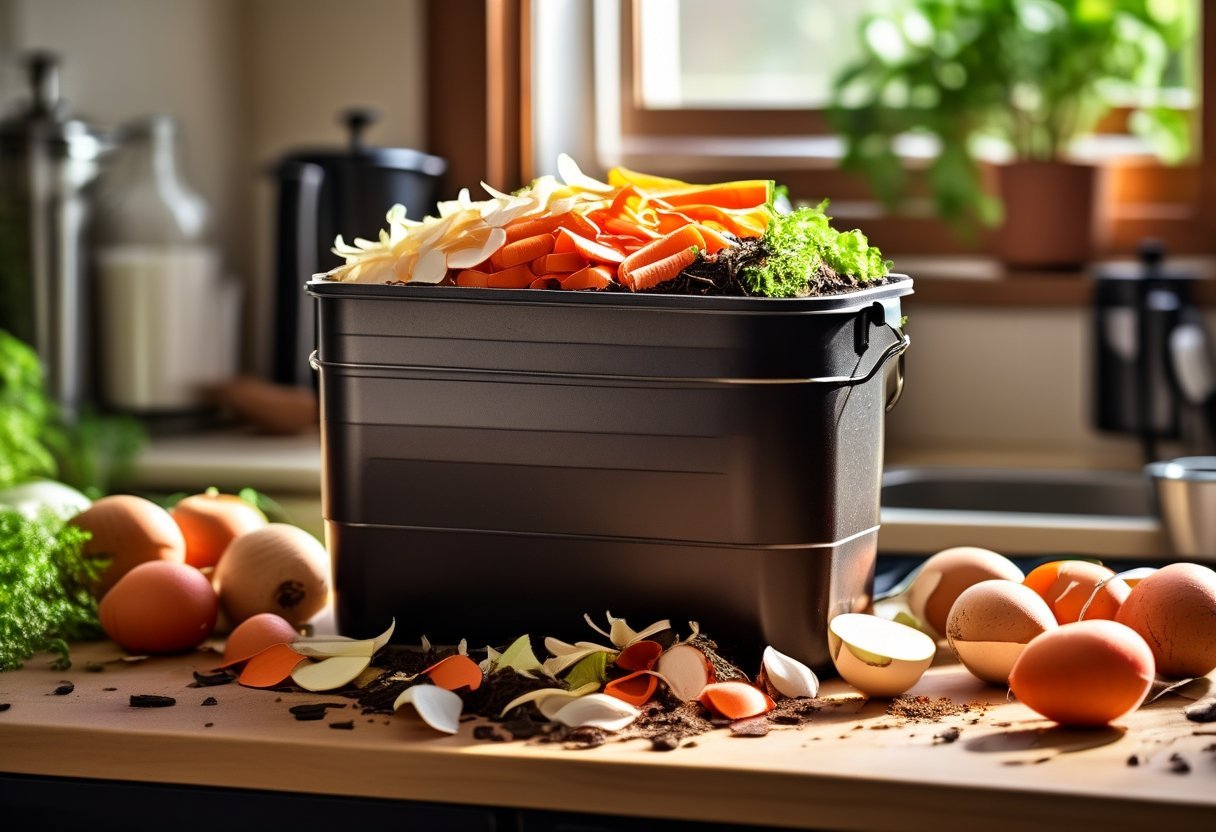
Greens (add regularly): Vegetable and fruit scraps, coffee grounds and filters, tea bags, fresh grass clippings, plant trimmings.
Browns (add in larger quantities): Cardboard (torn up), paper bags, newspaper, dry leaves, straw, paper egg cartons, wood chips.
Never compost: Meat, fish, dairy, oils, diseased plants, pet waste, or anything treated with pesticides. These either attract pests, cause odors, or introduce harmful substances.
Choosing a Composting Method
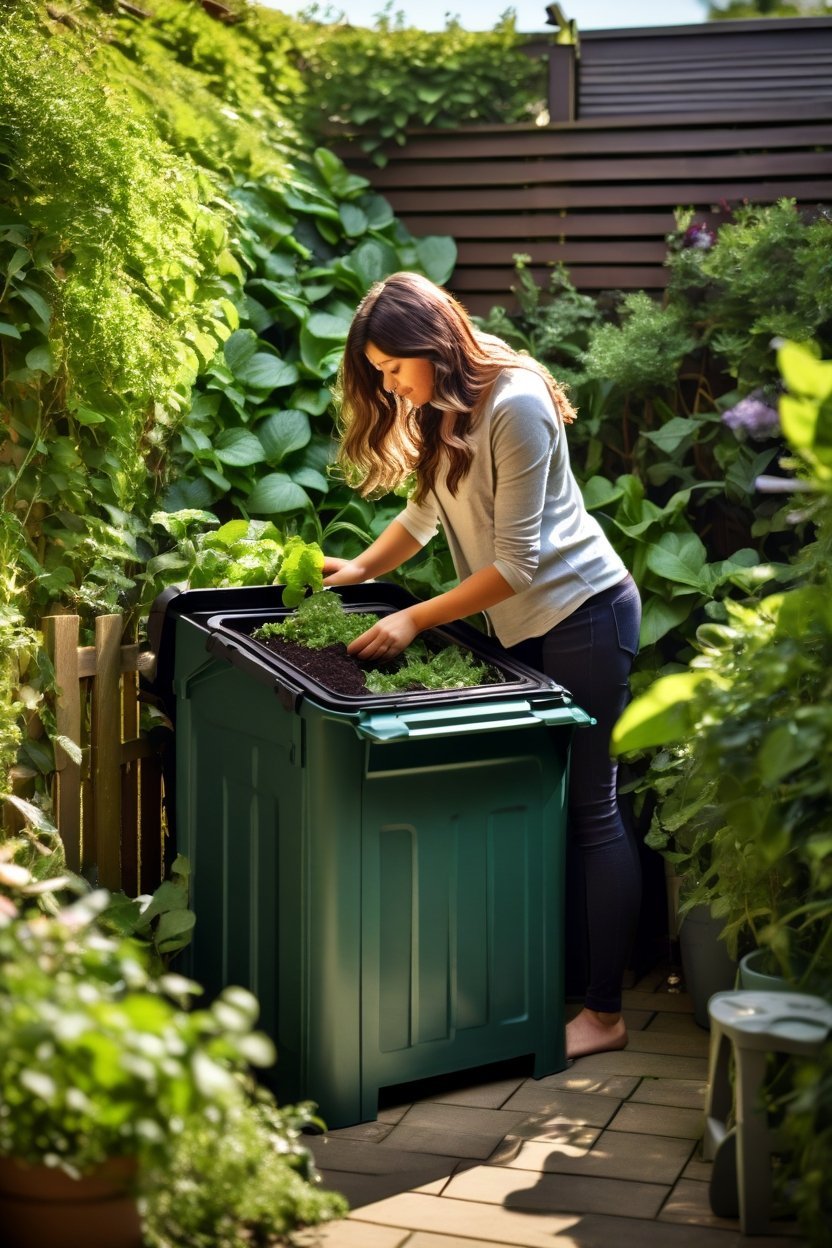
create an outdoor living space bin or pile: The classic method. A contained bin (plastic or wooden) or a simple heap in a corner of the yard. Low maintenance, takes 3-6 months to produce finished compost. Best for people with garden space.
Tumbler composter: A sealed barrel on a stand that you turn to aerate. Faster (compost ready in 4-8 weeks), neater, and pest-resistant. Higher upfront cost but very convenient.
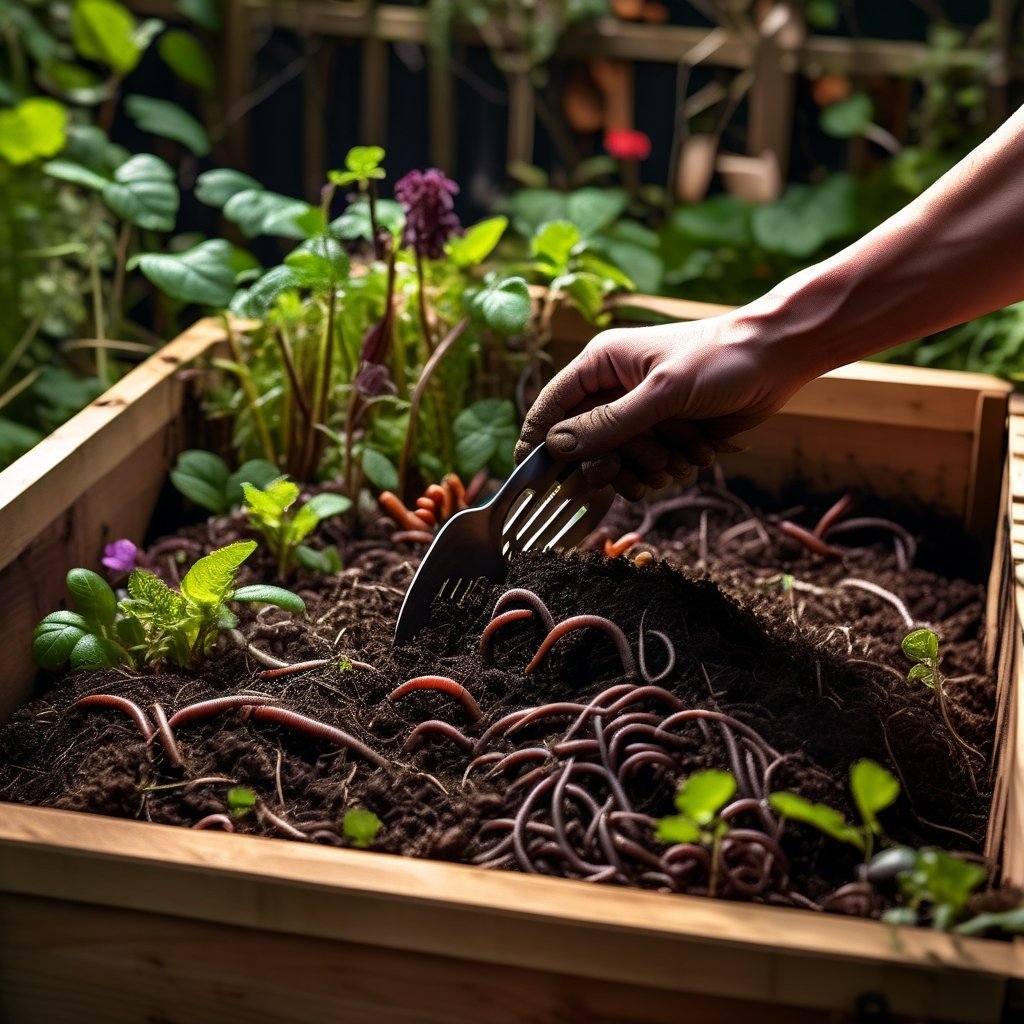
Vermicomposting (worm bin): Uses red wiggler worms to break down deep clean your kitchen scraps. Compact enough for apartments and balconies, produces excellent compost quickly. Worms are easy to maintain once established.
The Three Things Compost Needs
Air: Turn or aerate your compost pile every 1-2 weeks — this introduces oxygen that microorganisms need to break material down. Without aeration, the pile goes anaerobic and starts to smell.
Moisture: Compost should be as damp as a wrung-out sponge. Too dry and decomposition stalls; too wet and it goes anaerobic. Add water in dry weather; add more browns in wet weather.
Balance: Keep adding greens and browns in roughly the right ratio. A pile with too many greens gets slimy and smells; too many browns and it dries out and stalls.
How to Know When Compost is Ready
Finished compost is dark brown, crumbly, and smells like fresh earth — not like rotting material. You shouldn’t be able to identify any of the original ingredients. It typically takes 3-6 months in an outdoor pile with regular turning, or as little as 4 weeks in a hot, well-managed pile. Use finished compost by digging it into garden beds before planting, applying as a top dressing around existing plants, or mixing into potting soil.
The first batch of compost you produce feels genuinely magical — turning kitchen scraps into something your plants will love is one of those simple pleasures that never gets old. And once you start, throwing vegetable peels in the trash feels like a waste. For more inspiration, browse our gardening guides. For more ideas, explore our gardening tips.
You may also like:
From My Compost Pile
I’ve been composting for five years and I’ll be honest: the first two were a mess. I had a sad, slimy bin in the back corner of the yard that smelled bad and never broke down properly. The problem was I was treating it as a place to throw food scraps and assuming nature would handle the rest. Composting works, but it does need a small amount of attention — basically the difference between letting bread rise and just leaving flour and water in a bowl.
The greens-and-browns balance is the single thing that fixed my pile. I now keep a paper bag in the garage filled with shredded cardboard, dry leaves from the fall, and torn-up junk mail. Every time I add kitchen scraps to the bin, I add a couple of handfuls of brown stuff on top. The smell disappeared within a week of starting this. So did the fruit fly problem.
If you’re in a small space — a balcony, a tiny yard, an apartment with no outdoor area at all — bokashi or vermicomposting (worms) work really well and don’t require the volume that a traditional pile does. I have a friend in a Brooklyn one-bedroom who keeps a worm bin under her kitchen sink and produces beautiful compost for her container herbs. Doesn’t smell, doesn’t attract anything, just works.
If your pile isn’t doing what you expect, the comments section is the right place. Most “broken” composts are just out of balance and need either more browns, more moisture, or more turning — happy to help diagnose if you describe what you’re seeing.