What Is a Herb Spiral — And Why Is It Genius?
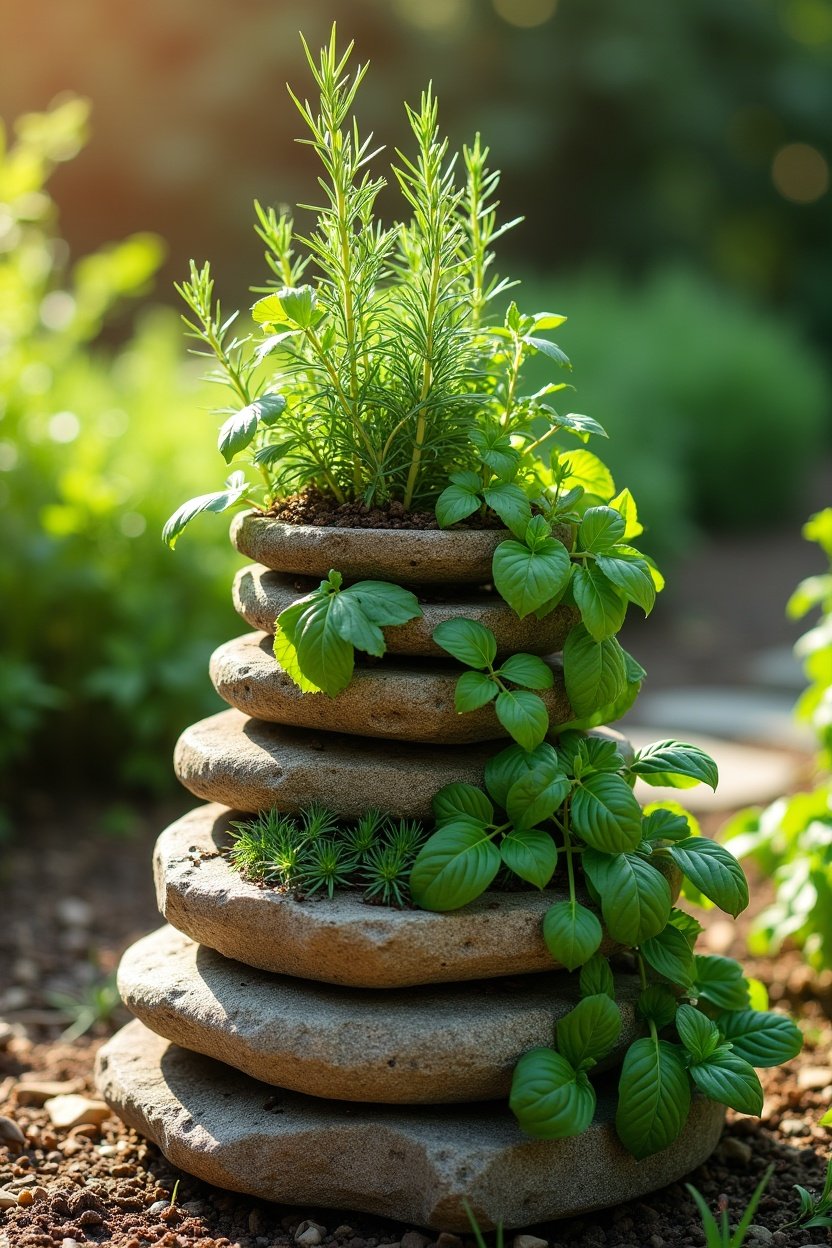
A herb spiral is one of the most clever garden structures ever devised. Borrowed from permaculture design, it’s a compact, spiraling raised bed that creates multiple growing microclimates in a footprint no bigger than a parking space. The spiral shape rises from ground level to about 3-4 feet at the center, creating a natural gradient of sun exposure, drainage, and moisture that lets you grow herbs with very different needs — side by side.
Mediterranean herbs like rosemary, thyme, and oregano love the sunny, well-drained top of the spiral. Moisture-loving herbs like parsley, cilantro, and chives thrive in the lower, shadier sections. And at the very base, where moisture collects naturally, you can grow mint or watercress. It’s like having three different gardens in one elegant structure.
Building one takes a single weekend, requires no special skills, and costs far less than you’d expect. Here’s exactly how to do it.
Choosing the Right Location
Your herb spiral needs a spot that gets at least 6 hours of direct sunlight per day. Most culinary herbs are sun-lovers, and even the shade-tolerant ones at the base of the spiral need some light. South-facing locations are ideal in the Northern Hemisphere.
The footprint of a typical herb spiral is about 5-6 feet in diameter. Mark out a circle to make sure it fits your space with room to walk around it for harvesting. You’ll want access from all sides.
Choose level ground if possible. If your yard slopes, you can adjust the spiral height to compensate, but starting on a flat surface makes the build much simpler. Avoid areas with underground utilities — call 811 before you dig if you’re unsure.
Materials You’ll Need
One of the best things about an herb spiral is material flexibility. You can build the walls from almost any stackable material:
- Natural stone or fieldstone — the most beautiful option. Irregularly shaped stones stack well and create a rustic, natural look. Check local landscaping suppliers or search for free stone on community marketplaces.
- Bricks — uniform, easy to stack, and widely available. Reclaimed bricks add character. A Landscaping Brick Set gives you uniform pieces for clean, consistent walls.
- Concrete blocks — the most budget-friendly option. Not as attractive as stone, but completely functional. You can stucco or paint them later for a polished look.
- Stacked logs or thick branches — a free, natural option if you have access to fallen timber. They’ll eventually decompose, but a log herb spiral can last 3-5 years.
You’ll also need:
- Cardboard or newspaper (for weed suppression at the base)
- Gravel or coarse sand (for drainage in the lower layer)
- Quality potting mix or garden soil amended with compost
- Herb transplants or seeds
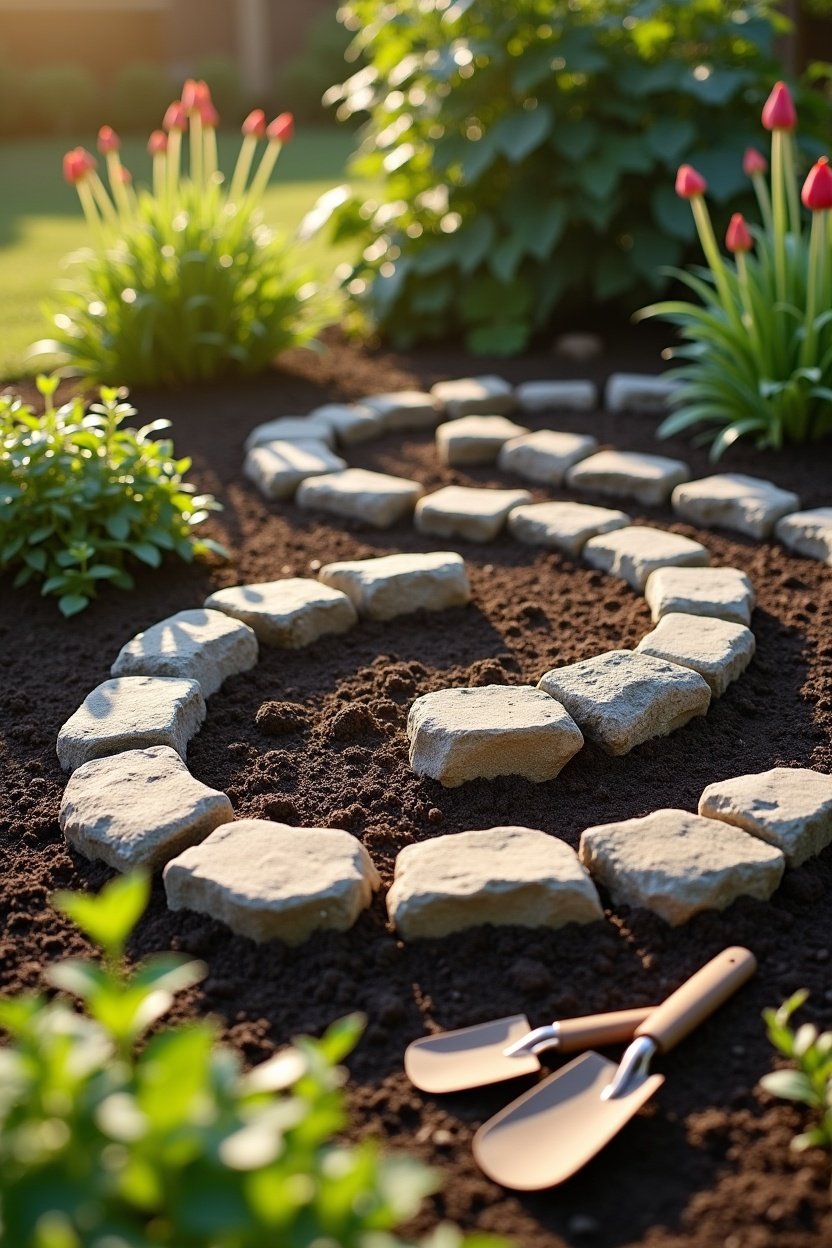
Step 1: Mark the Spiral Shape
Drive a stake into the center of your chosen spot. Tie a string to the stake that’s about 2.5-3 feet long (half your desired diameter). Use the string as a compass to scratch a circle in the ground — this is your outer wall line.
Now mark the spiral. Starting from the north side of the circle (so the lowest point faces north and gets the most shade), trace a spiral shape from the outside edge in toward the center. The spiral should make about 1.5 turns from the opening at ground level to the highest point at the center.
The opening of the spiral — the lowest point — should face north or northeast. This creates a shaded, moist pocket at the base that’s perfect for moisture-loving herbs. The top of the spiral faces south, getting maximum sun exposure for the Mediterranean herbs.
Step 2: Lay the Foundation
Cover the entire spiral footprint with overlapping layers of cardboard or thick newspaper. This suppresses weeds and grass without chemicals. Wet the cardboard thoroughly — it needs to be saturated so it conforms to the ground and begins decomposing.
Spread a 2-3 inch layer of gravel or coarse sand over the cardboard base. This creates drainage channels that prevent waterlogging, especially important at the center where the spiral is tallest and holds the most soil.
Step 3: Build the Walls
Start building your wall material from the ground-level opening of the spiral, working inward and upward toward the center. The wall height should gradually increase from nothing at the base opening to about 3-4 feet at the center peak.
If using stone: dry-stack it, leaning each course slightly inward for stability. Stagger the joints (like bricklaying) so each stone sits across the gap between two stones below it. No mortar is needed — the weight and friction hold everything in place, and the gaps between stones provide extra drainage and shelter for beneficial insects.
If using bricks or blocks: you can dry-stack or use mortar for a more permanent structure. Dry-stacking is easier to modify later if you want to change the design.
As you build the walls up, fill behind them with soil as you go. Add soil in 6-8 inch layers, tamping gently to prevent settling. The center should end up being 3-4 feet tall, sloping gradually down to ground level at the opening.
Step 4: Fill With the Right Soil
The soil in your herb spiral should be light, well-draining, and fertile. Mix equal parts:
- Quality garden soil or topsoil
- Finished compost (for nutrients)
- Perlite or coarse sand (for drainage)
The top of the spiral (where Mediterranean herbs go) benefits from extra sand or gravel mixed into the soil for sharper drainage. These herbs prefer lean, fast-draining conditions. The bottom of the spiral can be richer and hold more moisture — add extra compost there.
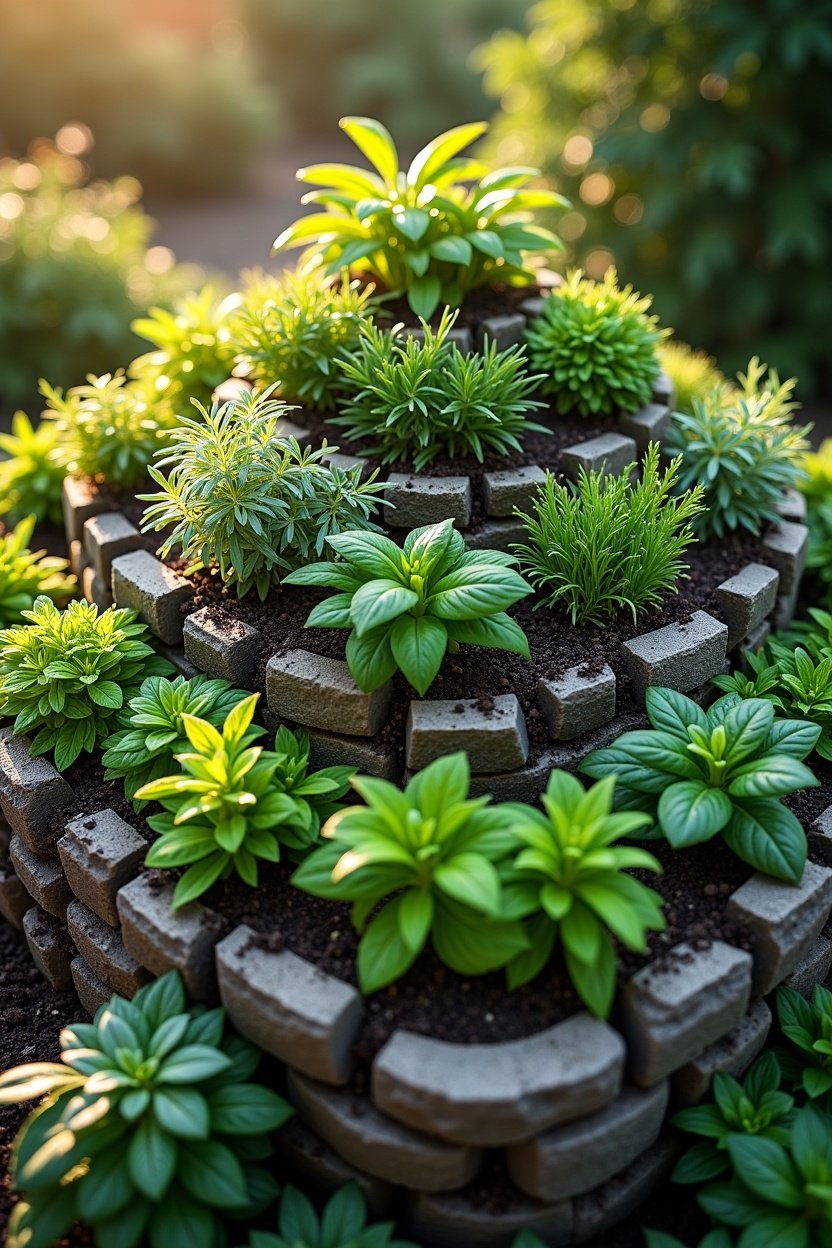
Step 5: Plant Your Herbs
Now the fun part — planting. Here’s where to place each herb based on its needs:
Top of the spiral (hot, dry, full sun):
- Rosemary — the anchor plant at the very top
- Thyme — cascades beautifully over the stones
- Oregano — tough and drought-tolerant
- Sage — loves the heat and drainage
- Lavender — thrives in dry, sunny conditions
Middle of the spiral (moderate sun, moderate moisture):
- Basil — loves warmth but needs consistent moisture
- Dill — prefers some shelter from hot afternoon sun
- Chives — adaptable and almost indestructible
- Marjoram — similar needs to oregano but prefers a bit more moisture
Bottom of the spiral (partial shade, moist):
- Parsley — thrives in partial shade with consistent moisture
- Cilantro — bolts less in cooler, shadier conditions
- Mint — plant at the very base or in a pot sunk into the ground (mint spreads aggressively)
- Lemon balm — happy in shade, but also spreads — consider containing it
Maintaining Your Herb Spiral
One of the biggest advantages of an herb spiral is how low-maintenance it is compared to a traditional herb garden:
- Watering: Water at the top and let it trickle down naturally. The spiral design distributes moisture from the dry top to the moist bottom automatically. During hot spells, you may need to water the top herbs separately since they drain fastest.
- Harvesting: Regular harvesting keeps herbs bushy and productive. Snip from the top to encourage branching. Never harvest more than one-third of a plant at once.
- Mulching: A light layer of gravel mulch on the upper, dry-loving sections helps retain the fast-draining conditions Mediterranean herbs prefer. Use organic mulch (straw or shredded leaves) on the lower sections to retain moisture.
- Seasonal care: In cold climates, tender herbs like basil are annuals and will need replanting each spring. Hardy perennials like rosemary, thyme, sage, and chives will return year after year. Cut back perennials in early spring before new growth begins.
A herb spiral is one of those garden projects that pays dividends for years. You’ll spend less on grocery store herbs, you’ll cook with fresher ingredients, and you’ll have a genuinely beautiful garden feature that’s also a conversation starter. Not bad for a weekend’s work and a pile of stones.