Why Stainless Steel Is So Hard to Keep Clean (And Why Most People Do It Wrong)
Stainless steel appliances look stunning in a kitchen — until they don’t. Within days of installation, most people discover the frustrating truth: stainless steel is a fingerprint magnet, a streak factory, and somehow manages to look dirty even when it’s technically clean. If you’ve ever wiped down your fridge only to step back and see it covered in cloudy swirl marks, you’re not alone.
The problem isn’t the material. The problem is that most people clean stainless steel the same way they clean everything else — and that’s exactly what causes the streaks, water spots, and micro-scratches that make the surface look dull. Stainless steel has a grain, just like wood, and once you understand how to work with that grain instead of against it, everything changes.
Here’s the complete guide to cleaning, polishing, and protecting every stainless steel surface in your home — using methods that actually work.
Step 1: Find the Grain (This Changes Everything)
Every stainless steel surface has a grain — faint lines that run in one direction, created during the manufacturing process. On most appliances, the grain runs either horizontally or vertically. Look closely at your fridge door, dishwasher panel, or oven front. You’ll see subtle parallel lines running in one direction.
The single most important rule of cleaning stainless steel: always wipe with the grain, never against it or in circles. Wiping against the grain pushes dirt and cleaning solution into the tiny grooves of the surface, which is exactly what creates those cloudy streaks everyone hates. Circular wiping is even worse — it creates visible swirl marks that catch the light.
Once you know the grain direction, every cleaning method below becomes twice as effective.
The Daily Wipe-Down Method (30 Seconds)
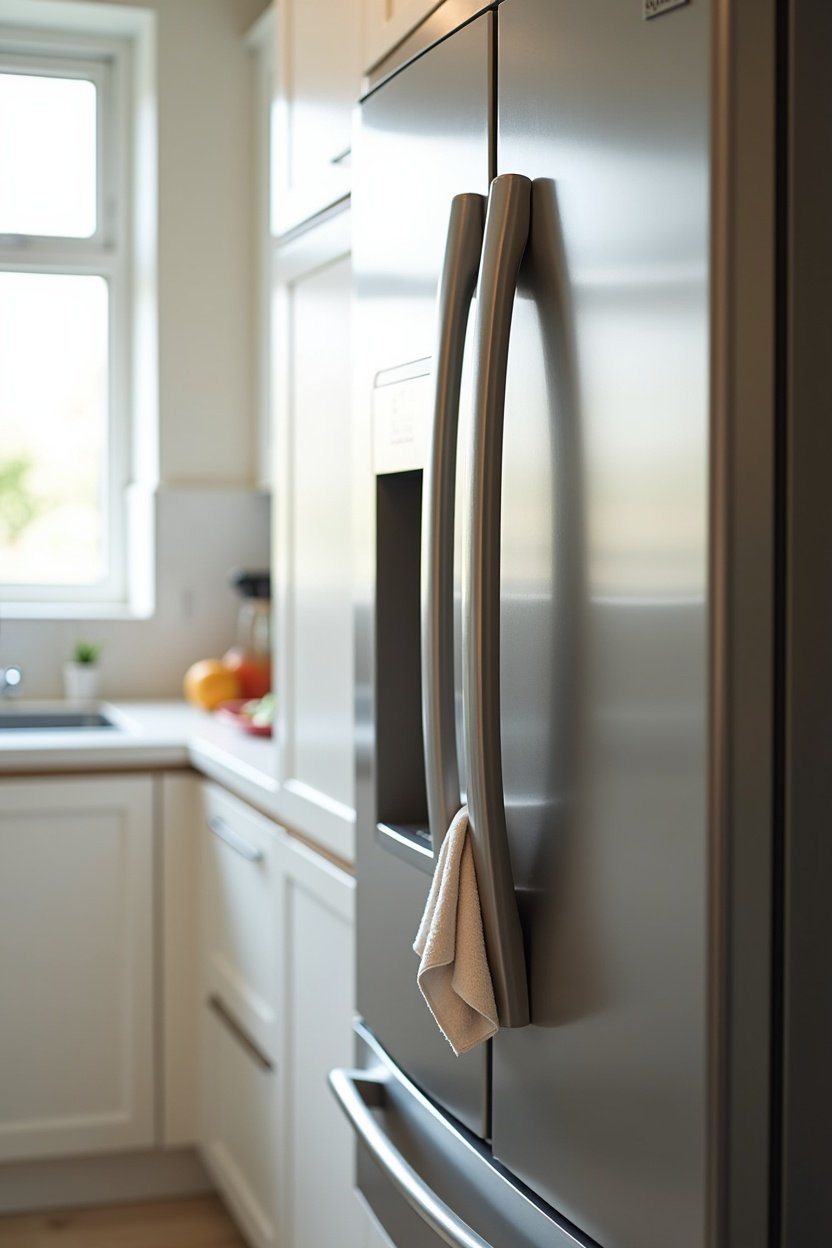
For daily maintenance, you don’t need any special products. All you need is a clean Microfiber Cloth for Stainless Steel and warm water. Dampen the cloth — not soaking, just slightly damp — and wipe the entire surface following the grain direction. Then immediately follow with a dry microfiber cloth to buff away any remaining moisture.
That’s it. Thirty seconds, no products, no residue. This alone prevents 90% of the fingerprint and smudge buildup that makes stainless steel look neglected. The key is doing it daily before oils and grime have a chance to set in.
Never use paper towels on stainless steel. They’re mildly abrasive and leave behind tiny fibers that stick to the surface and catch light. Microfiber is non-abrasive, lint-free, and actually lifts oils away from the surface rather than spreading them around.
Deep Cleaning: The Two-Step Method That Actually Works
For a deeper clean — when there are water spots, cooked-on splatter near the stove, or general dullness — use this two-step method:
Step 1: Clean. Mix a few drops of dish soap into warm water. Dip a microfiber cloth, wring it out well, and wipe the entire surface with the grain. For stubborn spots, let the soapy water sit for 30 seconds before wiping. Rinse the cloth in clean water and wipe again to remove any soap residue.
Step 2: Polish. Once the surface is clean and dry, apply a small amount of Stainless Steel Polish and Protectant Spray to a clean, dry microfiber cloth — not directly onto the appliance. Buff with the grain using light, even pressure. This step removes any remaining haze and leaves a protective layer that resists fingerprints for days.
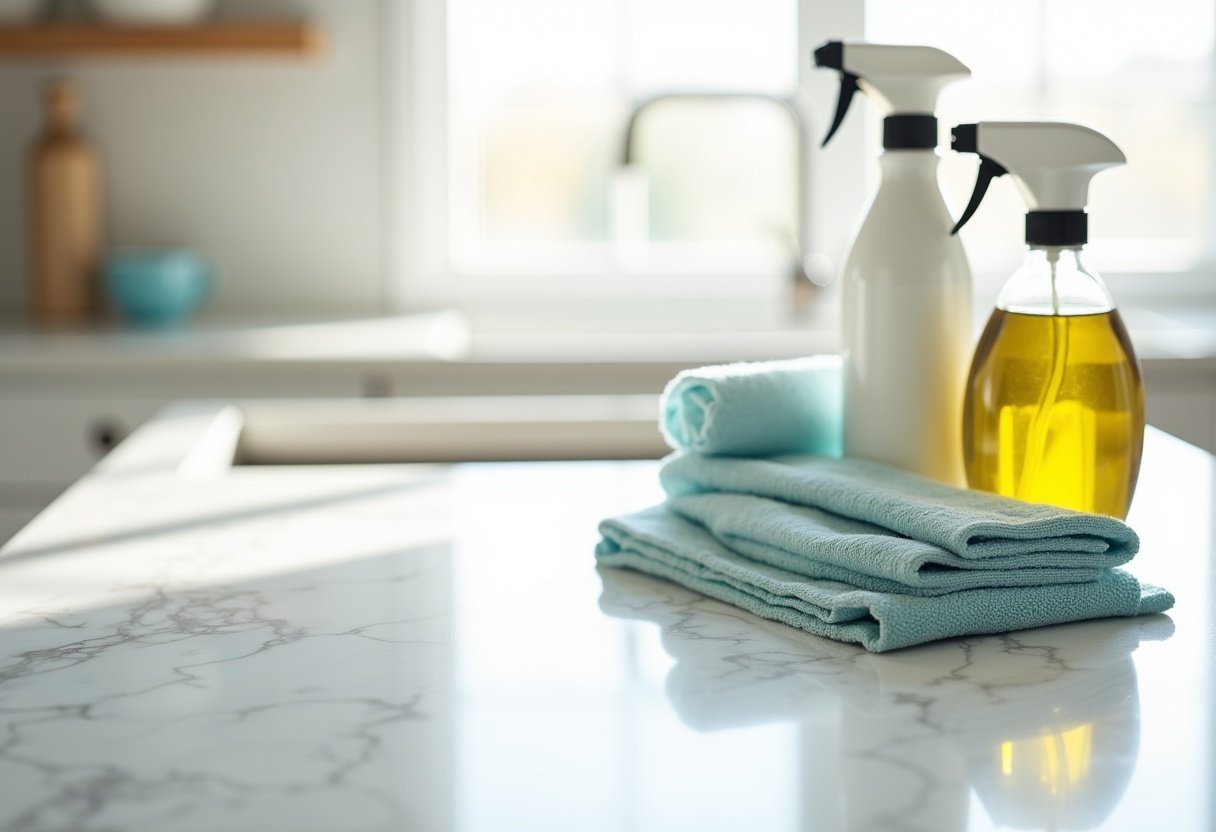
The reason most people get streaks is that they spray cleaner directly onto the surface and then try to wipe it off. This creates uneven coverage and leaves behind residue in the grain lines. Always apply product to the cloth first.
Natural Alternatives That Work Just as Well
If you prefer to skip commercial cleaners, several natural options work beautifully on stainless steel:
White vinegar: Mix equal parts white vinegar and water in a spray bottle. Spray onto a microfiber cloth (not the surface), wipe with the grain, then buff dry. Vinegar cuts through grease and mineral deposits without leaving residue. It’s also brilliant for removing hard water spots around your kitchen sink.
Olive oil: After cleaning, put a tiny drop of olive oil on a microfiber cloth and buff with the grain. This is the old-school trick that professional kitchen installers use. It creates a beautiful sheen and a thin protective layer that repels fingerprints. Use very little — a drop or two is enough for an entire fridge door.
Baking soda paste: For stuck-on grime or light scratches, make a paste of baking soda and water. Apply it with a soft cloth, rubbing gently with the grain. Rinse thoroughly and dry. The mild abrasive quality of baking soda can even minimize the appearance of light surface scratches.
What to Never Use on Stainless Steel
Some common cleaning products and tools will permanently damage stainless steel. Avoid these:
- Steel wool or abrasive scrub pads. They scratch the surface permanently. Even “soft” scrub sponges can leave micro-scratches that dull the finish over time.
- Bleach or chlorine-based cleaners. These corrode the protective chromium oxide layer that gives stainless steel its “stainless” quality. Once that layer is damaged, the surface becomes vulnerable to rust and pitting.
- Glass cleaner. Most glass cleaners contain ammonia, which can discolor and damage stainless steel finishes.
- Tap water alone in hard water areas. Hard water leaves mineral deposits. If your area has hard water, always dry the surface immediately after cleaning — never air dry.
How to Remove Specific Stains and Problems
Fingerprints: A dry microfiber cloth often works alone. For stubborn prints, a tiny dab of dish soap on a damp cloth, wiped with the grain, then buffed dry.
Water spots and mineral buildup: White vinegar on a cloth, left on the spot for 1-2 minutes, then wiped away with the grain. For heavy calcium buildup, undiluted vinegar works faster.
Rust spots: Make a paste of baking soda and water. Apply to the rust spot, let sit for 30 minutes, then gently rub with the grain using a soft cloth. Rinse and dry. For more serious rust, a Non-Abrasive Stainless Steel Rust Remover formulated specifically for appliances is worth the investment.
Heat discoloration near stovetops: A paste of baking soda and water, rubbed gently with the grain, can often restore the original color. For severe discoloration, a specialized stainless steel cleanser with oxalic acid may be needed.
Long-Term Protection: A Weekly Routine
Once your stainless steel is properly cleaned, maintaining it takes minimal effort. Here’s a simple weekly routine:
- Daily: Quick wipe with a damp microfiber cloth, then buff dry. Takes 30 seconds per appliance.
- Weekly: Full clean with diluted dish soap or vinegar solution, followed by a polish with a dry cloth. Takes 5 minutes for all appliances.
- Monthly: Apply a thin coat of stainless steel protectant or a drop of olive oil for extra fingerprint resistance and shine.
If you have kids who constantly touch the fridge (every parent knows), consider applying a fingerprint-resistant coating product monthly. These create an invisible barrier that makes fingerprints wipe away with a single dry swipe.
Final Tip: The Direction Matters More Than the Product
If you take away one thing from this guide, let it be this: the direction you wipe matters far more than what you wipe with. Expensive stainless steel cleaners wiped in circles will look worse than plain water wiped with the grain. Master the grain, keep a few dedicated microfiber cloths in your kitchen drawer, and your stainless steel will look showroom-fresh for years. Your kitchen deserves to shine — and now you know exactly how to make it happen.