Starting a start a vegetable garden from scratch feels overwhelming until you’ve done it once. Then it becomes one of the most satisfying habits you have — fresh food, time create an outdoor living spaces, a genuine connection to what you eat. Here’s how to start one from absolute zero, with no prior experience required.
Step 1: Choose the Right Spot
Most vegetables need at least 6–8 hours of direct sunlight daily. Find the sunniest spot in your yard and plan your garden there. Watch it for a full day before committing — spots that seem sunny at 9am may be shaded by trees or the house by 1pm.
Also consider proximity to water. Dragging a hose 100 feet becomes a chore you’ll skip — and a skipped watering becomes a dead plant. A spot near a water source (or where you can run a soaker hose) gets watered consistently.
Step 2: Start Small
A 4×8 foot build a raised bed vegetable garden is the perfect first garden. It’s manageable, reachable from all sides without stepping on the soil, and large enough to grow a genuinely useful amount of food. Many beginners start with a 10×10 in-ground plot and spend the first season overwhelmed and under-watered. Resist the urge to go big in year one.
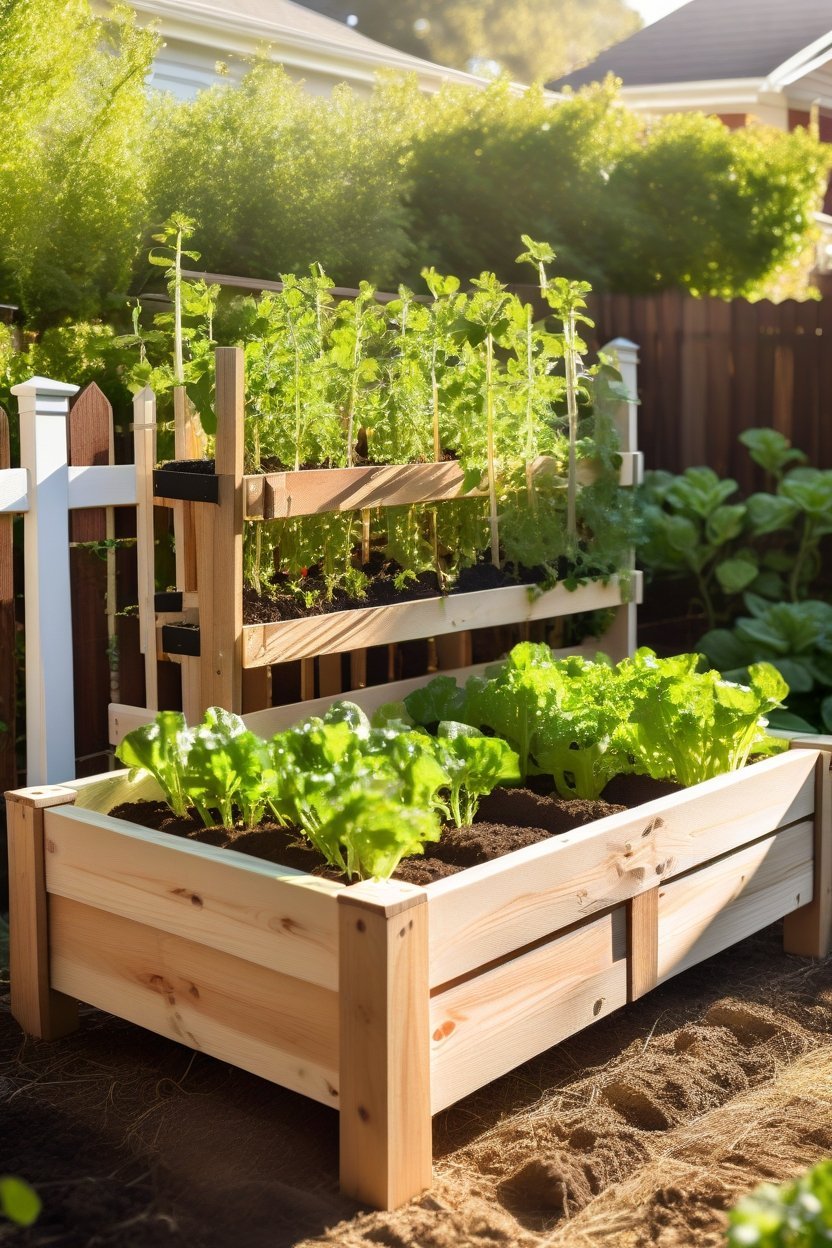
Step 3: Raised Bed vs. In-Ground
complete guide to raised bed gardenings are almost always the better choice for beginners. You control the soil completely, drainage is excellent, weeds are minimal, and the soil warms up faster in spring. A basic cedar raised bed kit costs $50–$100 and lasts a decade. Fill it with a mix of 60% topsoil, 30% start composting at home, and 10% perlite or coarse sand.
Step 4: Choose What to Grow
For a first garden, stick to high-success, high-reward crops:
- Lettuce and salad greens — Quick (30 days to harvest), easy, and productive. Cut-and-come-again varieties regrow after each harvest.
- Zucchini — Absurdly productive. One or two plants will give you more zucchini than you can eat.
- Cherry tomatoes — More reliable than large-fruited varieties. ‘Sun Gold’ and ‘Sweet Million’ are nearly impossible to fail with.
- Beans — Direct sow, no fuss, fast harvest. Bush beans don’t need staking.
- Herbs — Basil, parsley, and chives grow easily, use frequently, and make everything else you cook taste better.
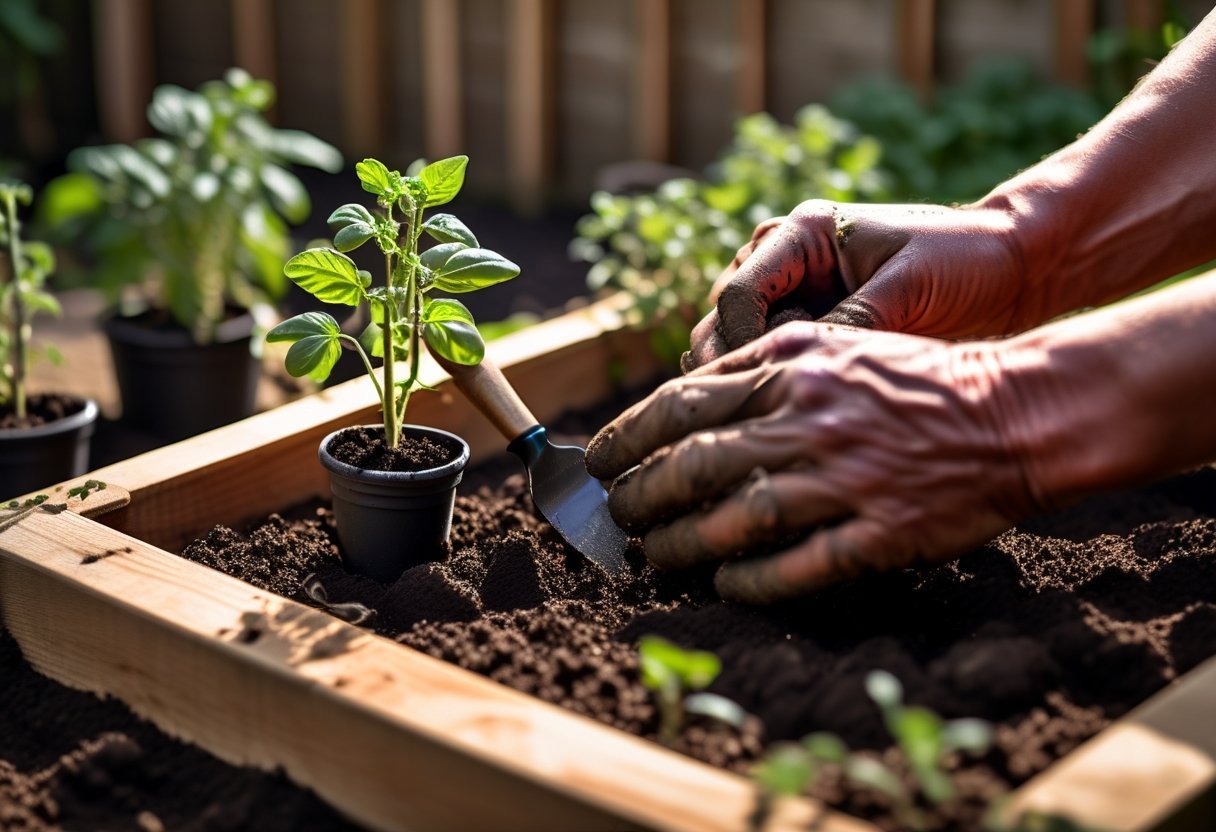
Step 5: Seeds or Transplants?
Start with transplants (seedlings from a nursery) for tomatoes, peppers, and herbs — these need a long head start and starting from seed is tricky for beginners. Direct sow (plant seeds straight into the garden) for beans, lettuce, zucchini, radishes, and carrots — these don’t transplant well and are easy from seed.
Step 6: Water Consistently
Most vegetables want about 1 inch of water per week. During summer heat, this often means watering every 2–3 days. The best approach: water deeply (letting it soak 6 inches down) and less frequently, rather than light daily watering. Deep watering encourages roots to grow down toward moisture rather than staying shallow.
A soaker hose on a timer is the single best investment for a beginner vegetable garden. It delivers water at the root level (reducing disease), conserves water, and keeps your plants consistently watered even when life gets busy.
Step 7: Feed and Mulch
Apply a 2–3 inch layer of mulch (straw, shredded leaves, or wood chips) around your plants. Mulch retains moisture, suppresses weeds, and regulates soil temperature. It’s one of the highest-return garden tasks and most beginners skip it entirely.
Feed heavy feeders (tomatoes, peppers, squash) with a balanced vegetable fertilizer every 2–3 weeks once they start flowering. Leafy greens (lettuce, spinach) benefit from a nitrogen-heavy fertilizer to boost leaf production.
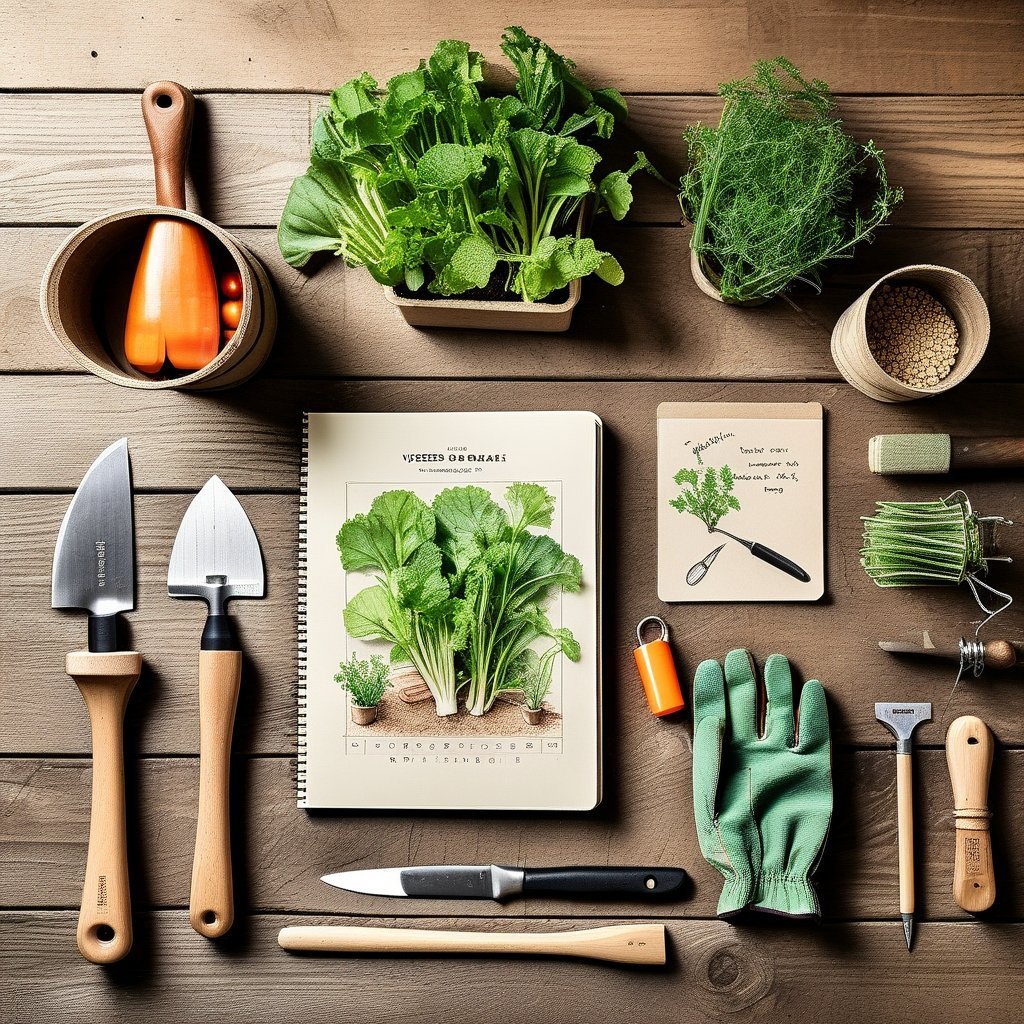
What to Expect in Year One
Year one is a learning year. You’ll have some successes and some failures, and you’ll learn more from both than from any amount of reading. Keep a simple garden journal: what you planted, when, what the weather was like, what worked. That journal becomes invaluable in year two when you’re making smarter decisions from real experience.
The first tomato you grew yourself, sliced onto a plate with salt and olive oil, will taste better than any you’ve bought. That’s worth the learning curve entirely.