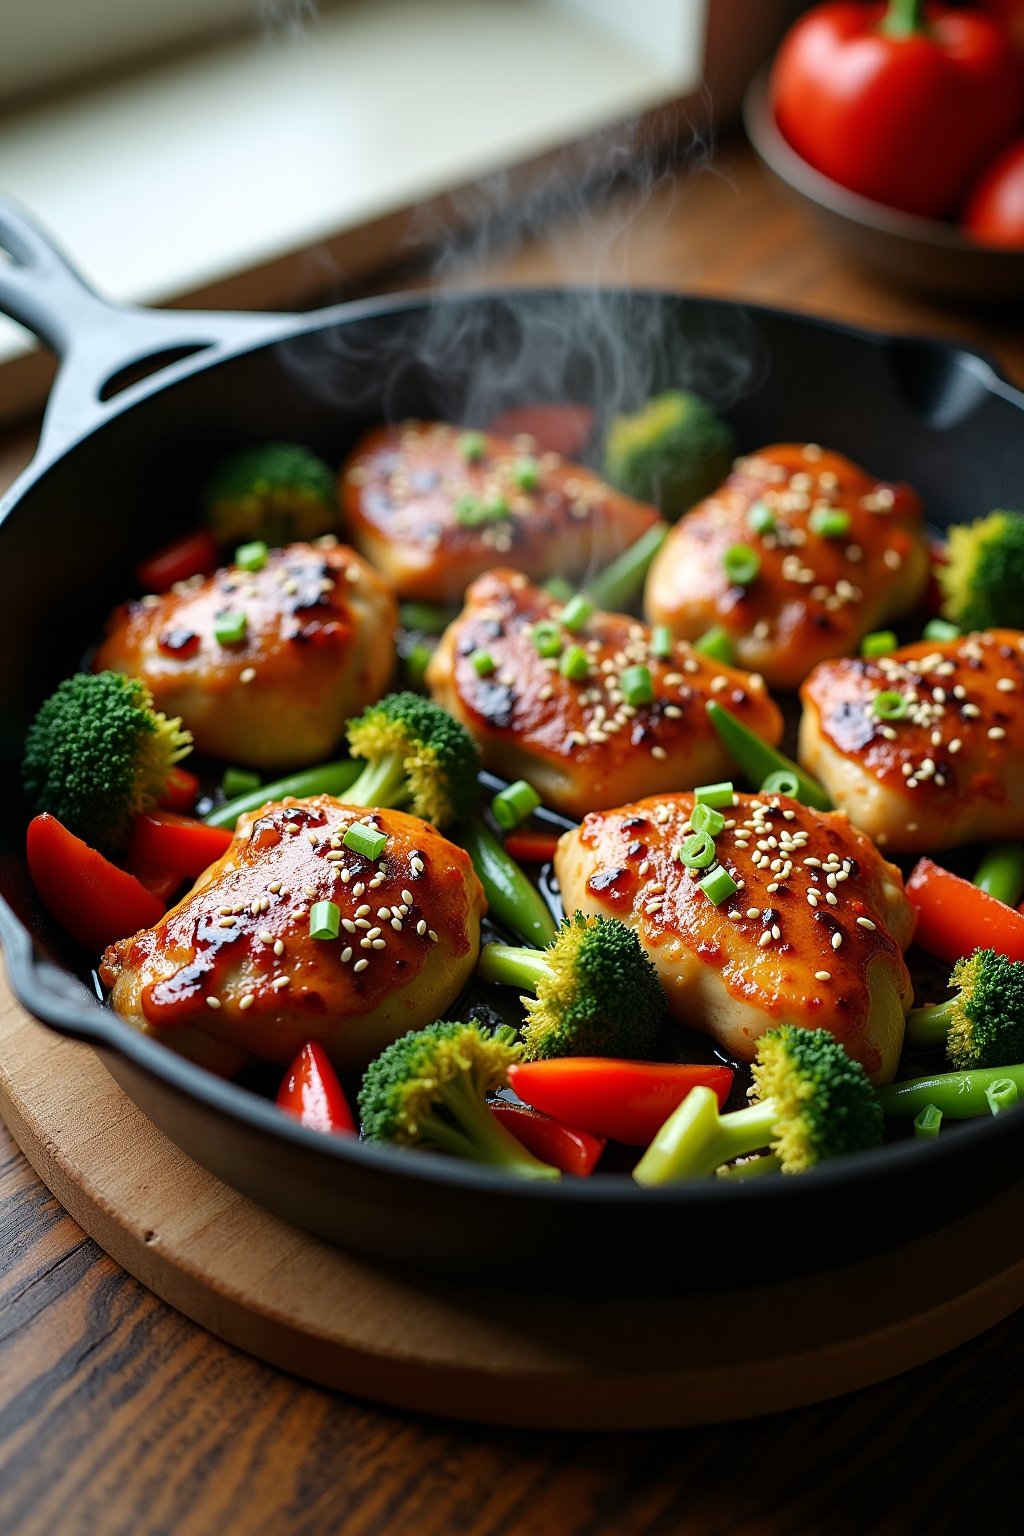
This one-pan honey garlic chicken is one of those magical weeknight dinners where everything comes together in a single skillet and tastes like you spent hours in the kitchen. The chicken gets beautifully golden and caramelized while the vegetables roast alongside, soaking up all that sticky honey garlic goodness.
I make this at least twice a month because my family genuinely fights over the last piece. The best part? You can swap the vegetables for whatever is in your fridge — it works every single time. Total cleanup is one pan, and dinner is on the table in 35 minutes flat.
Why This One-Pan Honey Garlic Chicken and Vegetables Is a Must-Try
- One-pan meal — everything cooks together in a single skillet, so cleanup takes about two minutes
- Ready in 35 minutes — faster than ordering takeout and so much better for you
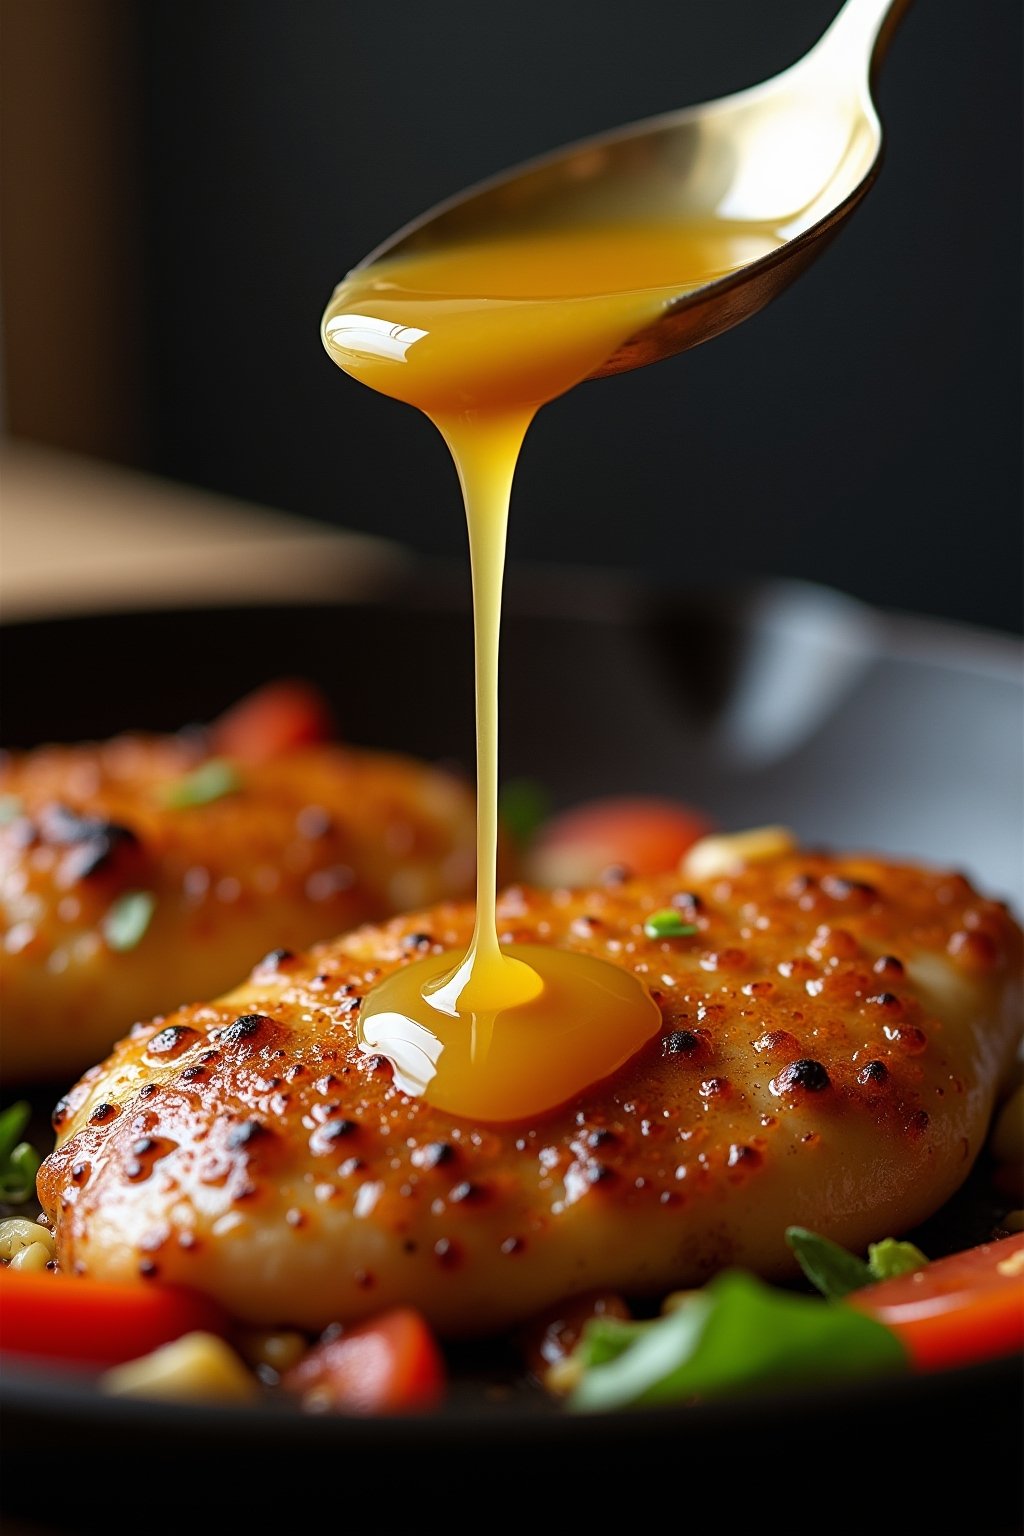
- Sticky honey garlic glaze — caramelized, sweet, savory perfection that coats every piece
- Customizable vegetables — use broccoli, bell peppers, snap peas, or whatever you have on hand
- Kid-friendly flavor — the sweet glaze makes this a hit even with picky eaters
- Great for meal prep — leftovers reheat beautifully for next-day lunches
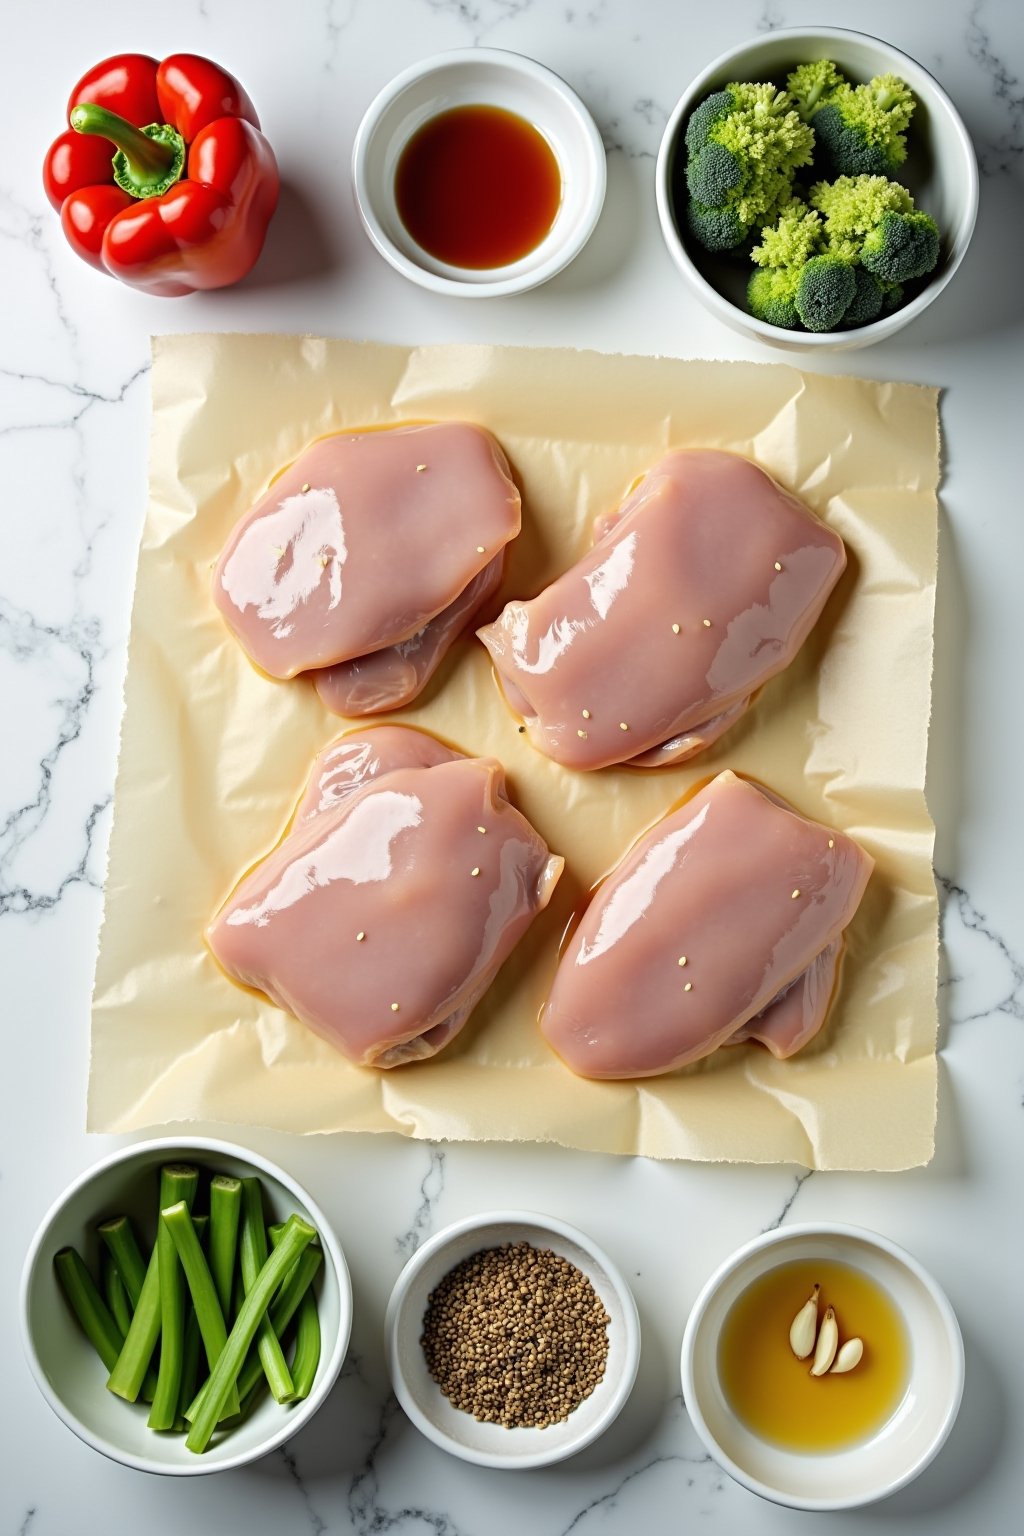
Ingredients You’ll Need for One-Pan Honey Garlic Chicken and Vegetables
Chicken thighs vs breasts: Thighs stay juicier and more forgiving if you overcook by a minute or two. Breasts work but slice them thinner so they cook evenly. For a budget-friendly option, bone-in thighs work great — just add 5 minutes to the cook time.
The honey: Real honey makes a noticeable difference in the glaze. If you only have the squeeze-bottle kind, that works too, but raw honey gives a richer caramel flavor. You can substitute maple syrup for a slightly different but equally delicious result.
One-Pan Honey Garlic Chicken and Vegetables
Ingredients
Equipment
Method
- Whisk together honey, soy sauce, rice vinegar, minced garlic, and sesame oil in a small bowl. Set aside.
- Season chicken thighs on both sides with salt, pepper, and garlic powder.
- Heat olive oil in a large oven-safe skillet over medium-high heat until shimmering.
- Sear chicken thighs for 4-5 minutes per side until golden brown. Remove and set aside.
- Add broccoli, bell pepper, zucchini, and snap peas to the same skillet. Sauté for 2 minutes.
- Pour honey garlic sauce over the vegetables and stir to coat. Nestle chicken back into the skillet on top of the vegetables.
- Drizzle cornstarch slurry over everything and let the sauce thicken for 1-2 minutes.
- Cover and cook on medium heat for 8-10 minutes until chicken reaches 165°F (74°C) internally.
- Garnish with sesame seeds and sliced green onions. Serve immediately over rice.
Notes
Nutrition Facts
Per serving
| Calories | 385 |
| Total Fat | 16g |
| Saturated Fat | 3g |
| Carbohydrates | 28g |
| Fiber | 3g |
| Sugar | 20g |
| Protein | 32g |
| Sodium | 680mg |
| Potassium | 520mg |
| Vitamin A | 25% |
| Vitamin C | 80% |
| Calcium | 6% |
| Iron | 12% |
* Percent Daily Values are based on a 2,000 calorie diet.
Storage and Freezing Tips
Refrigerator: Store leftovers in an airtight container for up to 4 days. The flavors actually get better overnight as the sauce soaks into the chicken.
Freezer: Freeze cooked chicken and vegetables (without rice) for up to 3 months. Thaw overnight in the fridge and reheat in a skillet with a splash of water to revive the sauce.
Reheating: Skillet is best — microwave works but the chicken won’t be as crispy. Add a teaspoon of water and cover to keep everything moist.
Tasty Variations to Try
- Spicy honey garlic — add 1-2 teaspoons sriracha or gochujang to the sauce for a sweet-heat kick
- Teriyaki twist — swap honey for brown sugar and add 1 tablespoon mirin for a Japanese-inspired version
- Low-carb version — serve over cauliflower rice instead of white rice and reduce honey to 2 tablespoons
- Sheet pan method — spread everything on a lined baking sheet and roast at 425°F for 20 minutes instead
- Coconut aminos swap — use coconut aminos instead of soy sauce for a soy-free, slightly sweeter version
- Extra veggie — add mushrooms, asparagus, or sweet potato cubes for a more substantial meal
Expert Tips for Perfect One-Pan Honey Garlic Chicken and Vegetables
- Pat the chicken dry before seasoning — moisture is the enemy of a good sear and crispy skin
- Don’t overcrowd the pan — if your skillet is small, sear the chicken in two batches for better browning
- Make the sauce first — having it ready means you can move quickly once the vegetables hit the pan
- Use a meat thermometer — chicken thighs are done at 165°F (74°C) but stay juicy up to 180°F
- Let it rest 3 minutes — slicing chicken immediately lets all the juices run out onto the cutting board
What to Serve With One-Pan Honey Garlic Chicken and Vegetables
- Steamed jasmine rice — the classic pairing that soaks up every drop of that honey garlic sauce
- Fried rice — makes this feel like a full Chinese takeout spread at home
- Cauliflower rice — keeps it low-carb while still giving you something to absorb the sauce
- Lo mein noodles — toss cooked noodles right into the pan with the sauce for a complete meal
- Fluffy quinoa — adds protein and a nutty flavor that complements the sweet glaze
- Roasted sweet potatoes — the natural sweetness pairs beautifully with the honey garlic
Looking for more recipe ideas? Check out these favorites:
- Easy Chicken Fried Rice (Better Than Takeout)
- Quick Vegetable Stir Fry with Ginger Soy Sauce
- Easy Teriyaki Salmon Bowl
Make-Ahead Options
You can prep the honey garlic sauce up to 3 days ahead — store it in a jar in the fridge and shake well before using. Cut the vegetables the night before and store in a zip-lock bag. Season the chicken and keep it covered in the fridge for up to 24 hours — the seasoning actually penetrates deeper this way.
For meal prep, cook the full recipe and divide into 4 containers with rice. These make excellent grab-and-go lunches that taste just as good reheated.
Frequently Asked Questions
Can I use chicken breasts instead of thighs?
Absolutely. Slice them into 1-inch strips so they cook evenly and don’t dry out. Reduce the searing time to 3 minutes per side since breast meat cooks faster.
Is this recipe gluten-free?
Use tamari or coconut aminos instead of soy sauce and make sure your cornstarch is certified gluten-free. Everything else in the recipe is naturally gluten-free.
Can I use frozen vegetables?
Yes, but thaw and pat them very dry first. Frozen vegetables release a lot of water which will thin out the sauce and prevent proper caramelization.
How do I make the sauce thicker?
Add an extra teaspoon of cornstarch to the slurry. You can also let the sauce simmer uncovered for an extra 2-3 minutes to reduce it naturally.
What if I don’t have rice vinegar?
Apple cider vinegar works as the closest substitute. White wine vinegar is also fine. Regular white vinegar is too harsh — use half the amount if that’s all you have.