
Why Tilling Is Actually Working Against You
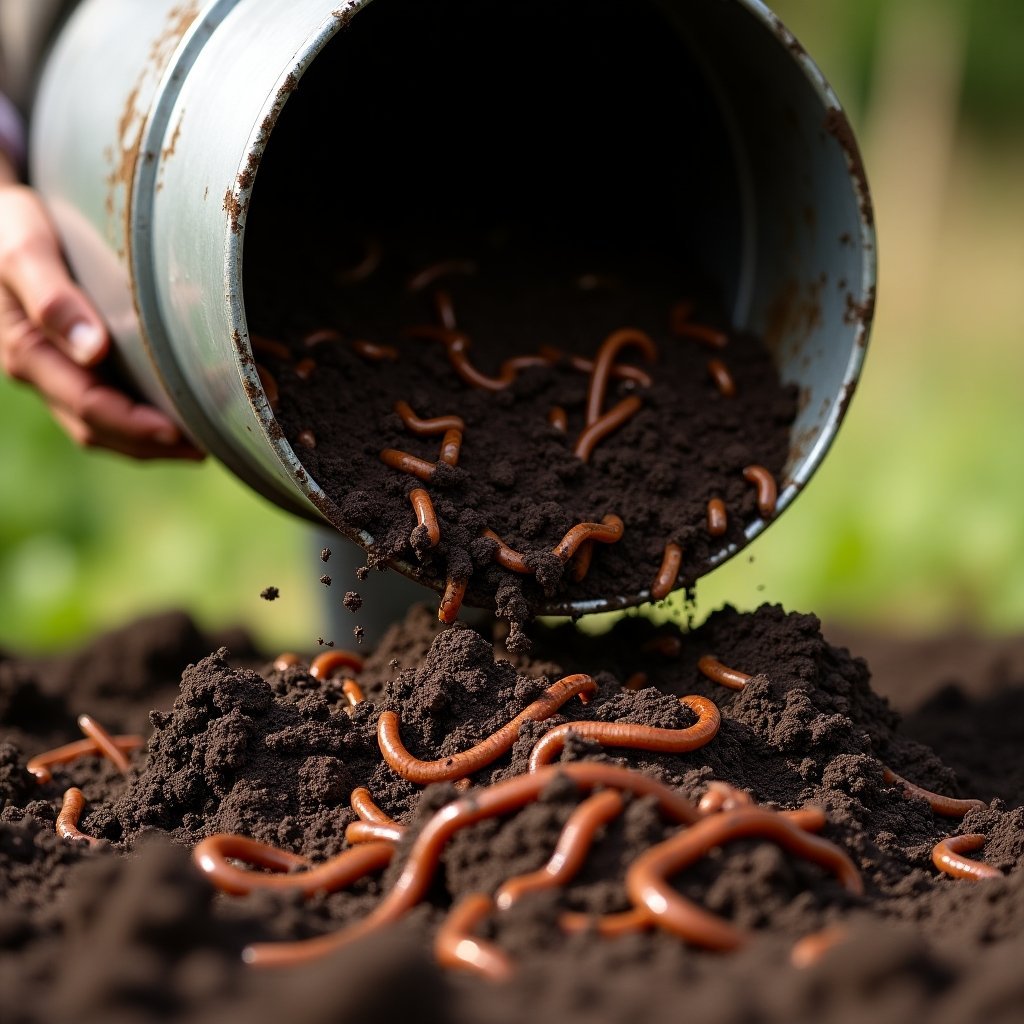
For generations, rototilling was considered the foundation of good gardening. But here’s what we now understand: tilling actively destroys the very things that make soil fertile. Healthy garden soil is alive — it contains a complex web of fungal networks, beneficial bacteria, earthworms, and micro-organisms that collectively do the hard work of breaking down organic matter and making nutrients available to plants. Every time you till, you shred these networks, disrupt earthworm habitat, expose buried weed seeds to light, and accelerate the breakdown of soil organic matter.
No-till gardening takes a different approach: instead of disturbing the soil, you feed it from the top down — the same way nature does.
The Benefits — and They’re Significant
- Fewer weeds: Tilling brings buried weed seeds to the surface. Stop tilling, and you dramatically reduce weed germination over time.
- Better water retention: Undisturbed soil with good organic matter content holds moisture far more effectively. You’ll water less.
- Healthier plants: Plants grown in living soil with intact fungal networks access more nutrients and experience less stress.
- Less work over time: Annual maintenance is simply adding a compost top-dressing. No more renting a tiller.
- Carbon sequestration: Undisturbed soil stores carbon rather than releasing it.
How to Build a No-Till Bed from Scratch: Sheet Mulching
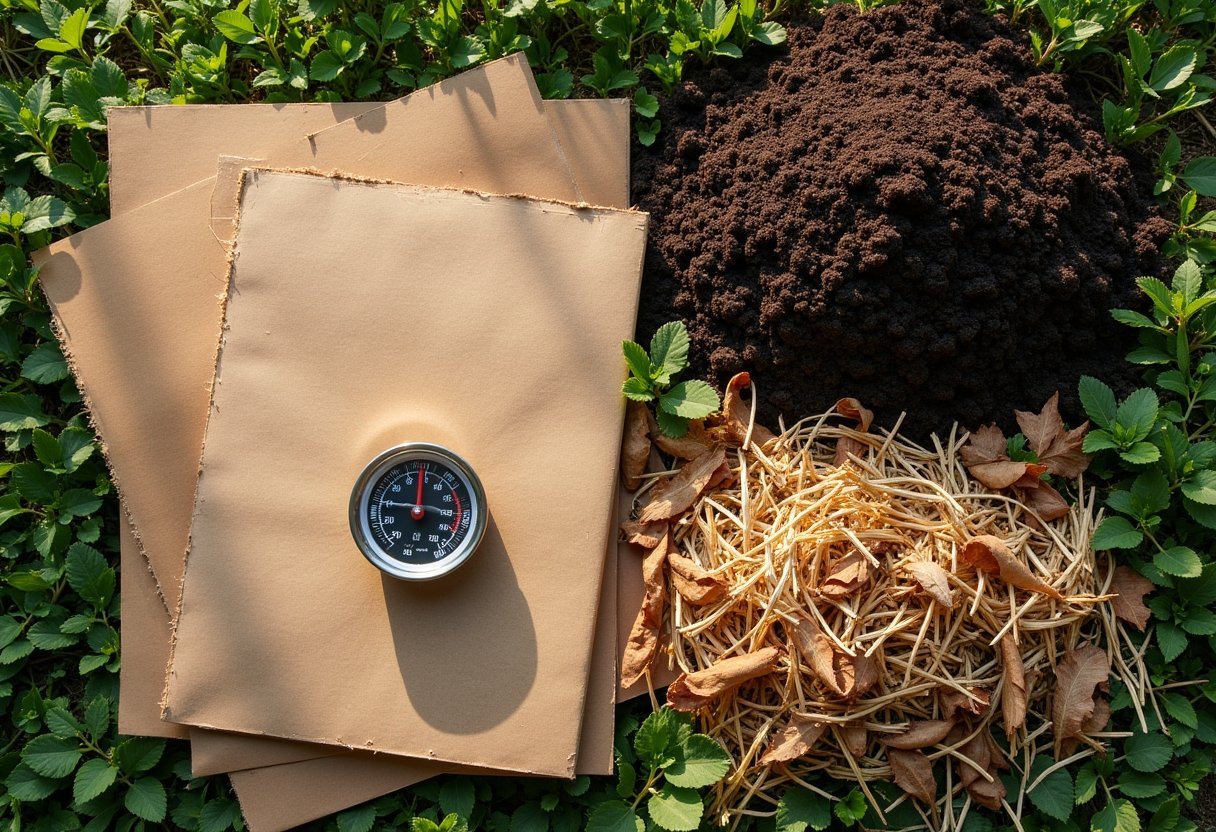
Sheet mulching turns a patch of lawn into a productive garden bed in an afternoon, with no digging required. What you’ll need: flattened cardboard boxes (remove all tape and staples), a bulk source of organic compost amendment (at least 4–6 inches), straw mulch, and water.
Step 1: Mow or cut down existing vegetation — don’t pull weeds, just knock them down. Step 2: Wet the area thoroughly. Step 3: Lay cardboard in overlapping sheets, overlapping edges by at least 6 inches, wetting as you go. Step 4: Add 4–6 inches of bulk organic compost amendment on top. Step 5: Top with 2–3 inches of straw mulch bales (not hay — hay contains weed seeds). Step 6: Water thoroughly and let it settle. A galvanized steel raised garden bed kit pairs beautifully with this method — the structure keeps layers contained and warms up faster in spring.
Composting Basics: Making Your Own Amendment
Compost requires four things: carbon-rich “brown” materials (straw, cardboard, dead leaves), nitrogen-rich “green” materials (kitchen scraps, fresh grass clippings, coffee grounds), moisture, and oxygen. The right ratio is roughly 3 parts browns to 1 part greens.
A compost bin tumbler is the most efficient way to compost for home gardeners — the tumbling action introduces oxygen, speeds decomposition dramatically, and keeps the pile contained. Well-managed tumblers can produce finished compost in as little as four to six weeks during warm weather. Use a garden thermometer for composting to monitor your pile — an active pile should reach 130–160°F in the center, which kills weed seeds and pathogens.
Top-Dressing Established Beds
If you already have garden beds and want to transition to no-till, stop tilling and start top-dressing. Each spring and fall, spread 1–2 inches of finished compost over the surface of your beds. Do not dig it in — let earthworms and soil life do that work. Pull weeds by hand at the root rather than hoeing. Within two to three seasons, you’ll notice the soil becoming progressively darker, looser, and richer.
Start This Weekend
Spring is the ideal time to set up a no-till bed — whether you’re converting lawn, establishing a new growing space, or simply committing to stop tilling existing beds. The investment of time upfront pays dividends for years. Richer soil, fewer weeds, less watering, healthier plants. Grab some cardboard, source your compost, pick up a few straw mulch bales, and build your first no-till bed this season.