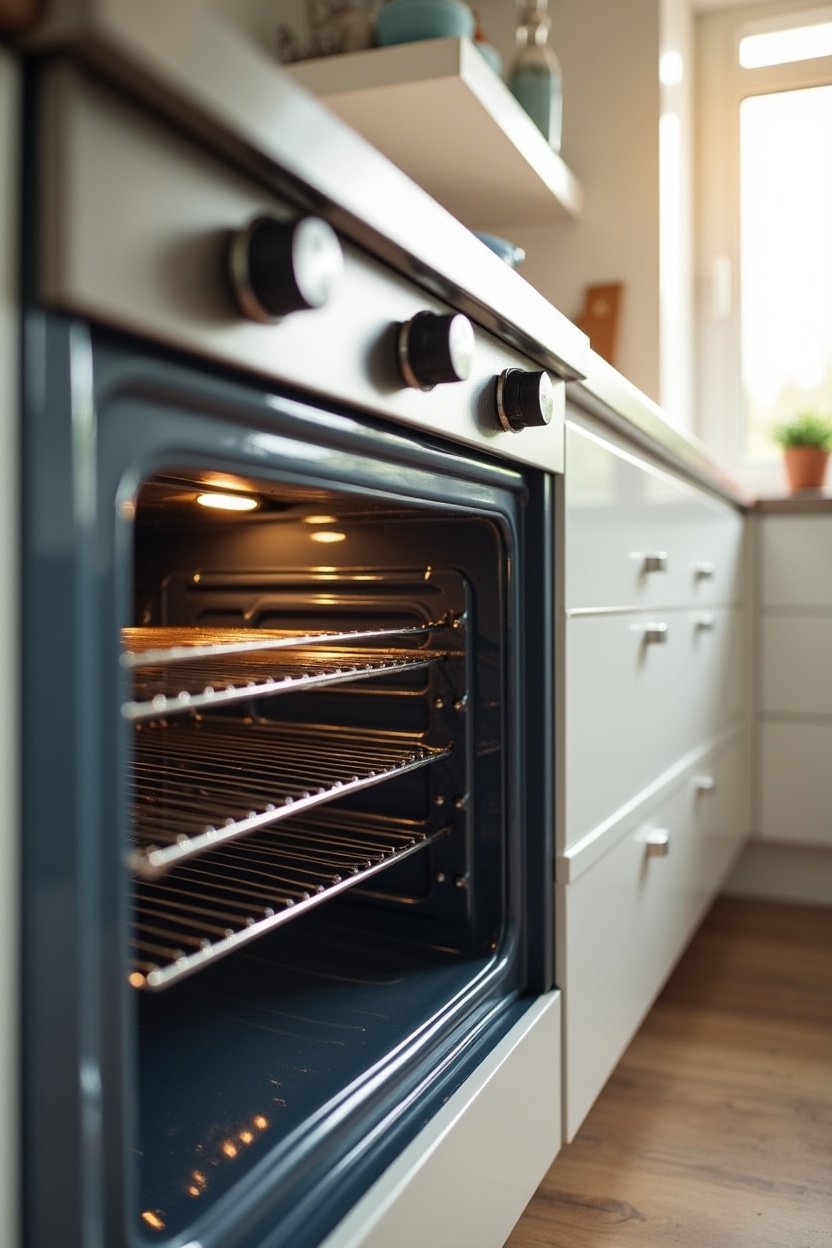
Why Most People Dread Cleaning the Oven
Let’s be honest — the oven is the cleaning task that everyone puts off the longest. Between the baked-on grease, the carbonized food splatters, and the awkward angles that make scrubbing feel like a yoga class, it’s no wonder most people only clean their oven once or twice a year (if that). And the traditional approach — spraying toxic chemical oven cleaner, closing the door, and coming back to a fume-filled kitchen — isn’t exactly motivating either.
But here’s the thing: you don’t need harsh chemicals to get your oven spotless. The most effective oven-cleaning method uses two ingredients you probably already have in your kitchen — baking soda and white vinegar — and it works better than most commercial cleaners. It just requires a little patience and some elbow grease. The result is a sparkling oven with zero chemical fumes, zero residue, and zero guilt.
What You’ll Need
The beauty of this method is its simplicity. Gather these supplies before you start:
- Baking soda (you’ll need about half a box — roughly 1 cup)
- White vinegar in a spray bottle
- Dish soap
- Warm water
- A pair of rubber gloves
- A Non-Scratch Scrub Sponge Set (the blue and yellow kind — never use steel wool on oven interiors)
- Old towels or newspapers to protect your floor
- A plastic or silicone spatula for scraping (never use metal tools on enamel)
That’s it. No commercial oven cleaner, no lye, no sodium hydroxide, no warning labels telling you to ventilate the room. Just kitchen staples and a little chemistry.
Step 1: Remove Everything and Prep
Take out the oven racks, thermometer, pizza stone, and anything else inside the oven. If you have a removable oven door (many modern ovens do — check your manual), removing it makes cleaning dramatically easier. Set the racks aside — we’ll clean those separately.
Lay old towels on the floor in front of the oven to catch drips. Put on your rubber gloves. And give yourself a realistic time window: the active work takes about 30-40 minutes, but the baking soda paste needs to sit overnight for best results. Plan to start this project in the evening.
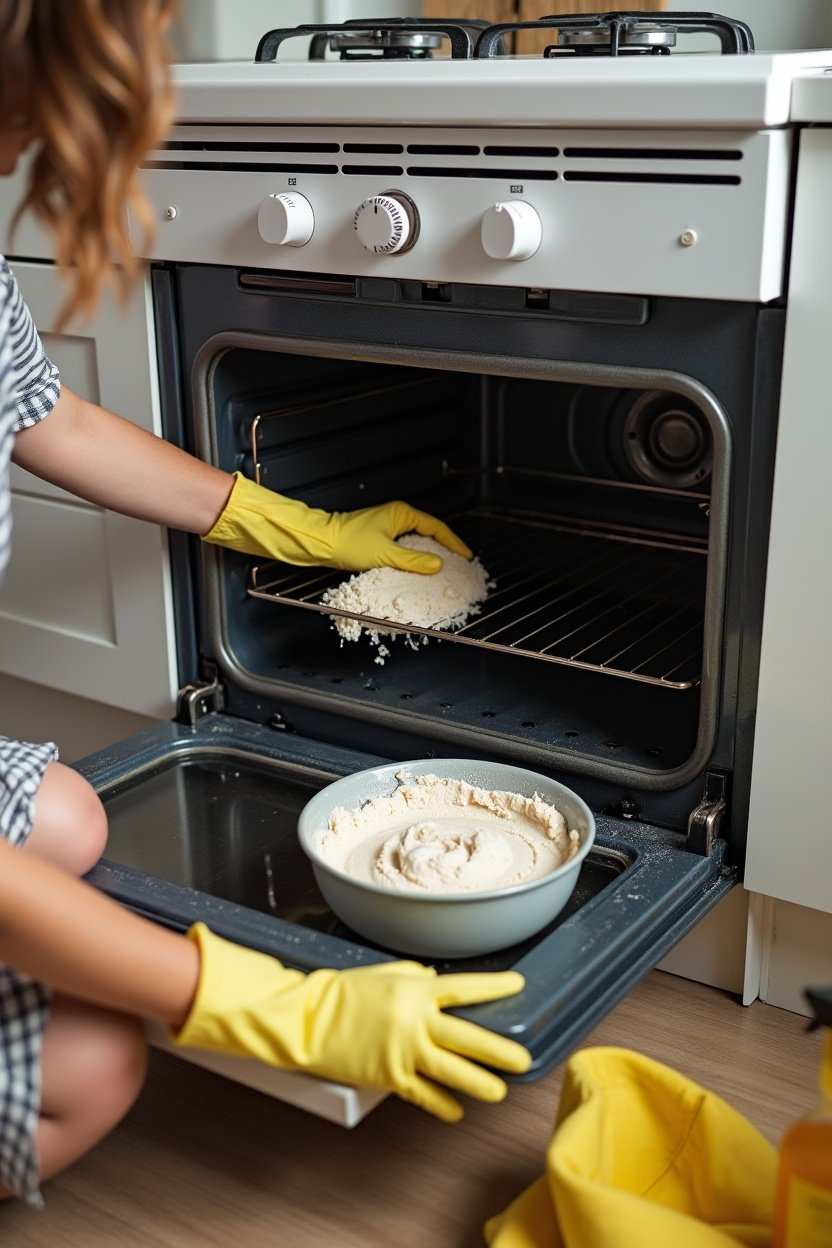
Step 2: Make the Baking Soda Paste
In a bowl, mix about half a cup of baking soda with 2-3 tablespoons of water. Stir until you get a thick, spreadable paste — roughly the consistency of toothpaste. If it’s too dry, add water a teaspoon at a time. If it’s too runny, add more baking soda.
Spread this paste over every interior surface of the oven — the bottom, sides, back, and door (avoiding the heating elements). Use your hands (gloved) to really work the paste into the grimiest areas. Areas with heavy grease buildup should get a thicker layer. The paste will turn brown as it starts reacting with the grease — that’s exactly what you want.
Close the oven door and let the paste sit for at least 12 hours — overnight is ideal. The baking soda works slowly, breaking down carbonized grease and food residue through a gentle alkaline reaction. This is where the magic happens, and it happens while you sleep.
Step 3: Clean the Oven Racks (While You Wait)
While the baking soda paste does its work inside the oven, tackle the racks. Fill your bathtub (or a large utility sink) with very hot water and add half a cup of dish soap. Submerge the racks and let them soak for at least 4 hours — overnight is best.
After soaking, the grease and baked-on residue will have loosened significantly. Scrub with a non-scratch sponge or an old toothbrush for the corners and crossbars. For truly stubborn spots, make a baking soda paste and apply it directly to the grime, let it sit for 15 minutes, then scrub. Rinse thoroughly and dry.
If you don’t want to use your bathtub, you can also lay the racks on a towel outside and spray them generously with the vinegar-baking soda combination, then scrub after 30 minutes.
Step 4: The Vinegar Reveal
After the baking soda paste has sat for 12+ hours, it’s time for the satisfying part. Fill a spray bottle with white vinegar and spray it generously over all the baking-soda-coated surfaces. You’ll see an immediate fizzing reaction — this is the acetic acid in the vinegar reacting with the sodium bicarbonate. The fizzing action lifts loosened grease and grime away from the oven surface.
Let it fizz for about 5 minutes. Then take a damp cloth or sponge and start wiping everything out. You’ll be amazed at how much comes off with minimal scrubbing. The baking soda paste will have turned the baked-on grease into a soft, wipeable sludge that lifts right off the enamel surface.
For stubborn spots that didn’t fully break down, apply a little more baking soda paste, spray with vinegar, and use your non-scratch sponge to scrub gently. A plastic spatula is useful for scraping off thick carbonized patches on the oven floor.
Keep wiping with clean damp cloths until no baking soda residue remains. You may need to rinse your cloth several times. When the cloth comes away clean and the oven surfaces feel smooth, you’re done.
Step 5: The Glass Door
The oven door glass deserves special attention because it’s what you see every time you look at the oven. Make a fresh batch of baking soda paste and spread a thin layer over the inside of the glass door. Let it sit for 30 minutes. Then spray with vinegar, let it fizz, and wipe clean with a microfiber cloth.
For the space between the glass panels (the area you can see but can’t reach), check if your oven door disassembles — many do. Consult your manual for instructions. If it does, carefully separate the panels, clean each one with the vinegar and baking soda method, and reassemble.
For the outside of the door, a simple spray of vinegar wiped with a microfiber cloth removes fingerprints and grease spatters. Finish with a dry cloth for a streak-free shine.

What About the Self-Clean Feature?
Many modern ovens have a self-clean cycle that heats the oven to roughly 900°F to incinerate all residue into ash. It works, but there are significant downsides. The extreme heat can damage oven door gaskets and electronic controls over time. It produces smoke and fumes that require serious ventilation. It can trip carbon monoxide detectors. And many appliance repair technicians say the self-clean cycle is one of the top causes of oven breakdowns.
The baking soda method is gentler on your oven, produces no fumes, costs almost nothing, and gets comparable results. If you prefer the convenience of the self-clean cycle, limit its use to once or twice a year and use the natural method for regular maintenance in between.
Maintaining a Cleaner Oven Between Deep Cleans
A few habits can dramatically reduce how often you need to do a full deep clean:
- Wipe spills immediately. When something bubbles over or splatters, let the oven cool to warm (not hot), then wipe the spill with a damp cloth. Fresh spills come off in seconds. Baked-on spills take hours.
- Use a baking sheet or oven liner. Place a rimmed baking sheet on the rack below whatever you’re cooking to catch drips. This single habit prevents 90% of oven-bottom messes.
- Quick monthly wipe. Once a month, spray the oven interior lightly with vinegar and wipe with a damp cloth. This takes 5 minutes and prevents grease from building up to deep-clean levels.
- Keep the door gasket clean. The rubber seal around the oven door traps grease and crumbs. Wipe it monthly with a damp cloth and mild dish soap.
A clean oven isn’t just aesthetically pleasing — it actually cooks better. Burnt residue on the oven floor and walls can smoke, create off-flavors, and even affect heating accuracy. Your food deserves a clean oven, and now you know exactly how to deliver one without reaching for a single chemical spray can.