Your Garage Deserves Better Than Being a Dumping Ground
Let’s be honest about what your garage has become. It started as a place to park your car. Then it became overflow storage. Then a landing zone for everything that didn’t have a home inside the house. Now you can barely walk through it, you haven’t parked inside in months (or years), and every time you open the garage door you feel a small wave of guilt.
You’re not alone. Studies show that 25 percent of Americans with two-car garages can’t park even one car inside because of clutter. But here’s the good news: a garage is one of the easiest spaces to transform in a single weekend because there are no design decisions to agonize over. It’s purely functional — sort, purge, clean, organize. Two days, a clear plan, and some basic supplies are all you need.
Saturday Morning: The Complete Purge (3-4 Hours)
Start early on Saturday. The first step is getting everything out of the garage. Yes, everything. Pull it all out onto the driveway. This feels extreme, but it’s essential — you can’t organize a space while it’s still full of stuff, and you can’t make good decisions about what to keep when things are buried in piles.
As you pull things out, sort them into four zones on your driveway:
- Keep. Items you’ve used in the past 12 months or have a clear, specific need for in the next 6 months. Seasonal decorations, working tools, sports equipment you actually use, and emergency supplies.
- Donate or sell. Items in good condition that someone else could use. That exercise bike collecting dust, the kids’ old toys, duplicate tools, furniture you’re “saving” for no specific reason.
- Trash. Broken items, dried-out paint cans, expired chemicals, items damaged by moisture or pests. Be ruthless here — if it’s broken and you haven’t fixed it in a year, you’re not going to.
- Relocate. Items that don’t belong in the garage at all — things that should be in the house, the attic, or a storage unit.
The keep pile should be the smallest. If your keep pile is the same size as what was in the garage, you haven’t purged hard enough. Ask yourself: “If I were moving, would I pay to pack and transport this?” That question cuts through sentimental attachment fast.
Saturday Afternoon: Deep Clean the Empty Space (2-3 Hours)
With the garage completely empty, it’s time to clean. You’ll be amazed (and possibly horrified) at what’s been hiding under all that stuff. Sweep or blow out all loose debris first — leaves, dirt, cobwebs, and whatever else has accumulated.
For the floor, a Heavy-Duty Garage Floor Degreaser handles oil stains and grime that regular soap can’t touch. Spray it on, let it sit for 10-15 minutes, then scrub with a stiff-bristle push broom and rinse with a hose. For stubborn oil spots, sprinkle cat litter or baking soda on the stain overnight before scrubbing — it draws the oil out of the concrete.
While the floor dries, wipe down the walls, window sills, and any built-in shelving. Check for signs of moisture, mold, or pest activity. If you find mouse droppings, wear gloves and a mask when cleaning — use a disinfectant spray rather than sweeping, which can stir up harmful particles.
Inspect your garage door seals, weather stripping, and any gaps where pests could enter. A tube of silicone caulk and 30 minutes of gap-sealing now prevents months of frustration later. Check your garage lighting too — if you’re working under a single dim bulb, replace it with a LED Garage Ceiling Light Panel. Good lighting makes the space feel bigger, cleaner, and more functional.

Saturday Evening: Plan Your Zones (1 Hour)
Before you put anything back, grab a piece of paper and sketch a simple floor plan of your garage. Divide it into zones based on how you’ll use the space. A typical garage works well with four or five zones:
- Vehicle zone. The area where your car parks. Mark this out clearly — everything else works around this sacred space.
- Workshop zone. A workbench or tool area near an outlet, ideally along one wall.
- Sports and outdoor gear zone. Bikes, balls, camping gear, lawn games. Usually near the garage door for easy grab-and-go access.
- Seasonal storage zone. Holiday decorations, seasonal clothing, camping gear you use once or twice a year. This goes high — on upper shelves or overhead storage.
- Lawn and garden zone. Mower, trimmer, rakes, shovels, potting supplies. Near the exterior door or the side of the garage closest to the yard.
The key principle: items you use most frequently should be the easiest to reach. Daily-use items at waist height and arm’s reach. Weekly items on accessible shelves. Seasonal items up high or in the back corners.
Sunday Morning: Install Your Storage Systems (3-4 Hours)
Now comes the satisfying part. Before bringing anything back in, install your storage systems while the garage is still empty. This is much easier than working around clutter.
The three most impactful garage storage solutions, in order of importance:
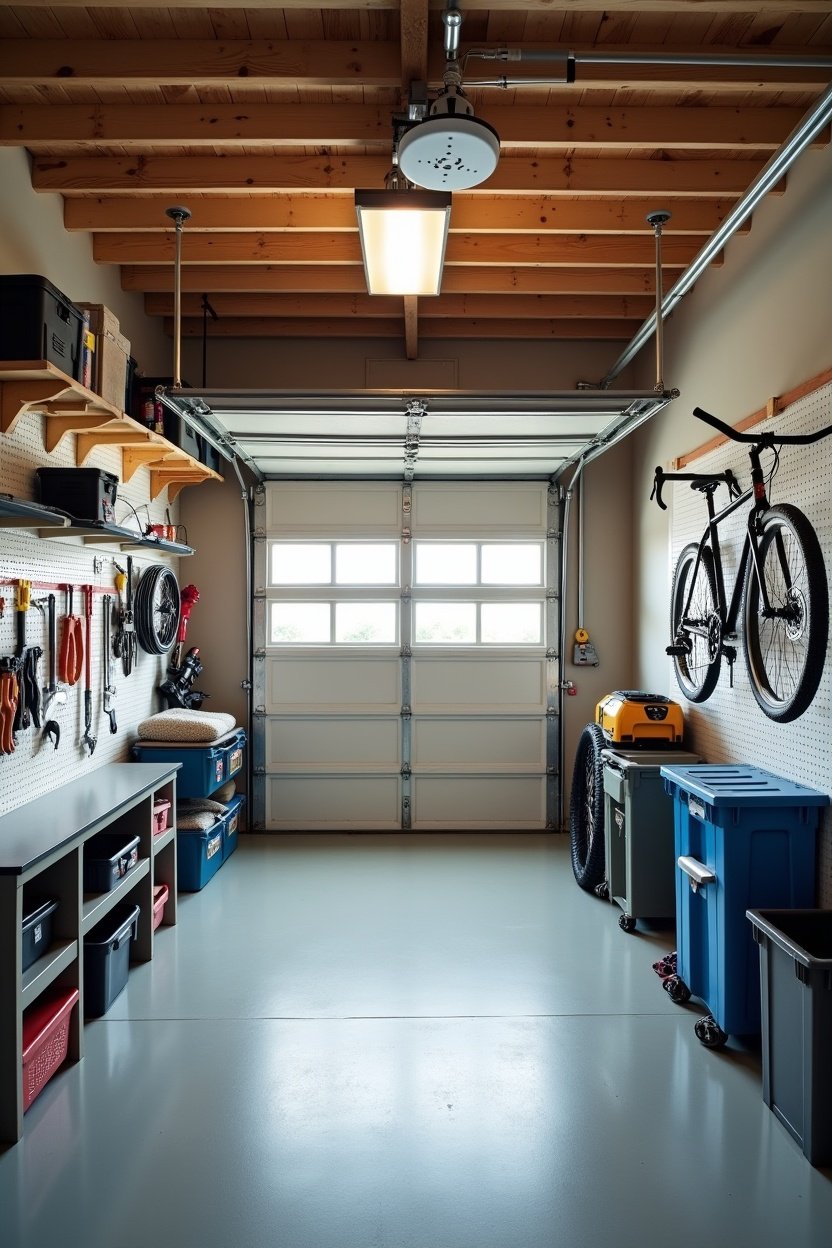
1. Wall-mounted shelving. Freestanding shelves eat up floor space. Wall-mounted heavy-duty shelving keeps the floor clear and is incredibly space-efficient. A Wall-Mounted Heavy-Duty Garage Shelving Unit rated for at least 200 pounds per shelf handles bins, paint cans, tools, and seasonal items without any floor footprint. Install them high enough that you can still park underneath or walk by without bumping your head.
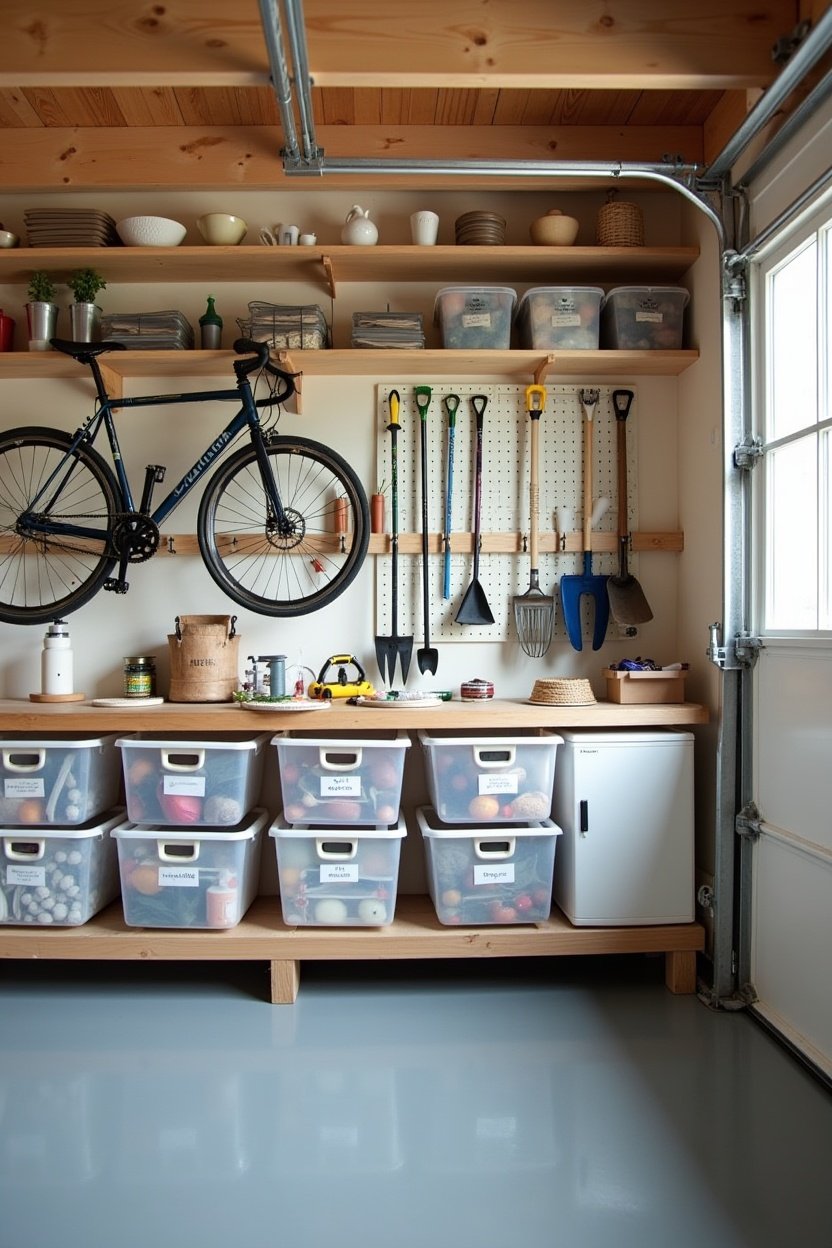
2. Pegboard or slatwall. For tools, pegboard is unbeatable. Mount a 4-by-8-foot panel above your workbench and hang every hand tool in plain sight. You’ll never dig through a toolbox again. A Pegboard Organizer Kit with Hooks and Baskets comes with all the hardware you need — hooks for hammers and pliers, baskets for screws and nails, and holders for tape and spray cans.
3. Ceiling-mounted overhead storage. The ceiling is the most underused storage space in every garage. A Overhead Garage Storage Rack that mounts to the ceiling joists creates a massive storage platform for lightweight seasonal items — holiday decorations, luggage, camping gear, off-season clothing bins. Just make sure whatever you store up there is in clear, labeled bins so you can identify contents without climbing a ladder.
Sunday Afternoon: Put Everything Back — With Intention (2-3 Hours)
Now bring back only the items from your keep pile, placing each one in its designated zone. This is where bins become essential. Clear storage bins in a few consistent sizes let you see what’s inside without opening them, stack neatly, and protect contents from dust and moisture.
Label everything. Yes, even the clear bins. A label maker or a roll of painter’s tape and a marker takes 30 seconds per bin and saves you 30 minutes of searching later. Label the shelf spots too — when everyone in the household knows where things go, the system actually stays organized.
For bikes, install wall-mounted bike hooks or a freestanding bike rack. Bikes leaning against walls are the number one cause of garage domino disasters. For long-handled tools like rakes, shovels, and brooms, a Wall-Mounted Garden Tool Organizer with spring-grip holders keeps them vertical, visible, and out of the way.
The Finishing Touches That Make It Last
Your garage is clean, organized, and beautiful. Now protect your investment with a few finishing touches:
- Add a mat or rug at the entry. A heavy-duty mat at the door between the garage and the house catches dirt and debris before it gets tracked inside.
- Install a small trash can. Without a trash can in the garage, things pile up on the workbench. A simple bin by the door solves this instantly.
- Schedule a 15-minute monthly reset. Put it on your calendar. Once a month, spend 15 minutes returning items to their zones, tossing trash, and sweeping the floor. This tiny habit is the difference between a garage that stays organized and one that slowly returns to chaos.
- Apply a garage floor coating. If you want to go the extra mile, an epoxy or polyurea floor coating makes the concrete easy to sweep, resistant to stains, and looks incredibly clean. It’s an optional step, but it makes the entire space feel finished and motivates you to keep it that way.
The One-Weekend Garage Makeover Checklist
Here’s your quick-reference checklist for the entire project:
- Saturday AM: Empty everything onto the driveway. Sort into Keep, Donate, Trash, and Relocate.
- Saturday PM: Deep clean the empty garage — floor, walls, seals, lighting.
- Saturday Evening: Sketch your zone plan on paper.
- Sunday AM: Install storage systems — wall shelving, pegboard, overhead rack.
- Sunday PM: Put back only Keep items, organized by zone. Label everything.
- Sunday Evening: Take a photo, admire your work, and schedule your monthly 15-minute reset.
That’s it. One weekend, zero excuses. Your car will fit in the garage again, you’ll find every tool on the first try, and opening the garage door will feel satisfying instead of stressful. Start this Saturday — future you will be grateful.