There is something almost magical about walking past a lavender hedge in full bloom — the scent stops you in your tracks and the sight of those purple spikes swaying in the breeze is the kind of thing that makes you fall in love with gardening all over again. Lavender is one of my absolute favorite plants, and I have been growing it for over a decade in everything from clay soil gardens to raised bed herb spirals.
The wonderful news is that lavender is remarkably tough once established. The challenging news is that more lavender plants are killed by too much kindness than by neglect. Overwatering, rich soil, and poor drainage are lavender’s biggest enemies, which is the opposite of what most gardeners expect. In this guide I will walk you through choosing the right variety, planting for success, mastering the all-important pruning technique, and harvesting at the perfect moment for the strongest fragrance.
Quick Facts
| Sun | Full Sun (6-8 hours minimum) |
| Difficulty | Beginner to Intermediate |
| Season | Spring planting, Summer bloom |
| Zone | USDA Zones 5-9 (English), Zones 7-10 (French/Spanish) |
| Time to Harvest | 90-200 days from transplant to first harvest |
What You Need for The Complete Guide to Growing Lavender: Planting, Pruning, and Harvesting
- Lavender plants or seeds (variety suited to your zone)
- Coarse sand or perlite for drainage amendment
- Gravel or small stones for mulch
- Garden lime (if soil is acidic)
- Sharp pruning shears
- Well-draining pot (for container growing)
- Sandy or gritty potting mix (for containers)
- Landscape fabric (optional, for weed suppression)
- Drying rack or bundles of twine (for harvesting)
The most important material for growing lavender is not a product — it is drainage. If your soil holds water, you must amend it heavily with coarse sand, perlite, or gravel before planting. Lavender evolved in the rocky, alkaline soils of the Mediterranean and it simply will not tolerate wet feet. Use gravel mulch instead of wood chips around lavender — wood mulch retains too much moisture near the crown and promotes rot. A thin layer of white or tan pea gravel also reflects light and heat up to the plant, which lavender loves. If your soil pH is below 6.5, add garden lime to bring it up to 6.5-7.5. For container growing, use a gritty cactus mix or make your own with equal parts potting soil, coarse sand, and perlite.
Step 1: Choose the Right Lavender Variety for Your Climate
There are over 450 lavender varieties, but they fall into a few main groups:
English lavender (Lavandula angustifolia) is the hardiest, surviving down to Zone 5 (-20°F). Varieties like ‘Hidcote’ (deep purple, compact), ‘Munstead’ (early blooming, classic), and ‘Phenomenal’ (exceptionally heat and cold hardy) are the best choices for most gardeners. English lavender has the sweetest fragrance and is the type used for culinary purposes.
French lavender (Lavandula dentata) has serrated leaves and blooms almost continuously in warm climates but is only hardy to Zone 7-8. It is stunning in containers.
Spanish lavender (Lavandula stoechas) has distinctive ‘rabbit ear’ petals and thrives in hot, dry climates (Zones 7-10). It is the most drought-tolerant type.
Lavandin (Lavandula x intermedia), a hybrid of English and spike lavender, is larger and more vigorous. ‘Grosso’ and ‘Provence’ are popular for essential oil production and dried flower arrangements.
For beginners in most of the US, start with ‘Phenomenal’ or ‘Munstead’ English lavender — they are forgiving, reliable, and fragrant.
Step 2: Select the Perfect Planting Spot
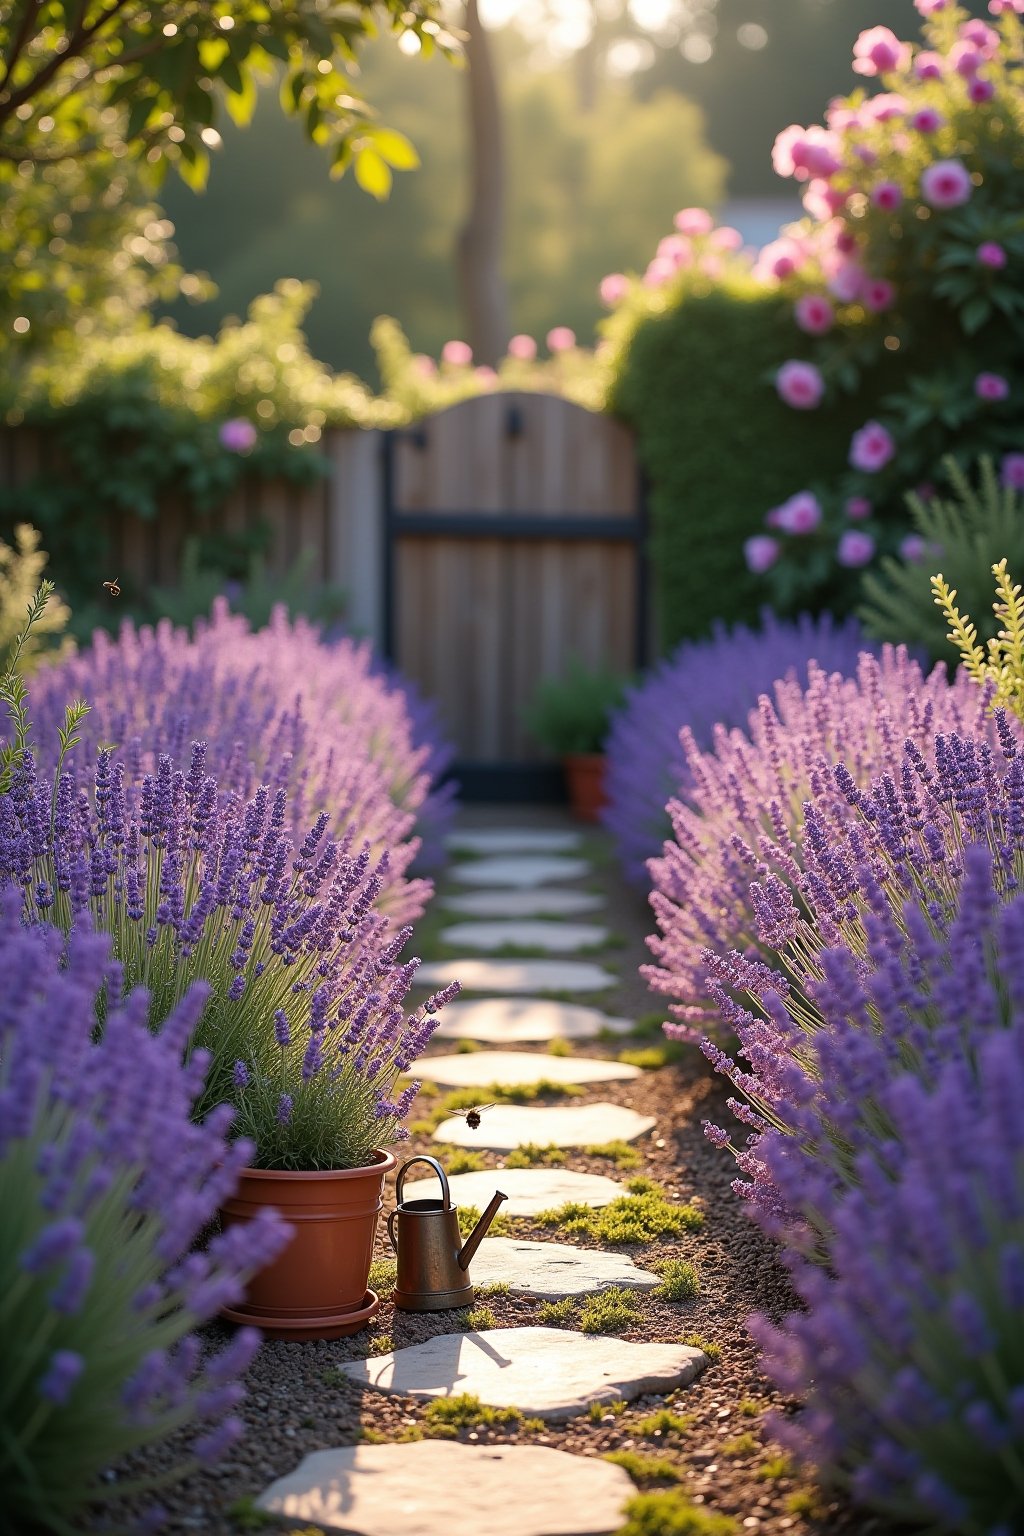
Lavender needs three things from its location: full sun, excellent drainage, and good air circulation. Choose a spot that gets at least 6-8 hours of direct sunlight daily — south-facing slopes or beds are ideal. Avoid low-lying areas where water collects, spots near downspouts, and areas with heavy clay soil unless you amend extensively. If your soil is heavy clay, the best strategy is to build a raised bed or mound 12-18 inches high with gritty, fast-draining soil. Plant lavender where it gets good air flow — avoid tucking it against a solid wall or fence where air stagnates, as still, humid air promotes fungal disease. Lavender also looks stunning lining a sunny walkway or driveway where people brush past it and release the fragrance.
Step 3: Prepare the Soil for Mediterranean Conditions
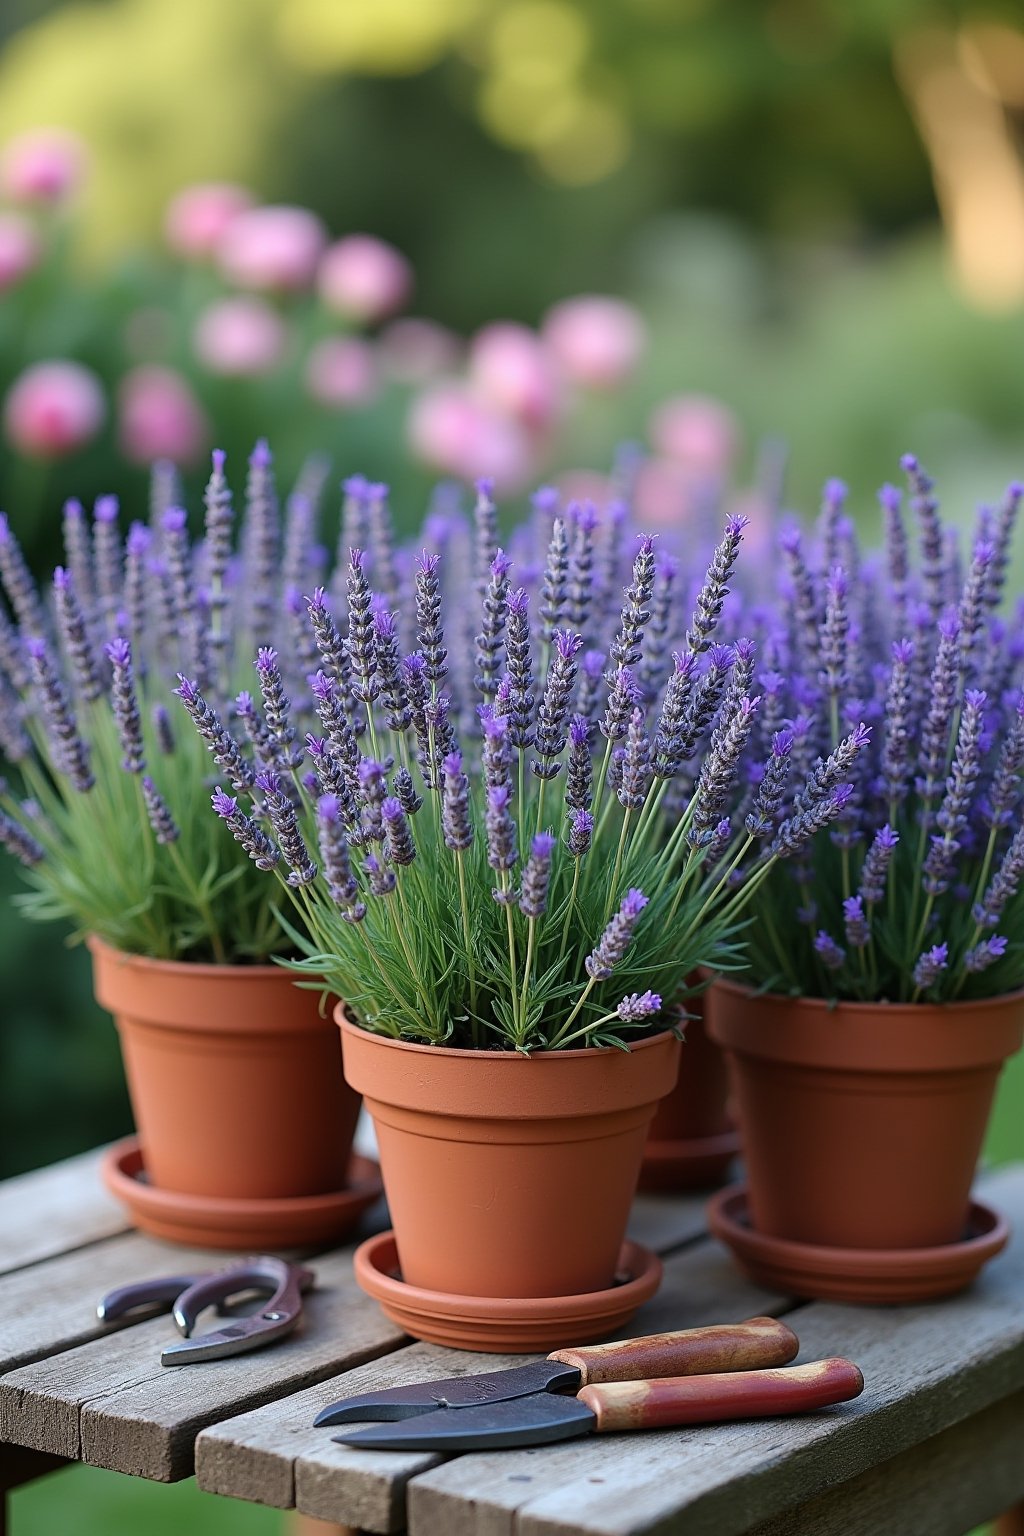
Here is where most gardeners go wrong: they treat lavender like every other plant and give it rich, moisture-retentive soil. Lavender wants the opposite. Aim for lean, alkaline, fast-draining soil with a pH between 6.5 and 7.5. If your soil is clay or loam, dig a hole twice the width of the root ball and mix the removed soil 50/50 with coarse sand or perlite. Add a handful of garden lime if your soil is acidic. Do not add compost or manure — lavender genuinely prefers poor soil, and rich soil produces leggy, weak plants with fewer flowers. At the bottom of the planting hole, add a 2-inch layer of gravel to ensure water never pools around the roots. For containers, mix equal parts potting soil, coarse sand, and perlite. The mix should feel gritty and drain instantly when you pour water through it.
Step 4: Plant at the Right Depth and Spacing
Plant lavender at the same depth it was growing in its nursery pot — do not bury the crown any deeper, as this promotes rot. If anything, plant slightly high so water drains away from the crown. Space plants 12-18 inches apart for a hedge effect, or 18-24 inches apart for individual specimens. Lavender grows wider than most people expect — a mature ‘Phenomenal’ can reach 3 feet across — so resist the urge to plant too closely. After planting, water deeply once to settle the soil around the roots, then apply a 2-inch layer of gravel mulch around (but not touching) the base of each plant. The gravel prevents soil from splashing onto the lower leaves and reflects heat up to the plant.
Step 5: Water Sparingly — Less Is More
Overwatering is the number one killer of lavender. Newly planted lavender needs regular watering for the first few weeks to establish roots — water deeply once or twice a week. After the first growing season, established lavender is remarkably drought-tolerant and typically needs supplemental water only during extended dry spells. In most climates, rain alone is sufficient for established plants. When you do water, do it in the morning so foliage dries quickly, and water at the base — never overhead. Container-grown lavender needs more frequent watering because pots dry out faster, but always let the soil dry out completely between waterings. If you are unsure whether to water, wait a few more days. Lavender will forgive drought far more readily than wet roots.
Step 6: Master the Essential Pruning Technique
Pruning is the single most important maintenance task for lavender, and skipping it is the second most common reason lavender plants fail (after overwatering). Without regular pruning, lavender becomes woody, leggy, and split open in the center.
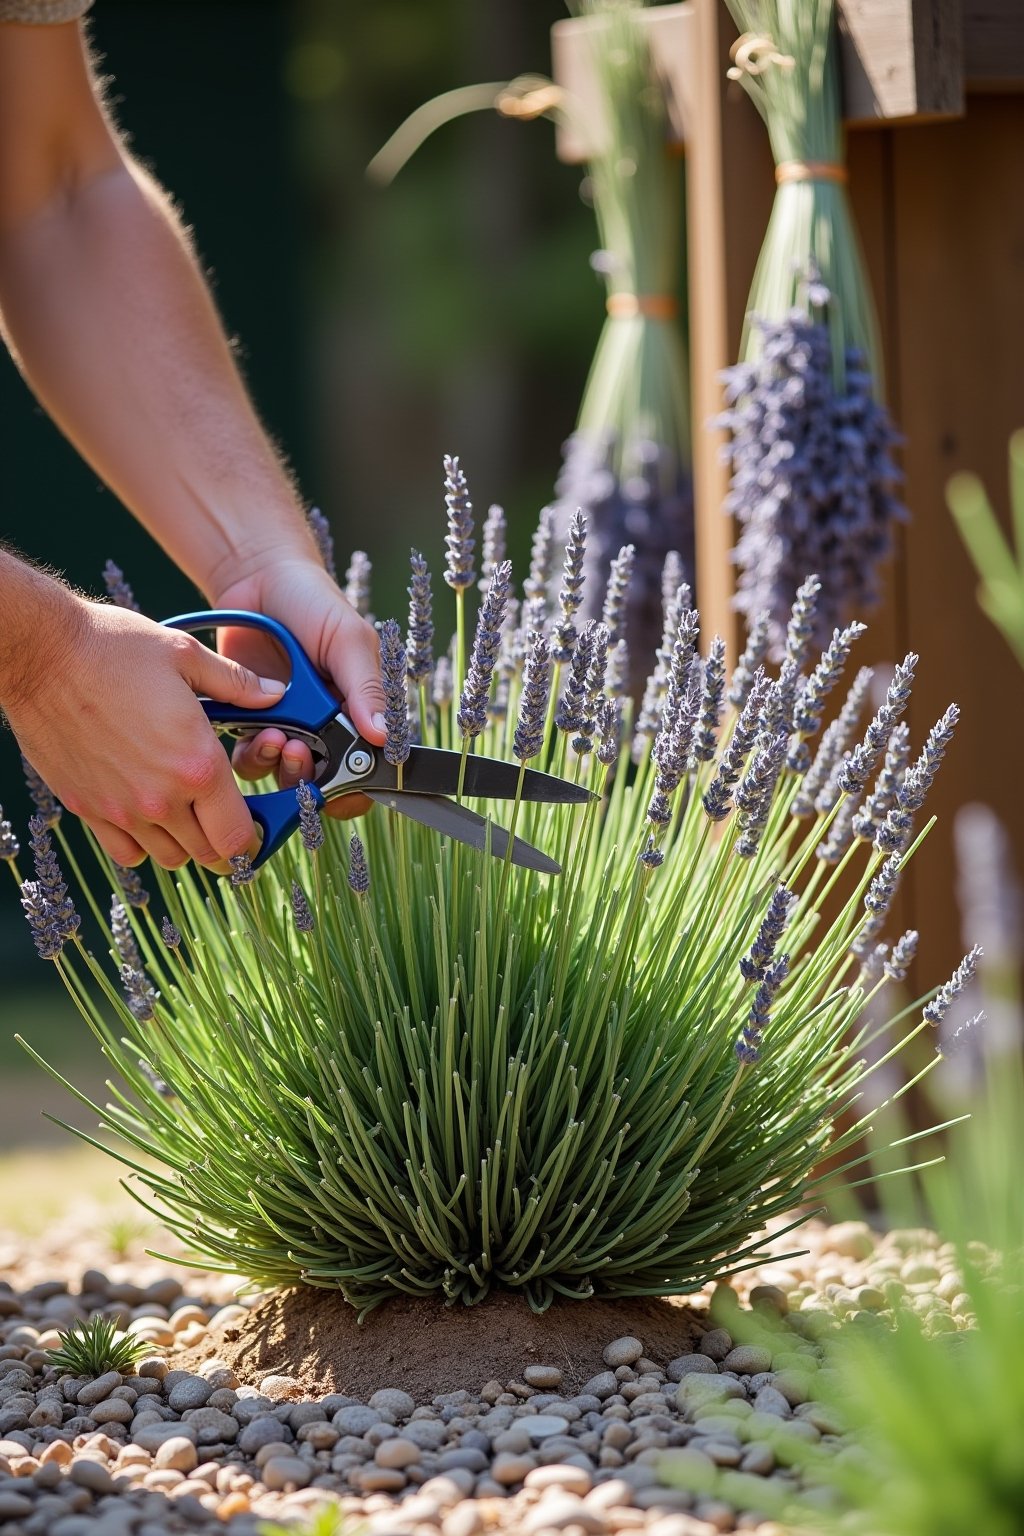
Spring pruning (main prune): In early spring when you see new green growth emerging at the base, cut the plant back by one-third to one-half its height. Shape it into a neat mound. Cut into the green, leafy growth — never cut into bare, woody stems, as lavender cannot regenerate from old wood. This is the golden rule of lavender pruning and the most important thing to remember.
Summer pruning (after first bloom): When the first flush of flowers fades, trim off spent flower stems and lightly shape the plant. This often encourages a second, lighter bloom in late summer.
Fall: In cold climates (Zones 5-6), do not prune after August — late pruning stimulates tender new growth that will be killed by frost. In mild climates, a light trim in fall is fine.
Step 7: Harvest at Peak Fragrance
For the strongest fragrance and longest-lasting dried lavender, timing matters. Harvest when about half the flowers on each stem have opened and the rest are still in bud. At this stage, the essential oil content is at its peak. If you wait until all flowers are fully open, the oils have already begun to dissipate. Cut stems long — 8 to 12 inches — in the morning after the dew has dried but before the heat of the day. Bundle 20-30 stems together with twine or a rubber band and hang them upside down in a dark, dry, well-ventilated spot for 2-4 weeks. A closet, covered porch, or laundry room works well. The key is low humidity and no direct sunlight, which fades the color. Once dry, strip the buds from the stems by running your fingers down the stalk over a bowl. Store dried buds in an airtight container away from light.
Step 8: Pair Lavender With the Right Companion Plants
Lavender is gorgeous on its own, but it is even more striking when paired with plants that share its love of sun and lean soil. The best companion plants for lavender include:
Roses: The classic pairing. Lavender’s fragrance deters aphids from roses, and the purple and pink color combination is timeless.
Rosemary: Nearly identical growing requirements. Plant them together for an evergreen, fragrant border.
Echinacea (coneflower): Pink or white coneflowers complement purple lavender beautifully and both attract pollinators.
Salvia and Russian sage: Similar purple-blue tones create a cohesive, cottage-garden look.
Ornamental grasses: The soft texture of grasses contrasts beautifully with lavender’s structured spikes.
Thyme and oregano: Low-growing Mediterranean herbs that share lavender’s drainage and sun needs make excellent ground cover between lavender plants.
Common Problems and How to Fix Them
Plant turning brown or gray at the base: This is usually root rot from overwatering or poor drainage. Unfortunately, once the crown has rotted, the plant is usually beyond saving. Prevention is key — ensure perfect drainage and water sparingly. For remaining healthy plants, amend the soil immediately with sand and gravel.
Woody, leggy growth with few flowers: This means the plant has not been pruned regularly. If there is still green growth on the lower stems, prune back hard in spring — but never into completely bare wood. If the plant is mostly bare wood with green only at the tips, it may be time to replace it and start with a proper pruning routine on the new plant.
Yellow leaves: On lavender, yellow leaves almost always mean too much water, too much nitrogen, or soil that is too acidic. Cut back on watering, do not fertilize (lavender needs little to no fertilizer), and test your soil pH.
Lavender not blooming: The most common causes are insufficient sunlight (needs 6-8 hours minimum), too much nitrogen (which promotes leaves over flowers), or a very young plant that needs another season to mature. Pruning also promotes blooming — an unpruned plant puts energy into woody growth instead of flowers.
Winter dieback in cold climates: Choose the hardiest varieties (‘Phenomenal,’ ‘Hidcote,’ ‘Munstead’) and provide excellent drainage — cold, wet soil kills lavender faster than cold air. A gravel mulch around the base reflects some warmth and keeps the crown dry. Do not use heavy winter mulch, which traps moisture.
Seasonal Guide
Follow this seasonal guide to keep your lavender healthy and beautiful year after year:
| Season | Tasks |
|---|---|
| Early Spring | Perform the main annual pruning when new green growth appears at the base. Cut back by one-third to one-half, shaping into a mound. Plant new lavender after the last hard frost. Remove any winter-damaged stems. |
| Late Spring | Water new plantings once a week. Established plants usually need no supplemental water. Apply gravel mulch if not already in place. Watch for first flower buds forming. |
| Summer | Harvest first bloom when half the flowers on each stem have opened. After harvesting, lightly prune spent flower stems to encourage a second bloom. Water only during extended drought. |
| Early Fall | In cold climates (Zone 5-6), stop pruning by August. Take cuttings for propagation — semi-hardwood cuttings root well in fall. Enjoy late bloomers. |
| Late Fall/Winter | Ensure drainage is excellent before winter rains and snow arrive. Do not mulch heavily. In Zone 5, you can mound a small amount of gravel or sand around the crown for insulation. Plan any new plantings for spring. |
Expert Tips
- Never cut into old wood — This is the single most important lavender rule. If you cut below the green growth into bare, brown woody stems, those stems will not regenerate. Always leave at least 2 inches of green, leafy growth on every stem.
- Use gravel mulch instead of wood chips — Gravel reflects heat, improves drainage around the crown, and mimics lavender’s natural Mediterranean environment. Wood mulch traps moisture and promotes the very rot that kills lavender.
- Buy plants, not seeds — Lavender seeds are notoriously slow and inconsistent to germinate (30-90 days, low success rate). Named varieties grown from cuttings bloom faster, grow true to type, and are worth the small extra investment.
- Propagate from cuttings for free plants — Take 4-inch semi-hardwood cuttings in late summer, dip in rooting hormone, and stick in a gritty mix. They root in 3-6 weeks and you will have free lavender plants by spring.
- Grow ‘Phenomenal’ if you are in a tough climate — This variety was bred specifically for heat, humidity, cold, and disease resistance. It handles Zone 5 to Zone 9 and shrugs off conditions that kill other varieties. It is genuinely phenomenal.
- Dry lavender in the dark for the best color — Sunlight bleaches the purple out of drying lavender. Hang bundles upside down in a dark closet or covered porch for 2-4 weeks and the color stays vibrant.
Frequently Asked Questions
Can lavender grow in clay soil?
Lavender struggles in unamended clay because it needs fast-draining soil. However, you can grow it in clay if you build a raised mound or bed 12-18 inches high and fill it with a gritty, sandy mix. Alternatively, plant in large containers with a cactus or gritty potting mix. The key is that water must drain away from the roots quickly.
How long do lavender plants live?
With proper pruning, lavender plants can live 10-15 years or more. Without pruning, they typically decline after 4-5 years as they become woody and stop producing flowers. Annual spring pruning is the single most important factor in lavender longevity.
What is the difference between English and French lavender?
English lavender (Lavandula angustifolia) is hardier (to Zone 5), has the sweetest fragrance, and is best for cooking and sachets. French lavender (Lavandula dentata) has serrated leaves, blooms almost continuously in warm climates, but is only hardy to Zone 7-8 and has a more camphor-like scent. For most gardeners in the US, English lavender is the better choice.
Why is my lavender turning gray and dying?
Gray foliage and sudden decline are almost always caused by root rot from overwatering or poor drainage. Lavender roots sitting in wet soil develop fungal infections that kill the plant from the roots up. Improve drainage immediately for any surviving plants and reduce watering frequency. Unfortunately, once the crown has rotted, the plant usually cannot be saved.
When is the best time to harvest lavender?
Harvest lavender when about half the flowers on each stem have opened and the rest are still in bud. This is when essential oil concentration is highest. Cut in the morning after dew has dried but before afternoon heat. For culinary use, harvest just as buds are about to open for the most intense flavor.
Does lavender need fertilizer?
No, lavender prefers lean soil and generally does not need fertilizer. In fact, too much nitrogen makes lavender leggy with fewer flowers. If your plant looks pale or weak, a light application of bone meal in spring is sufficient. Rich compost and heavy fertilizing will actually harm lavender by promoting excessive leaf growth at the expense of flowers and fragrance.