I’ve painted a lot of accent walls in my life, but the first time I tried color blocking — splitting a wall into two bold colors with a clean geometric line — it felt like the room suddenly had a personality. Color blocking takes the basic accent wall concept and turns it into actual art.
This technique is all over Pinterest and Instagram right now, and interior designers are using it everywhere from nurseries to living rooms to home offices. The best part? It’s one of the easiest and cheapest ways to make a room look like you hired a professional decorator.
Why This Works
- Costs almost nothing — just two cans of paint and some tape transform an entire room
- Works in every room — bedrooms, living rooms, offices, hallways, and even bathrooms
- Highly customizable — horizontal splits, diagonal lines, arches, and geometric shapes are all options
- Adds architectural interest — color blocking creates the illusion of wainscoting, chair rails, or molding without the cost
- Perfect for renters — one wall of color blocking is easier to paint over than an entire room
What You’ll Need
Everything you need for a color-blocked wall:
- Two paint colors — one bold, one neutral (or two bold complementary shades)
- Painter’s tape — FrogTape or ScotchBlue for the sharpest lines
- A laser level — essential for perfectly straight horizontal lines (a regular level works too)
- Paint roller and brush — standard painting supplies
- Measuring tape and pencil — for marking your dividing line
- Drop cloths — especially important when working with two colors
Step-by-Step Guide
Choose Your Color Combination
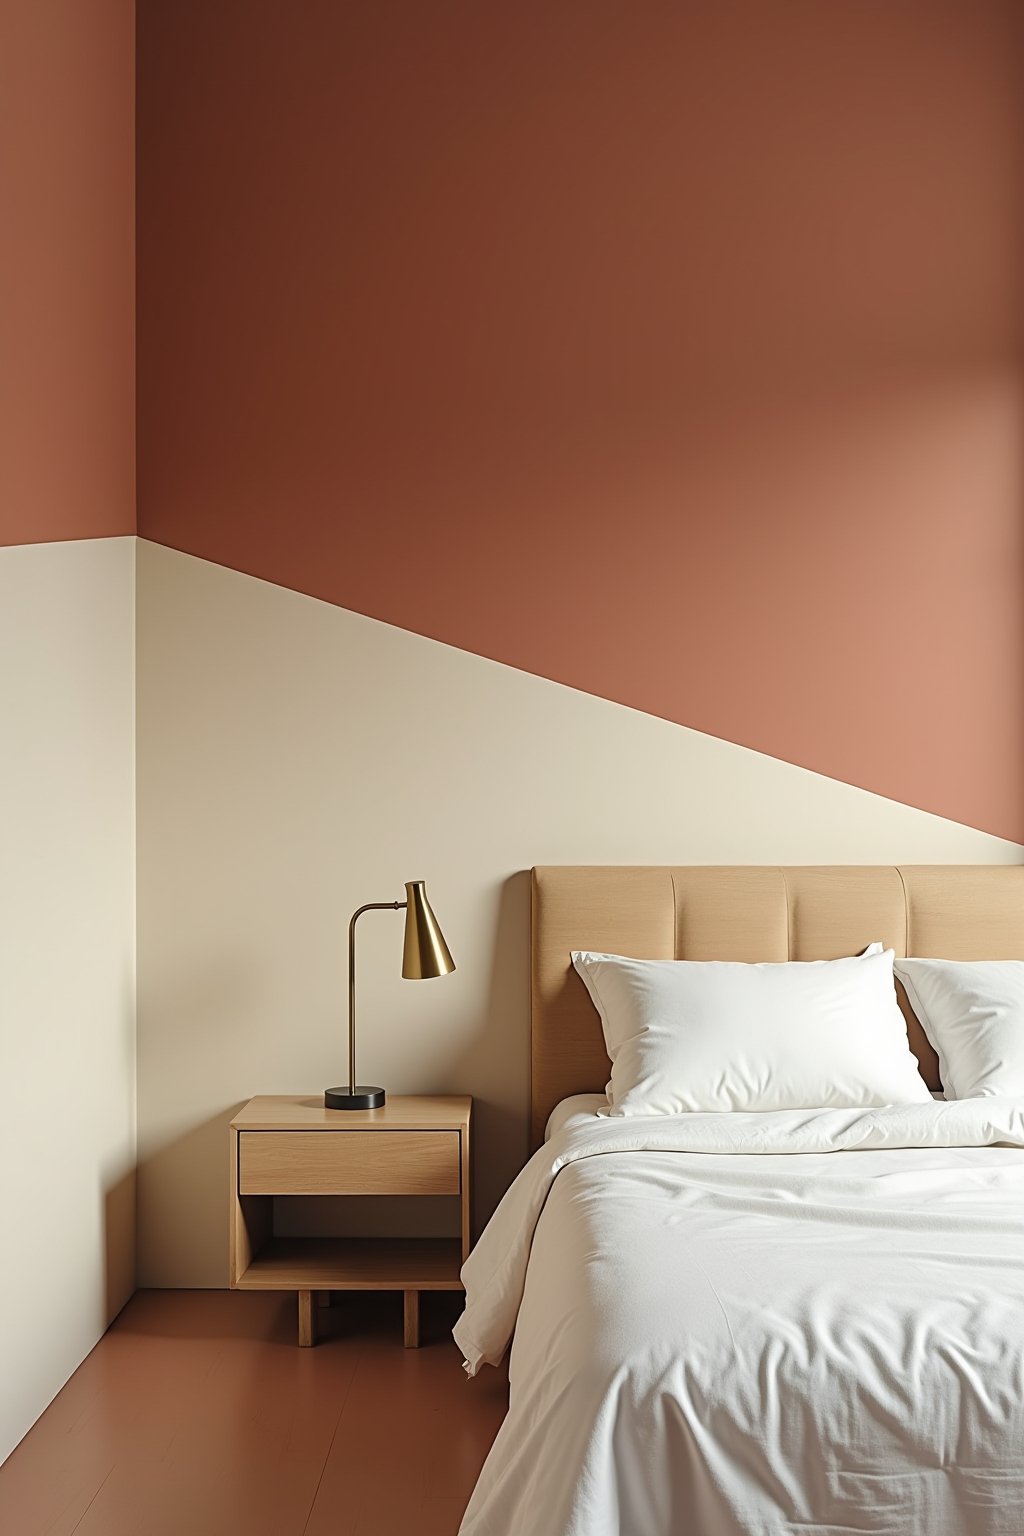
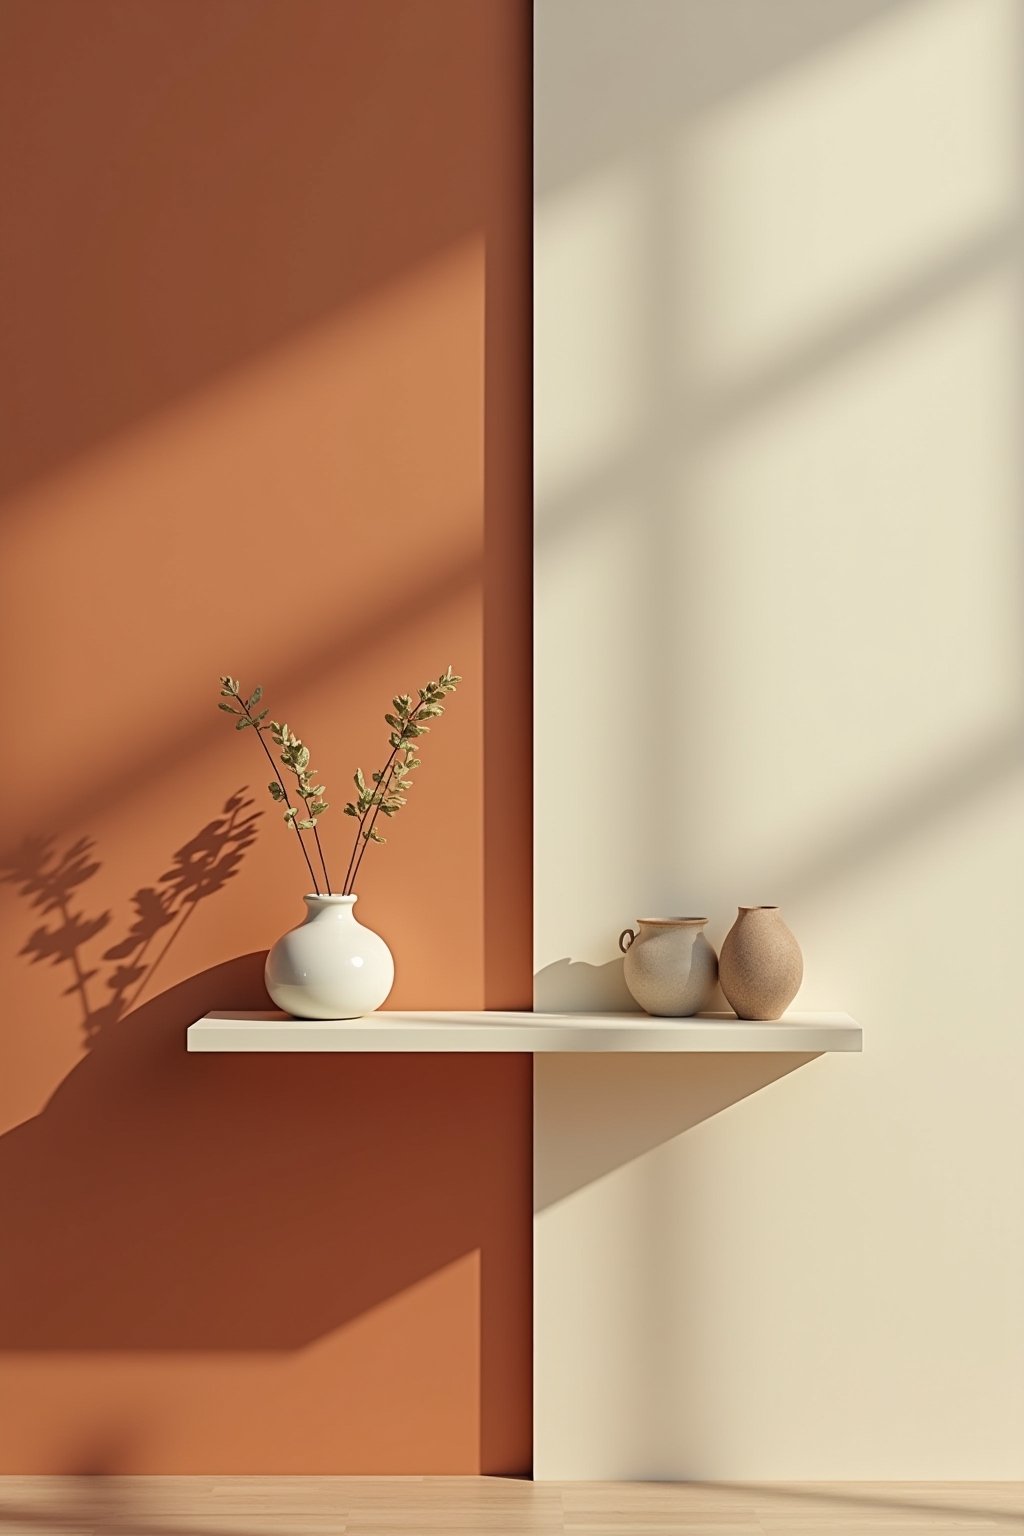
The most popular color blocking combos right now are: sage green + cream, terracotta + white, navy + blush, forest green + dusty pink, and warm gray + mustard. The key is one grounding color and one lighter complementary shade.
For a safe first attempt, put the darker color on the bottom third and the lighter color on the upper two-thirds. This feels natural and grounded.
Decide Your Split Ratio
The most common splits are: bottom third/top two-thirds (classic), 50/50 horizontal (dramatic), and diagonal (modern and bold). For bedrooms, the split line typically sits behind the headboard. For living rooms, align it with the back of the sofa.
Use painter’s tape to mock up the line before painting so you can visualize the effect.
Mark and Tape Your Line
Use a laser level to mark a perfectly straight line across the wall. Apply painter’s tape along the line, pressing the edge firmly to prevent bleed-through. Run a credit card or putty knife along the tape edge for a perfect seal.
Pro tip: paint a thin line of the lighter color over the tape edge first and let it dry. This seals the tape and ensures the darker color can’t bleed underneath.
Paint the Lighter Color First
Always start with the lighter color on top. Paint two coats, letting each dry fully. The lighter color is more forgiving of small imperfections.
After the lighter color is completely dry, apply your tape line (if you haven’t already) and proceed to the darker color below.
Paint the Bold Color and Reveal
Apply two coats of the darker or bolder color below the tape line. Remove the tape while the second coat is still slightly damp — this creates the cleanest line. Pull the tape at a 45-degree angle, slowly and steadily.
Touch up any imperfections with a small artist’s brush once everything is fully dry.
Common Mistakes to Avoid
- Not using a level — even a slightly crooked line is immediately noticeable and ruins the entire effect
- Removing tape when paint is fully dry — this causes the paint to peel along the tape edge. Remove while slightly damp
- Choosing colors that are too similar — the whole point of color blocking is contrast. Make sure your two colors are obviously different
- Putting the dark color on top — this makes the room feel top-heavy and unsettling. Dark below, light above feels natural
- Using cheap painter’s tape — invest in FrogTape or equivalent. Cheap tape bleeds and creates fuzzy lines
Budget Tips
Color blocking is inherently budget-friendly:
- You only need two quarts or one gallon of each color — even premium paint costs under $80 total
- Use paint samples (small cans) from the hardware store for testing — they’re under $5 each
- Borrow a laser level or use a regular bubble level with a long straightedge
- FrogTape often has coupons at hardware stores — ask at the counter
- This technique requires zero furniture purchases — the impact comes entirely from paint
Styling Tips
- Align the color split with furniture — the line should relate to something in the room like the top of a headboard or back of a sofa
- Use the lower color as a backdrop for art — hanging framed pieces on the darker lower section creates a gallery-like feel
- Extend the color to adjacent walls — wrapping the lower color around a corner makes the effect more intentional
- Add floating shelves along the line — shelving at the split point creates a natural ledge and ties the two colors together
- Match accessories to the bolder color — throw pillows, vases, and books in the accent color tie the room together
- Keep curtains and large furniture neutral — let the wall be the focal point

Room-by-Room Inspiration
Home Office
Paint the lower half in deep forest green and the upper half in warm cream. Position your desk against the green section for a focused, grounded workspace. Add brass desk accessories and a wooden monitor stand.
Bedroom
A terracotta lower half meeting cream at headboard height creates a warm, cocooning effect. It’s like a modern interpretation of traditional wainscoting.
Hallway
Color blocking transforms a boring hallway into a design feature. Try a sage green lower half with cream above. Hang a row of framed prints along the green section for a mini gallery.
Frequently Asked Questions
What’s the best height for a color blocking split?
The most common and visually balanced split is at one-third height from the floor (about 32 inches in a standard 8-foot room). For bedrooms, align the split with the top of your headboard for a cohesive look.
Can I color block with more than two colors?
Yes, but start simple. Three colors in horizontal bands can work, but more than three tends to look busy. For beginners, two colors with a clean line creates the most sophisticated result.
How do I get a perfectly straight paint line?
Use a laser level to project a straight line on the wall, then apply painter’s tape along it. Press the tape firmly and seal the edge with a thin coat of the lighter color first. This prevents the darker color from bleeding under the tape.
Does color blocking work on textured walls?
It’s more challenging on heavily textured walls because tape doesn’t seal as well. For textured walls, use the ‘seal with lighter color’ trick and consider caulking the tape edge for a crisp line.
What if my color blocking line isn’t perfectly straight?
You can touch up with a small artist’s brush and steady hand. For a more forgiving approach, try a painted arch instead of a straight line — arches are trending and hide imperfections naturally.
Can I rent a laser level instead of buying one?
Yes, most hardware stores rent laser levels by the day for $15-25. You only need it for an hour, so renting is much more cost-effective than buying.